
Previously in this series we’ve looked at how to use the new Palette library and in this concluding article in the series we’ll take a look at the types of color values which we can expect from Palette.
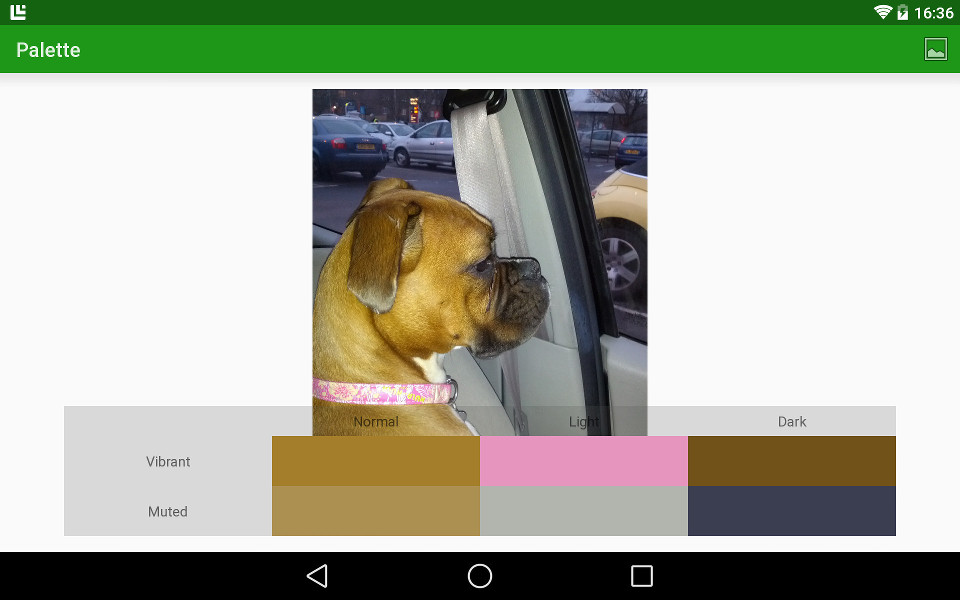
Let’s start by looking at the image we finished the previous article with:
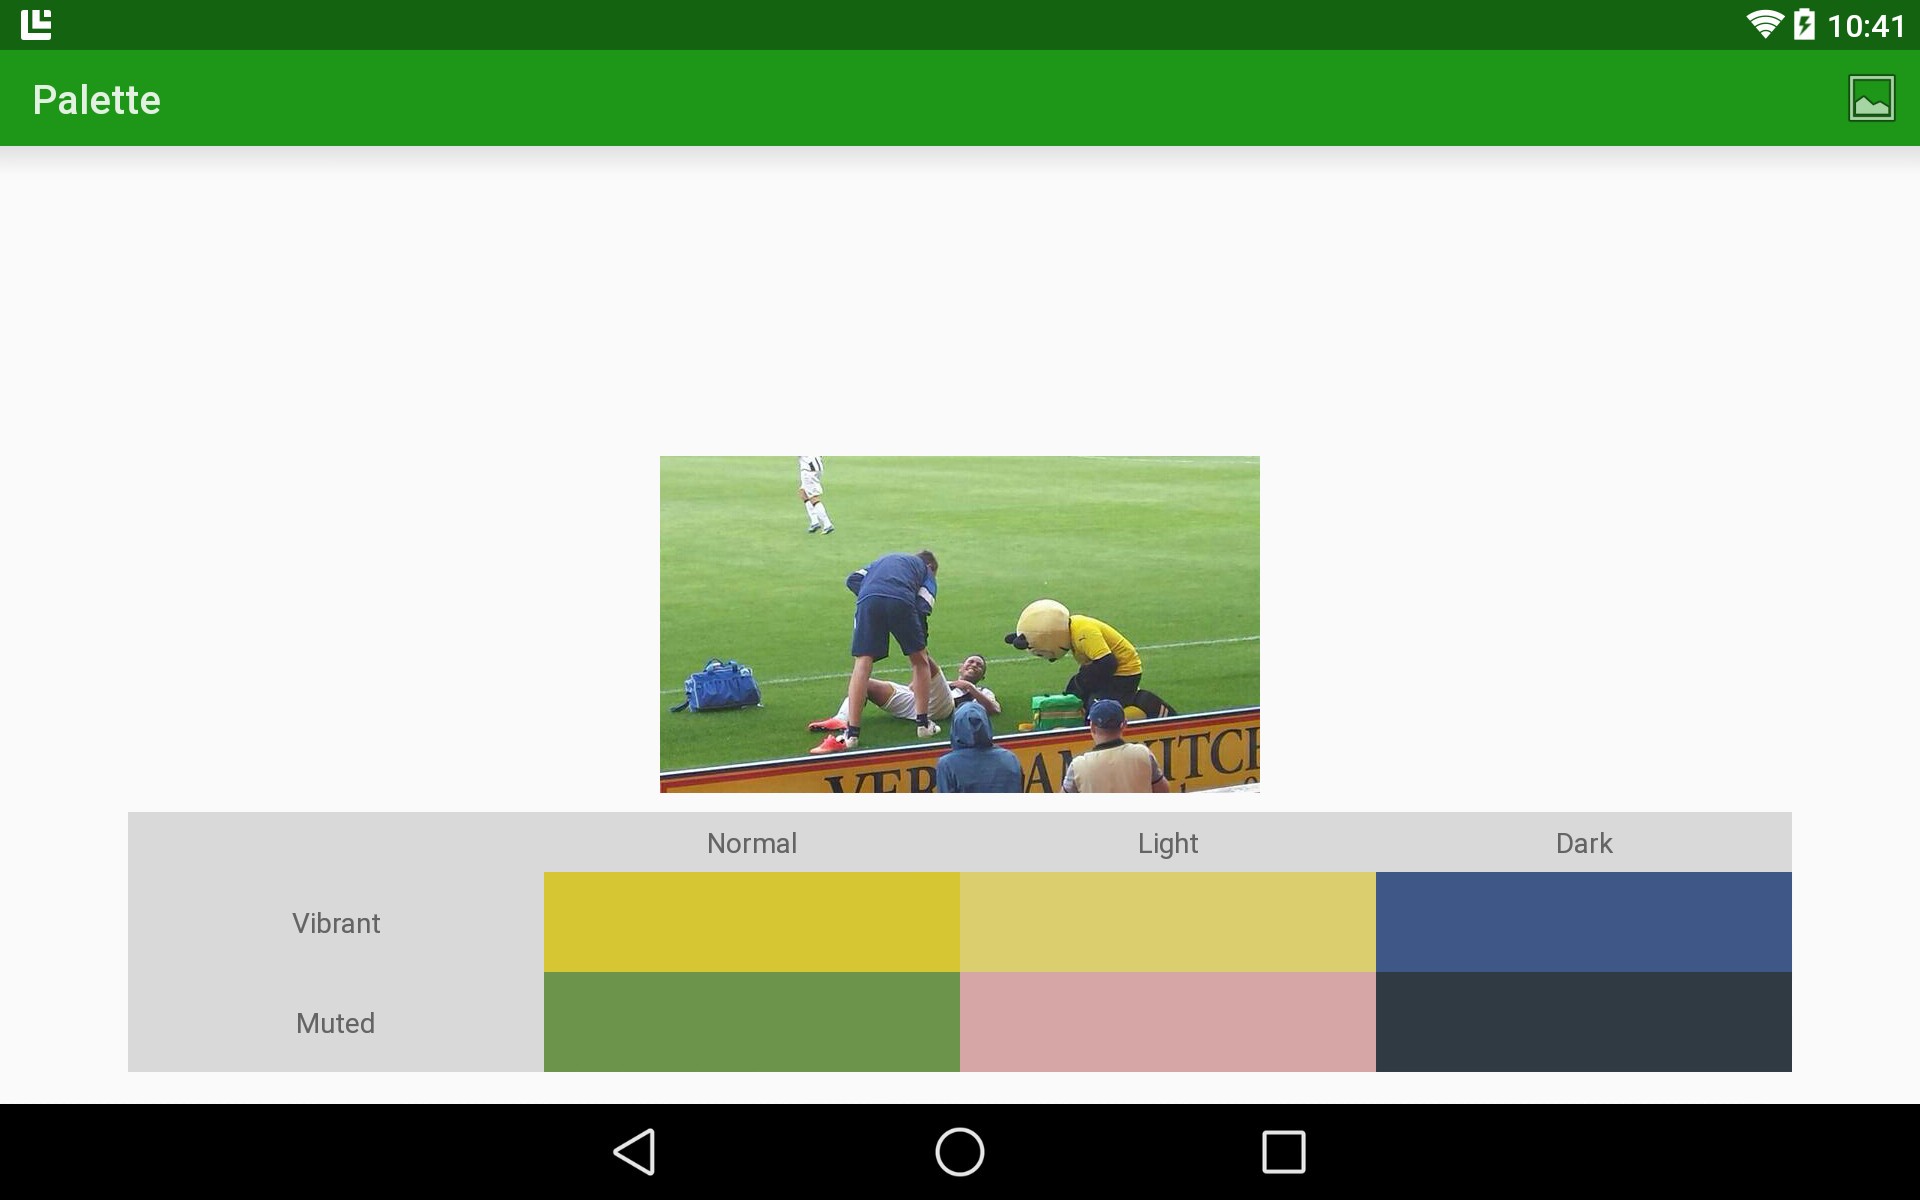
Most of the colours that we can see are quite prominent within the image with the possible exception of the mutes light colour which is a pink, but on closer examination there is some red in the hoardings and the football boots, and a lighter, muted version of a red would be the pink that we’re seeing.
Let’s look at a rather different example. What happens if we use an image with one main colour:
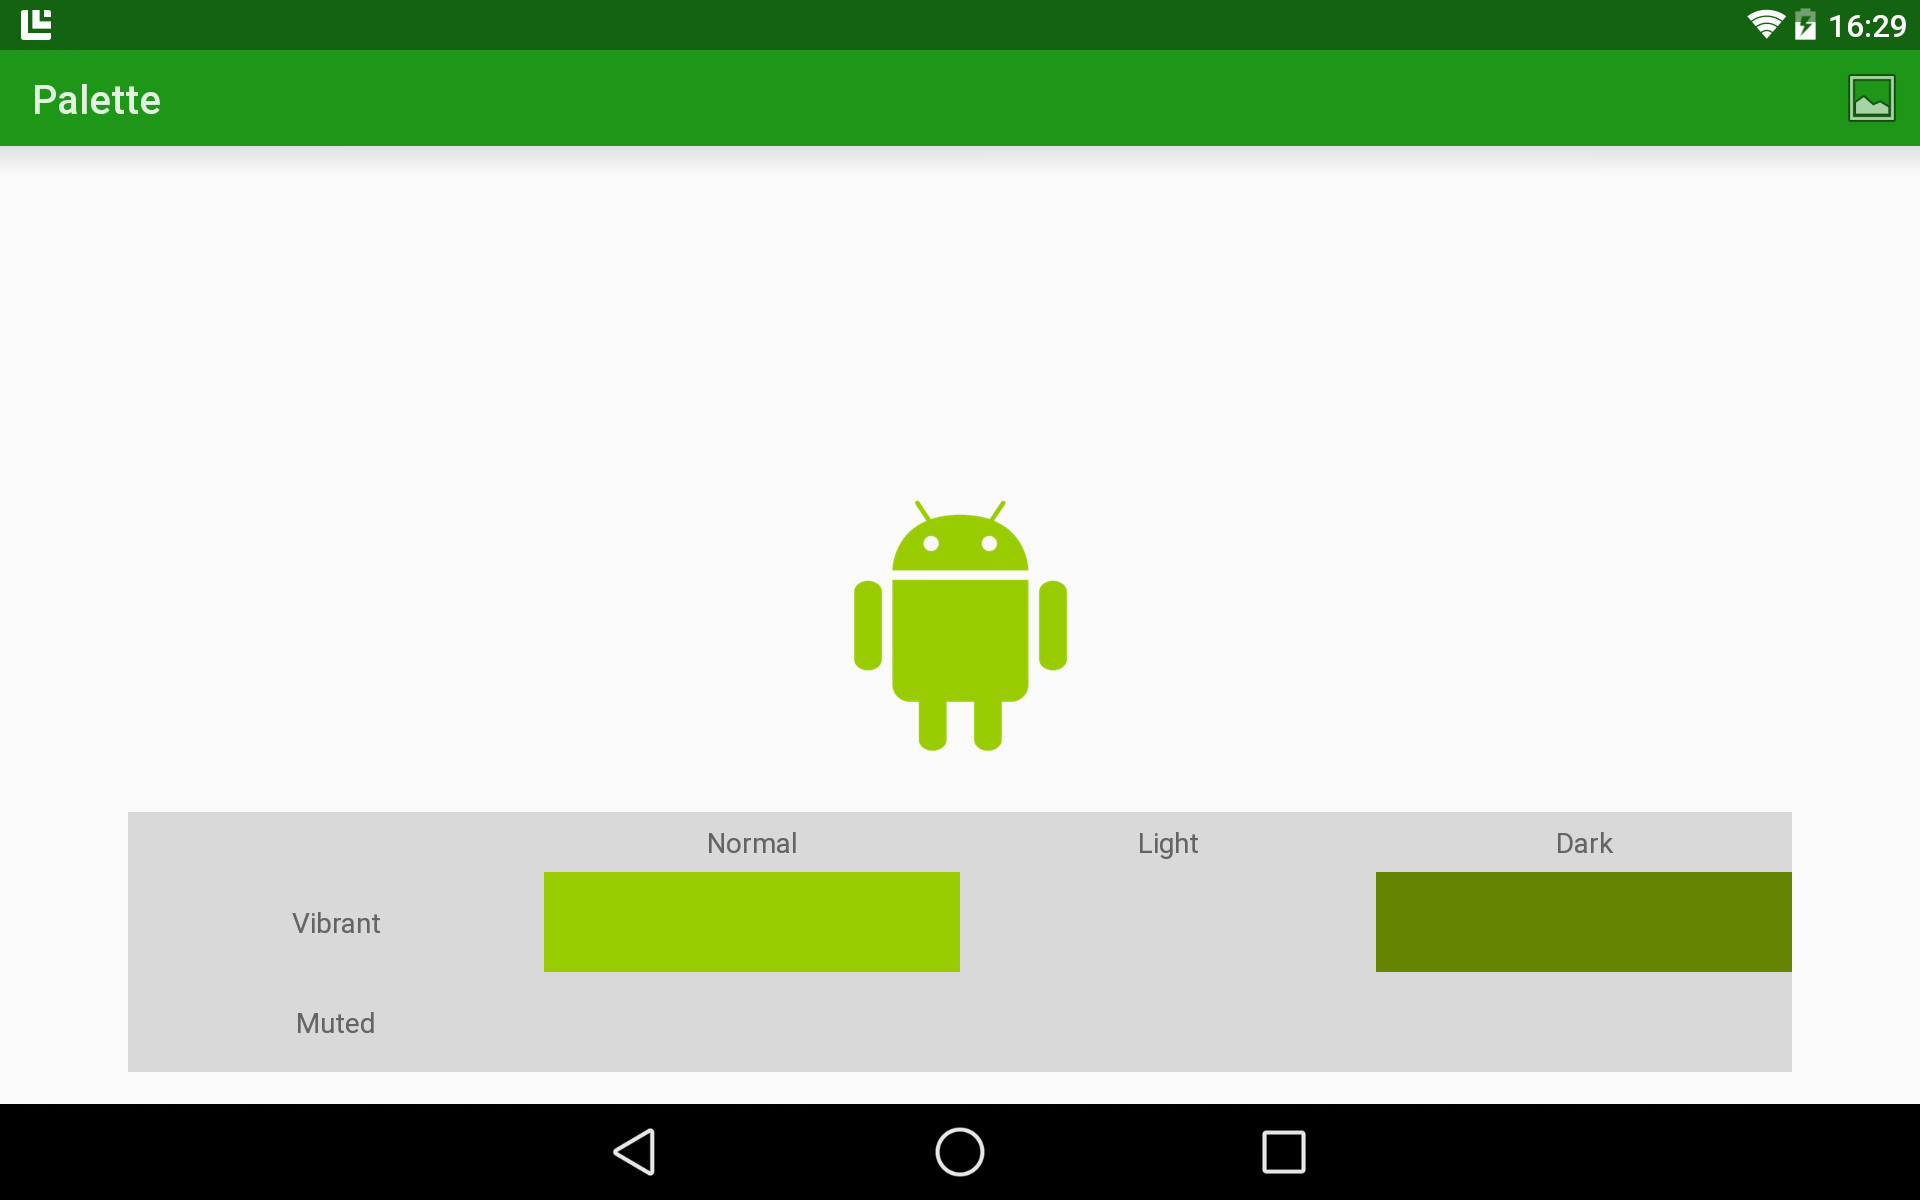
We mentioned in the previous article that we’re not always guaranteed to get also l of the colour variants for any given image, and this demonstrates it perfectly. Only two colour variants are actually returned, and this shows the importance of null checking the values returned by Palette. If we think about it this behaviour is absolutely correct: of we are using multiple color variants then they must be different otherwise it could cause us problems. So returning a null value instead of duplicating values ensues that well have sufficient contrast between the colours returned.
So let’s try an image which has a limited number of colours, but a couple more than the previous example: the Styling Android logo:
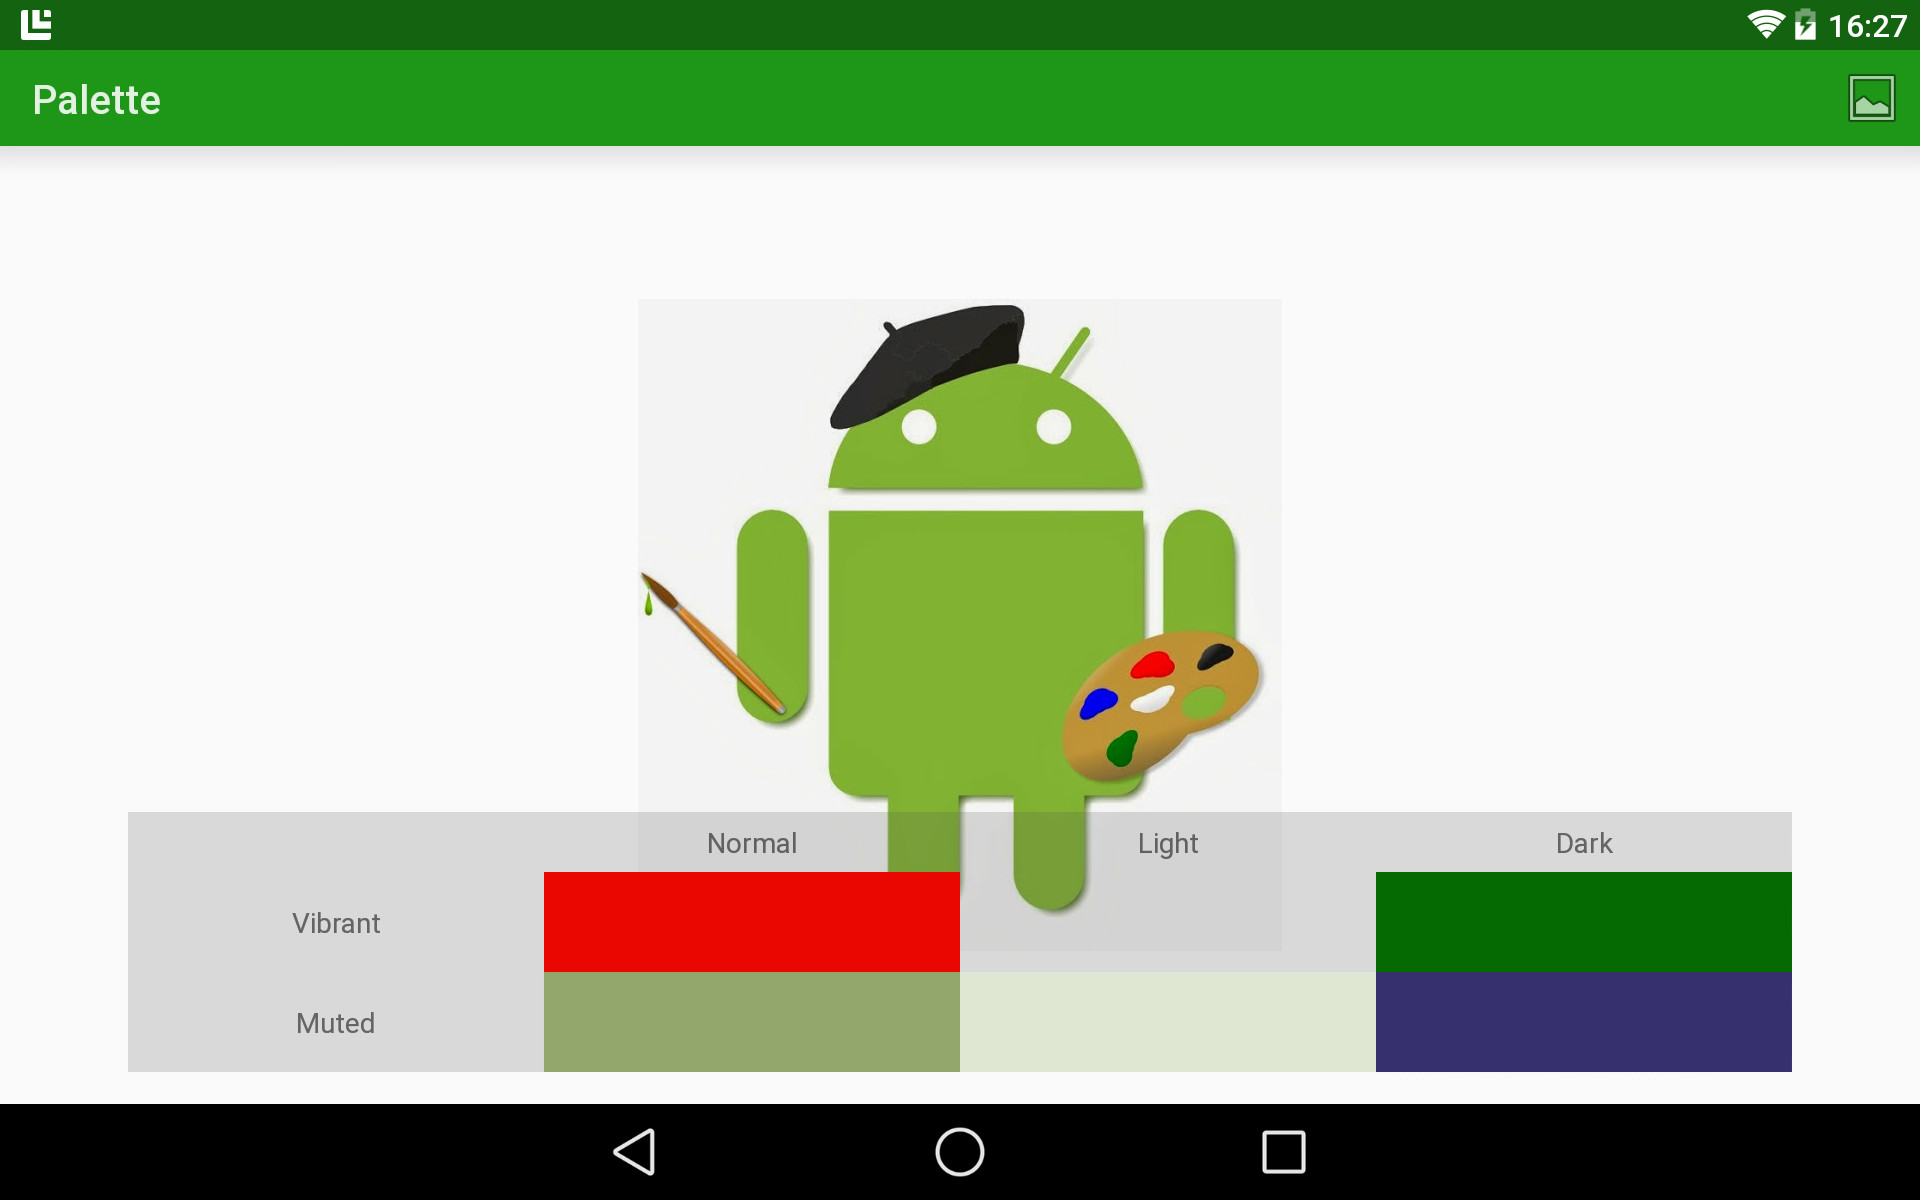
Initially it looks surprising that red had been retrieved as the normal, vibrant colour considering there is only a small amount of it in the image – particularly when the vibrant green was returned in the previous example as the normal, vibrant colour. However it is worth remembering that the red is a much better fit for the classification of “normal, vibrant” than the green. Although it feels like green is the dominant colour here, because there is so much of it, we are not requesting the dominant colour, but a colour which best fits the criteria.
That said, the PaletteItem object also had a population field which provides details of how much of that colour is in the image, so we can sort on that to determine the dominant colours within the image.
Using images with limited colour palette such as the last these two examples will always produce limited result sets and are not ideal for use with Palette unless it is to determine the most frequently used colour in the image.
Let’s look at another image which initially looks like Palette doesn’t return a prominent colour (once again this is Watford FC mascot Harry the Hornet):

The surprise here is that yellow is not returned as one of the vibrant colours. But, once again, if we consider the the the colours returned for the criteria much better. As humans or perception can be clouded by the subject matter – in this case we know that the football shirt is a focal point, so we perceive the yellow to be a key colour. However studying the image shows that the colours which have been picked out by Palette certainly exist within the image, and match the selection criteria.
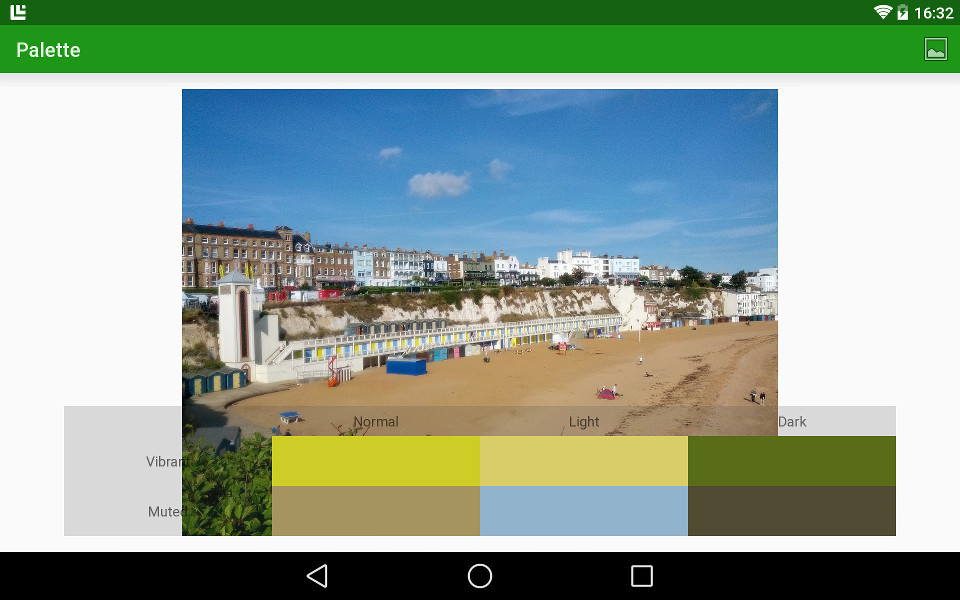
I have deliberately picked out these examples to demonstrate that the results may not always be what we expect, but there are plenty more which return obvious results. Let’s finished with a couple of these.
The first is a picture of Broadstairs, Kent, UK:
And the second is of Betty (who has appeared before on Styling Android):
Although the colour range is much more muted in this image Palette successfully picks out good matches for the different variants.
Palette is both a useful and easy to use library, but it is important to remember what colour information you are actually requesting from it in order to realise its full potential.
Originally this series concluded at this point, but on the day this article was published the full release of the Palette library was made along with the Lollipop SDK. In the next article we’ll cover some minor API changes in the full release and bring the code in to line with the released library.
The source code for this article is available here.
© 2014, Mark Allison. All rights reserved.
Copyright © 2014 Styling Android. All Rights Reserved.
Information about how to reuse or republish this work may be available at http://blog.stylingandroid.com/license-information.
