The Android ActionBar was first introduced in Honeycomb and provides us with a rich framework for providing user actions and navigation to the user. In this article we’ll have a look at the basics of the ActionBar and get a simple implementation up and running very quickly.
As I already mentioned, ActionBar was introduced in Honeycomb (API Level 11), however with ActionBarSherlock Jake Wharton has done another of his excellent back-port libraries which enable you to add ActionBar support to 2.x devices as well. I’ll focus on the native Android APIs, but most if not all of what I cover here should work equally well if you are using ActionBarSherlock.
Getting a basic ActionBar working is really quite easy. ActionBar replaces the functionality provided by the Options Menu which has always been present in Android, so it extends the existing Options Menu framework, and it is simply a case of adding additional parameters to standard Options Menu definitions. An example will demonstrate this much better than a dry explanation, so let’s start by creating a new project named BasicActionBar with the package name com.stylingandroid.basicactionbar and with a minimum SDK level of 3.0 (API 11). If you are using the project setup wizard that was introduced in ADT 20 (the most recent, at the time of writing), we’ll create a new blank activity named MainActivity, layout name main, navigation type none (while ADT can generate some menus for us, we want to do this manually so that we can see what’s required), hierarchical parent ActionBar Demo.
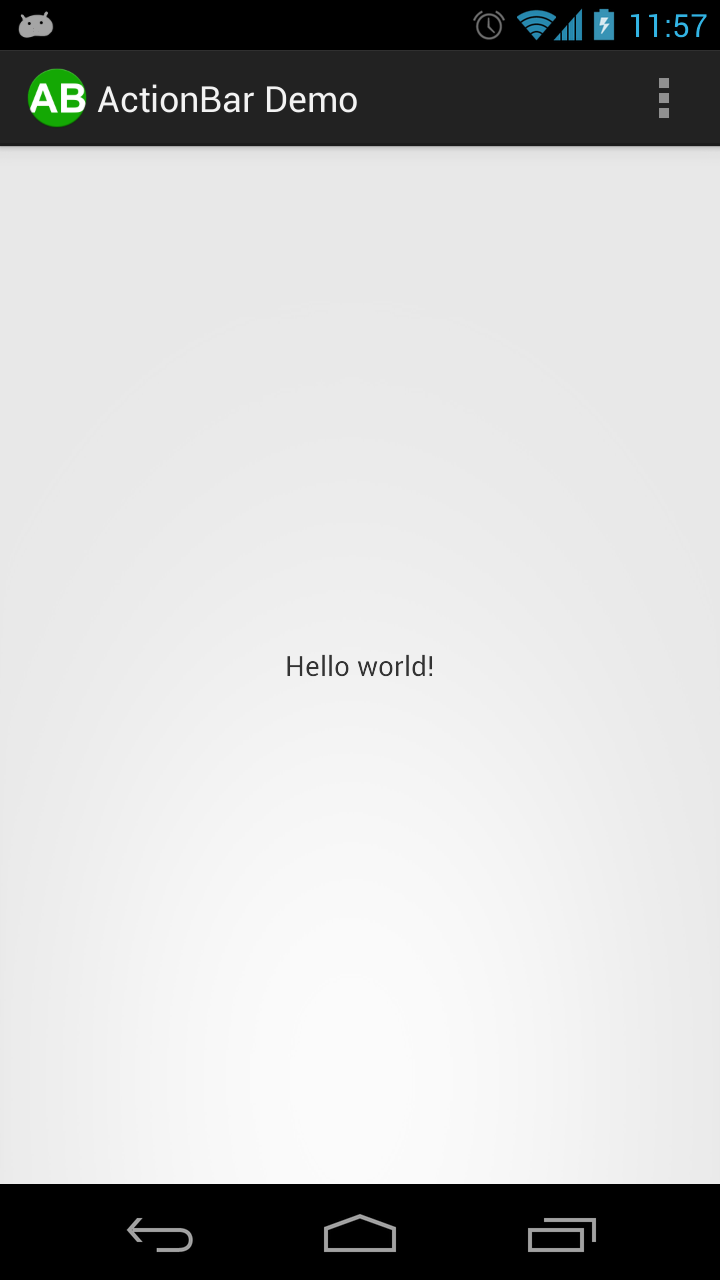
If we run this without changing anything we get the following:

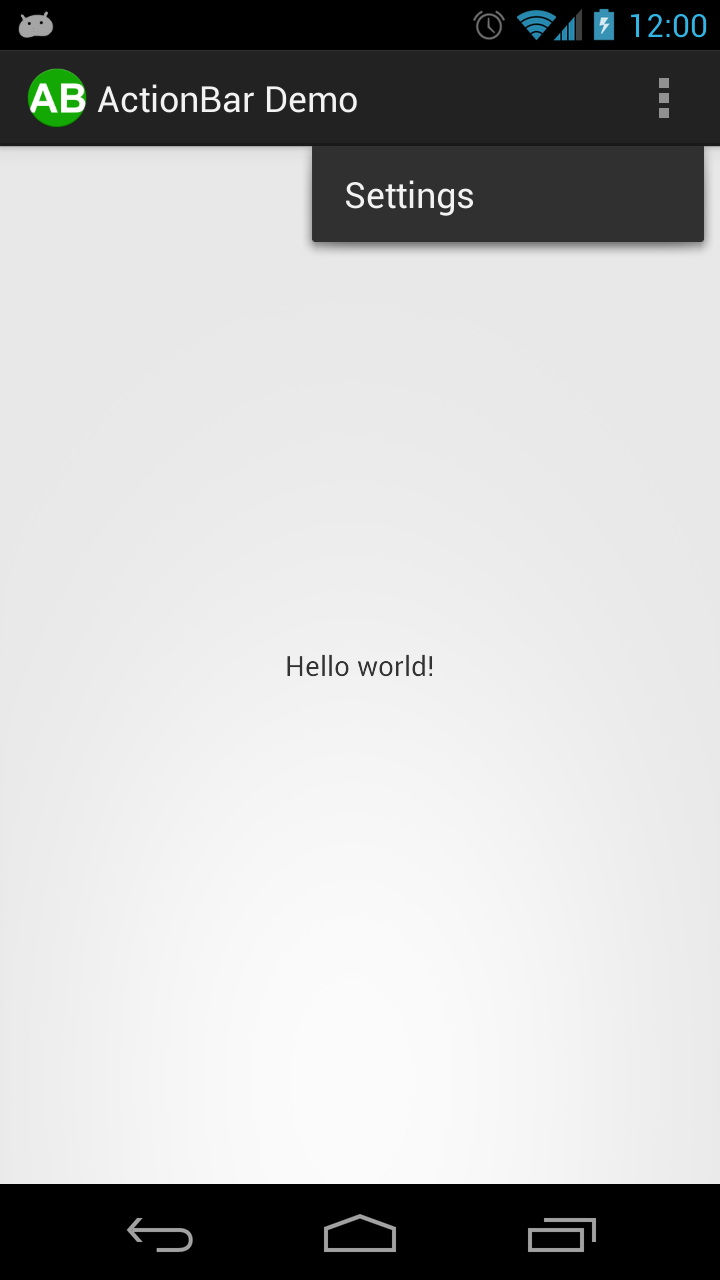
There is a title bar with an icon on the left hand side – this is our ActionBar, and we haven’t even done anything! If we click on the vertical ellipsis on the right, the ActionBar overflow menu, we see that it has a single entry labelled Settings:

What’s actually happened here is that the ADT 20 project wizard has created a project for us which contains the basics of an ActionBar (you will not see any of this if you are using an earlier version of ADT). We can see this if we look at what the wizard has created for us. First let’s look at MainActivity.java:
[java] public class MainActivity extends Activity { @Override
public void onCreate(Bundle savedInstanceState) {
super.onCreate(savedInstanceState);
setContentView(R.layout.main);
}
@Override
public boolean onCreateOptionsMenu(Menu menu) {
getMenuInflater().inflate(R.menu.main, menu);
return true;
}
}
[/java]
The key thing here is the onCreateOptionsMenu implementation. I mentioned earlier that ActionBar is based around the older options menu, and it is this which permits some backwards compatibility. We can still include our ActionBar actions on pre-3.0 devices, but they will be presented using a legacy options menu (unless we use ActionBarSherlock, or course). So let’s have a look in the menu definition that is being loaded from res/menu/main.xml:
So this menu definition consists of a single item. The setting of the id and title text are fairly self-explanatory, but what about those other two attributes? Normally menu items will appear in the order in which they are defined, orderInCategory allows you to override this behaviour and define your own order. The key attribute for ActionBar is showAsAction which controls how and where our items are positioned in the ActionBar. The setting here of “never” means that this menu item will never be shown on the ActionBar itsel, but it will always appear in the overflow menu. I won’t bother with a full explanation of the possible values for this attribute as they are adequately covered in Menu Resource and Adding Actions on the Android Developer site.
Currently we have nothing wired up to be triggered when the user selects thins, but this is simply a matter of overriding onOptionsItemSelected:
public boolean onOptionsItemSelected( MenuItem item )
{
boolean ret;
if (item.getItemId() == R.id.menu_settings)
{
// Handle Settings
ret = true;
}
else
{
ret = super.onOptionsItemSelected( item );
}
return ret;
}
[/java]
So this is how we implement simple actions using the actionbar. In the next article we’ll look at how we can add navigation to our ActionBar.
The source code for this article can be found here.
© 2012 – 2013, Mark Allison. All rights reserved.
Copyright © 2012 Styling Android. All Rights Reserved.
Information about how to reuse or republish this work may be available at http://blog.stylingandroid.com/license-information.


Lovely. We chose to use SherlockActionBar on one of the Sky projects I’m working on to get backward compatibility support. We had to do a little messing with the v4 compatibility library as the one shipping with sherlock was different but we were up and running in no time.
Example of ActionBarSherlock would have been nice.
Jake has some good examples of ActionBarSherlock on actionbarsherlock.com. I might write a future post about it, though.