In the previous article we looked at using different controls in our ActionBar to provide custom behaviour. That’s all well and good, but suppose we actually want to do something a little more complex? In this article we’ll have a look at how we can use custom layouts within our ActionBar.
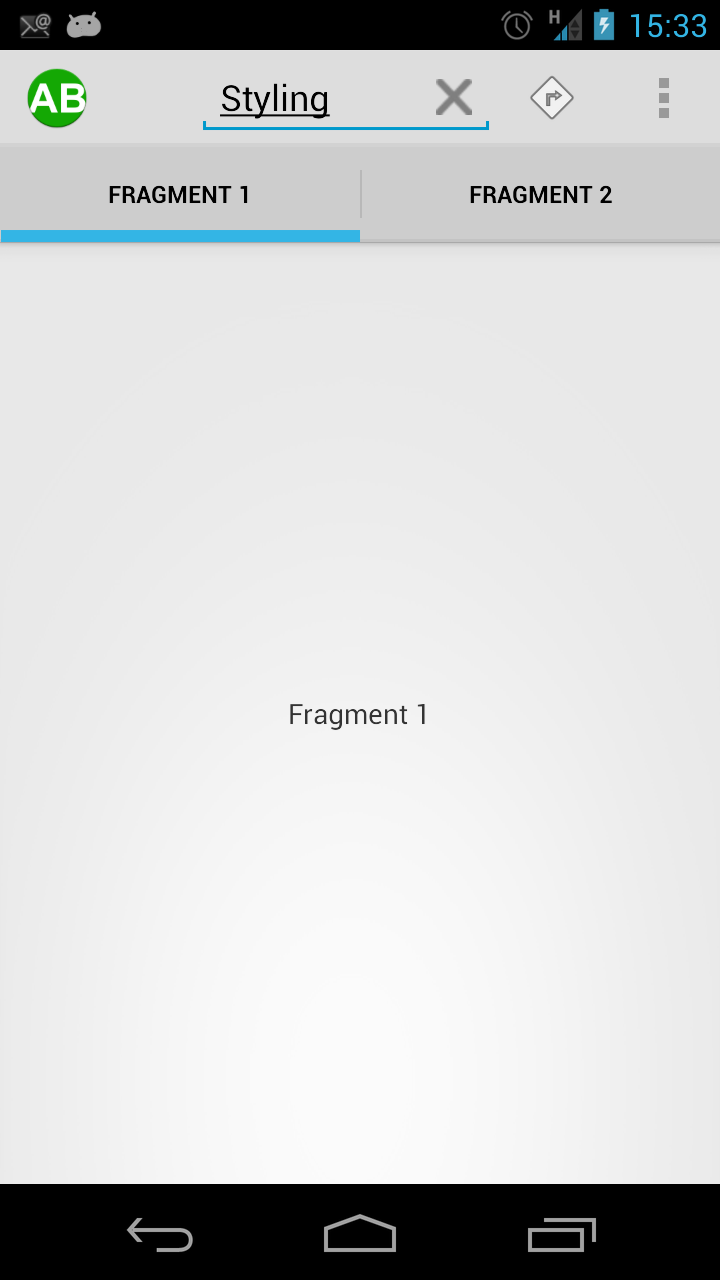
In Google Search for Jelly Bean, we can see quite a common UI pattern, the addition of an “X” button in an EditText field which allows us to clear the text entered in the control:
One way would be to write a custom control which extends EditText, but there is an alternative which we can achieve by combining standard controls inside a RelativeLayout. Let’s create a new layout in res/layout/search_layout.xml:
[xml]
[/xml]
This is pretty straightforward: We have our EditText which is used to accept the search criteria, and then we have a Button which is used as our “clear text” button. Getting the positioning of the Button within the EditText is all achieved using the RelativeLayout to position the Button in relation to the EditText and the Layout itself.
I won’t bother explaining the state-list drawable that’s used for the button graphic, or the click handling as these should be understandable if you look at the source code for this article. Being an article on ActionBar, the key thing is how do we actually use this within our ActionBar? That is, once again, really quite easy. We add another menu item to our existing menu and use the android:actionLayout attribute to specify the layout that we created.
[/xml]
Getting references to the controls within the menu is also pretty easy. The Action View of the MenuItem will be our layout and we can find the controls from this:
[java] @Overridepublic boolean onCreateOptionsMenu( Menu menu )
{
getMenuInflater().inflate( R.menu.main, menu );
.
.
.
mSearch = (EditText) mSearchItem.getActionView()
.findViewById( R.id.search );
mDelete = (Button) mSearchItem.getActionView()
.findViewById( R.id.delete );
}
[/java]
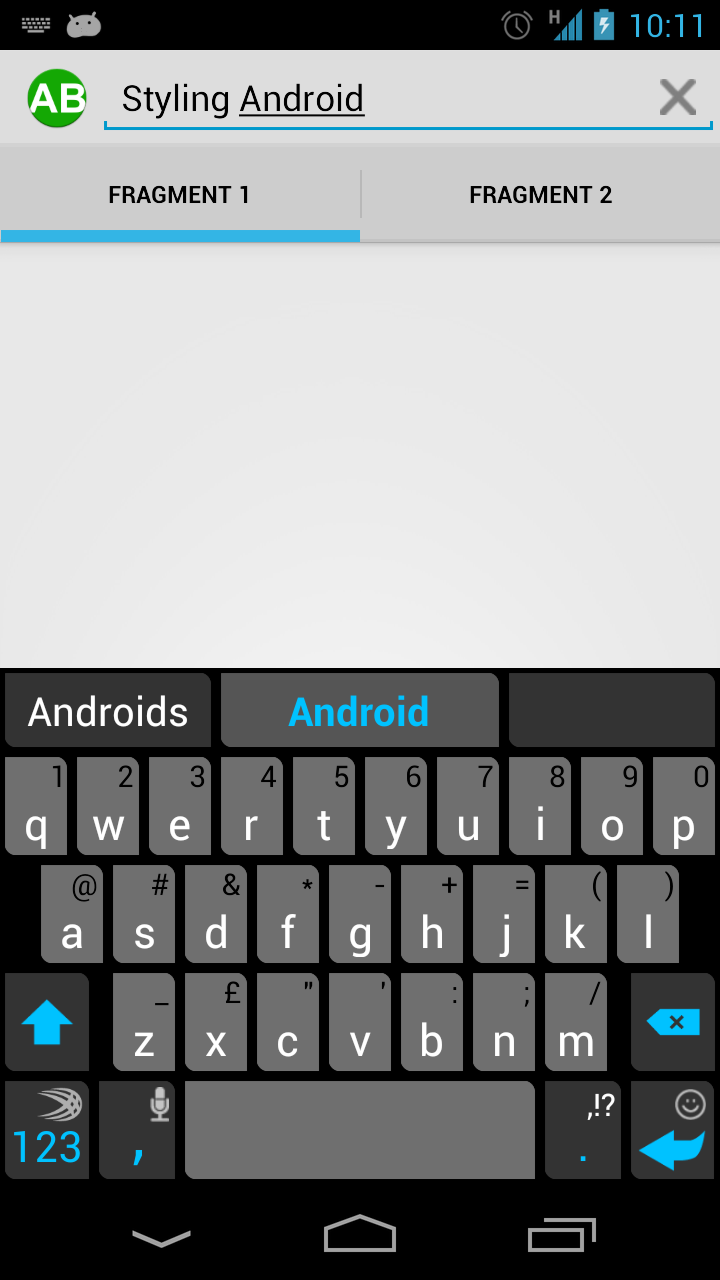
If we run this them the EditText with the delete Button appears within the ActionBar:
Before we finish with ActionBar, there are a couple more tricks that are worth mentioning. If we make a tiny change to res/layout/search_layout.xml, and change the android:layout_width attribute of the EditText control to match_parent, something rather different happens:
The EditText expands to fill the ActionBar, and we lose the rest of the menus, including the overflow menu. Sometimes this can be exactly what we require if we want a single control to fill the ActionBar. More often, it will cause us issues when we inadvertently use match_parent to try and fill the available space, without realising that it will also push the other menus off screen.
Once final thing worth mentioning is that if you have a requirement to use a navigation model that is neither tab or list-based, then you can use ActionBar.setCustomView() to specify a custom layout to use instead of the defaults. Obviously you will be required to implement all of the navigation logic yourself if you chose to implement you navigation in this way.
That concludes our introduction to ActionBar which is an extremely powerful and versatile component which is surprisingly easy to use.
The source code for this article can be found here.
© 2012, Mark Allison. All rights reserved.
Copyright © 2012 Styling Android. All Rights Reserved.
Information about how to reuse or republish this work may be available at http://blog.stylingandroid.com/license-information.


I think someone should port the current searchView for api level above 11 I guess. Putting an edittext is not the best solution here. If you do that, you have to take care all the rest by yourself.
Thanks again for the tutorials.
If you just want the standard search widget in the navigation bar, you don’t have to roll your own like this. You can also just specify:
android:actionViewClass=”android.widget.SearchView”
in your menu resource.
That will only work for API 11 and later, so not if you’re using ActionBarSherlock.
Also, I have already covered actionViewClass, and the purpose of this is to demonstrate how to use actionViewLayout.
Nice tutorial and very instructive. In the ADT, there is a new activity with a navigation named “Tabs + Swipe”. Do you think it’s possible to adapt your actionBar tutorial to this new kind of activity ?
It’s not a new Activity, it’s just a wizard which creates a project with some default code. I’ll leave the tutorial as-is because if you understand my tutorial, then using the wizard should be easy; but if I just covered how to use a wizard, you would have no idea of how to customise things once the wizard has done its thing.
Can we programmatically auto click the second tab instead of touching it using a button?