The Material Design Components library is a really nice thing. It has some widgets which make implementing Material Design really easy. Back in February 2020 version 1.2.0-alpha05 introduced Material Transitions and Motion. In this series we’ll look at the different transitions, and explore how and, perhaps more importantly, when to use them.
Overview

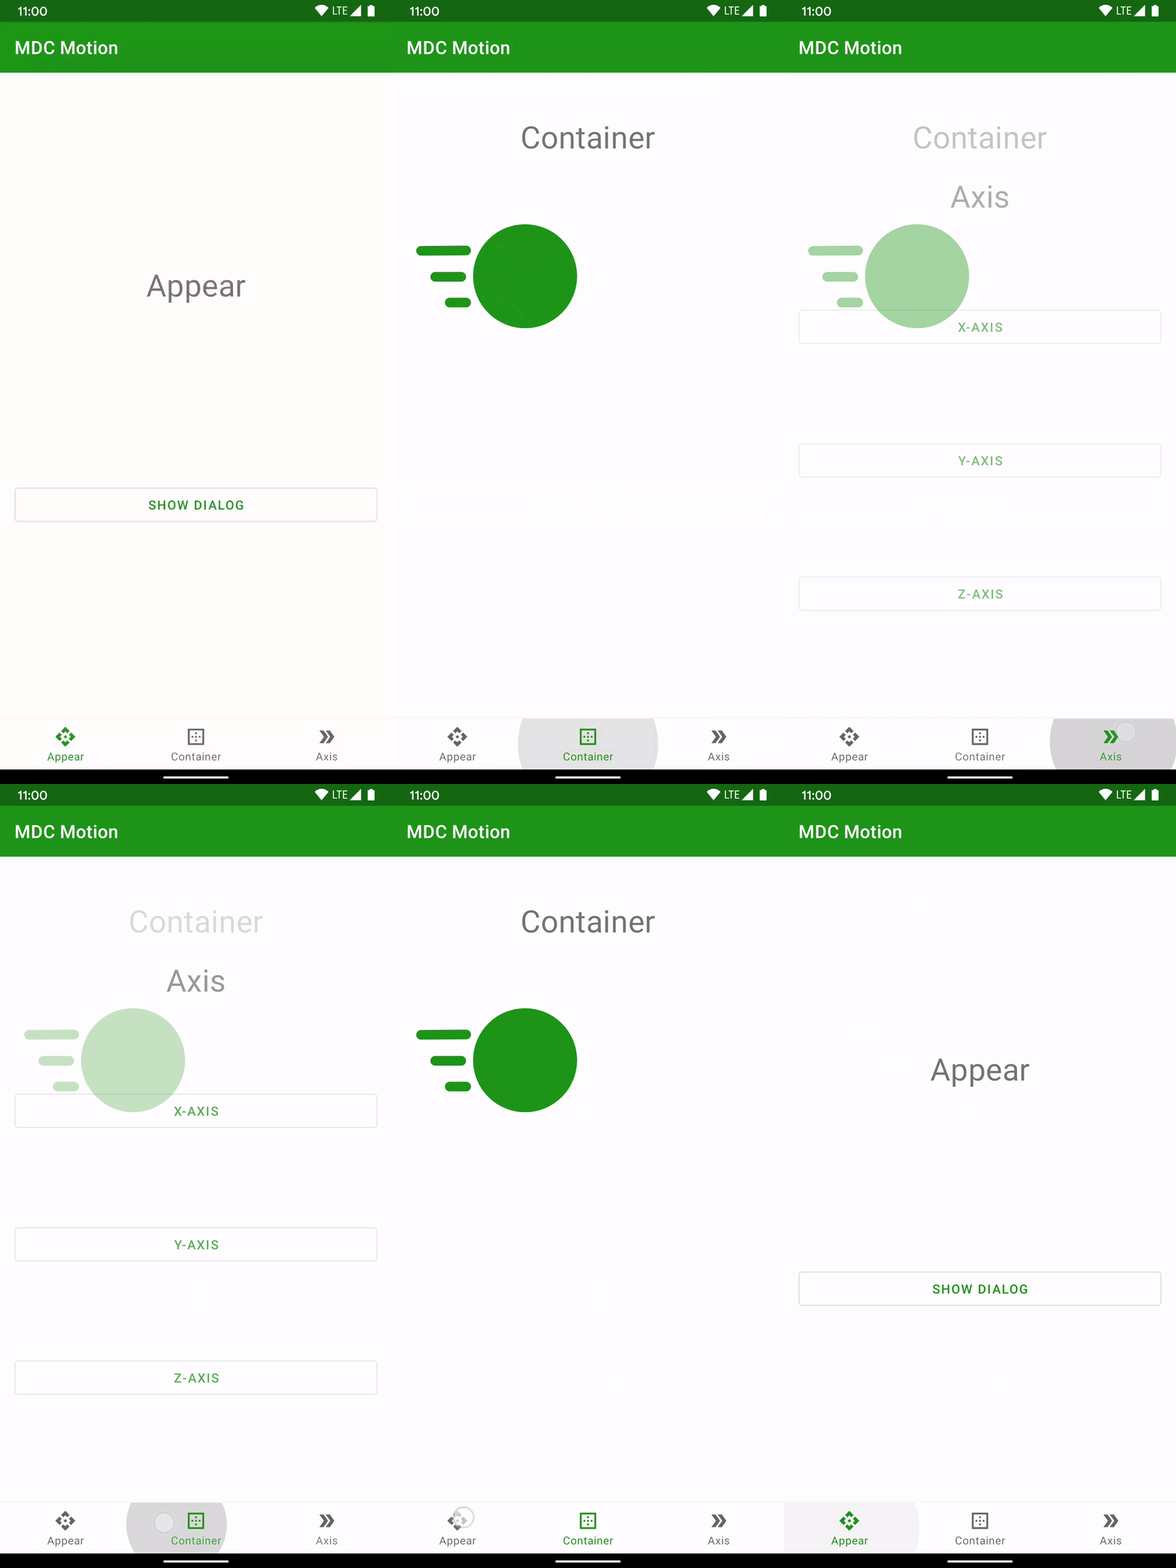
The first transition that we’ll explore is the Fade Through transition. The transition itself causes the outgoing elements to fade out in 100ms. Following this, the incoming elements fade in, and scale from 92% to 100% size. Both of the incoming transitions occur concurrently over 200ms. The scaling and longer duration of the transitions on the incoming elements keep the emphasis on them rather than the outgoing elements.
Usage
We use the fade through transition for incoming and outgoing content which does not have a strong relationship. A typical use-case is a bottom navigation bar where the individual tabs contain unrelated content. For example: One tab may be user profile information, and another may be a shop. The transition does not create any visual ties between the two UIs. Nor does it contain any horizontal motion which may suggest to the user that they can swipe between the tabs.
Sample Code
Let’s set up a simple app with a Material BottomNavigationView. The main Activity layout looks like this:
This consists of the BottomNavigationView and a FragmentContainerView to host the different Fragments. We’ll be using the Jetpack Navigation library to wire this all up, so the FragmentContainerView is a NavHostFragment.
The menu for the BottomNavigationView contains three items:
The IDs used in the navigation graph match the menu IDs:
By matching the IDs in this way we can rely upon the Navigation library to wire everything up for us:
@AndroidEntryPoint
class MainActivity : AppCompatActivity() {

    private lateinit var binding: ActivityMainBinding

    override fun onCreate(savedInstanceState: Bundle?) {
        super.onCreate(savedInstanceState)

        binding = ActivityMainBinding.inflate(layoutInflater)
        setContentView(binding.root)

        (supportFragmentManager.findFragmentById(R.id.nav_host_fragment) as? NavHostFragment)
            ?.also { navHost ->
                binding.bottomNavigation.setupWithNavController(navHost.navController)
            }
    }
}
I haven’t gone in to detail here as this is not the focus of this article. But the Navigation library does make this very easy!
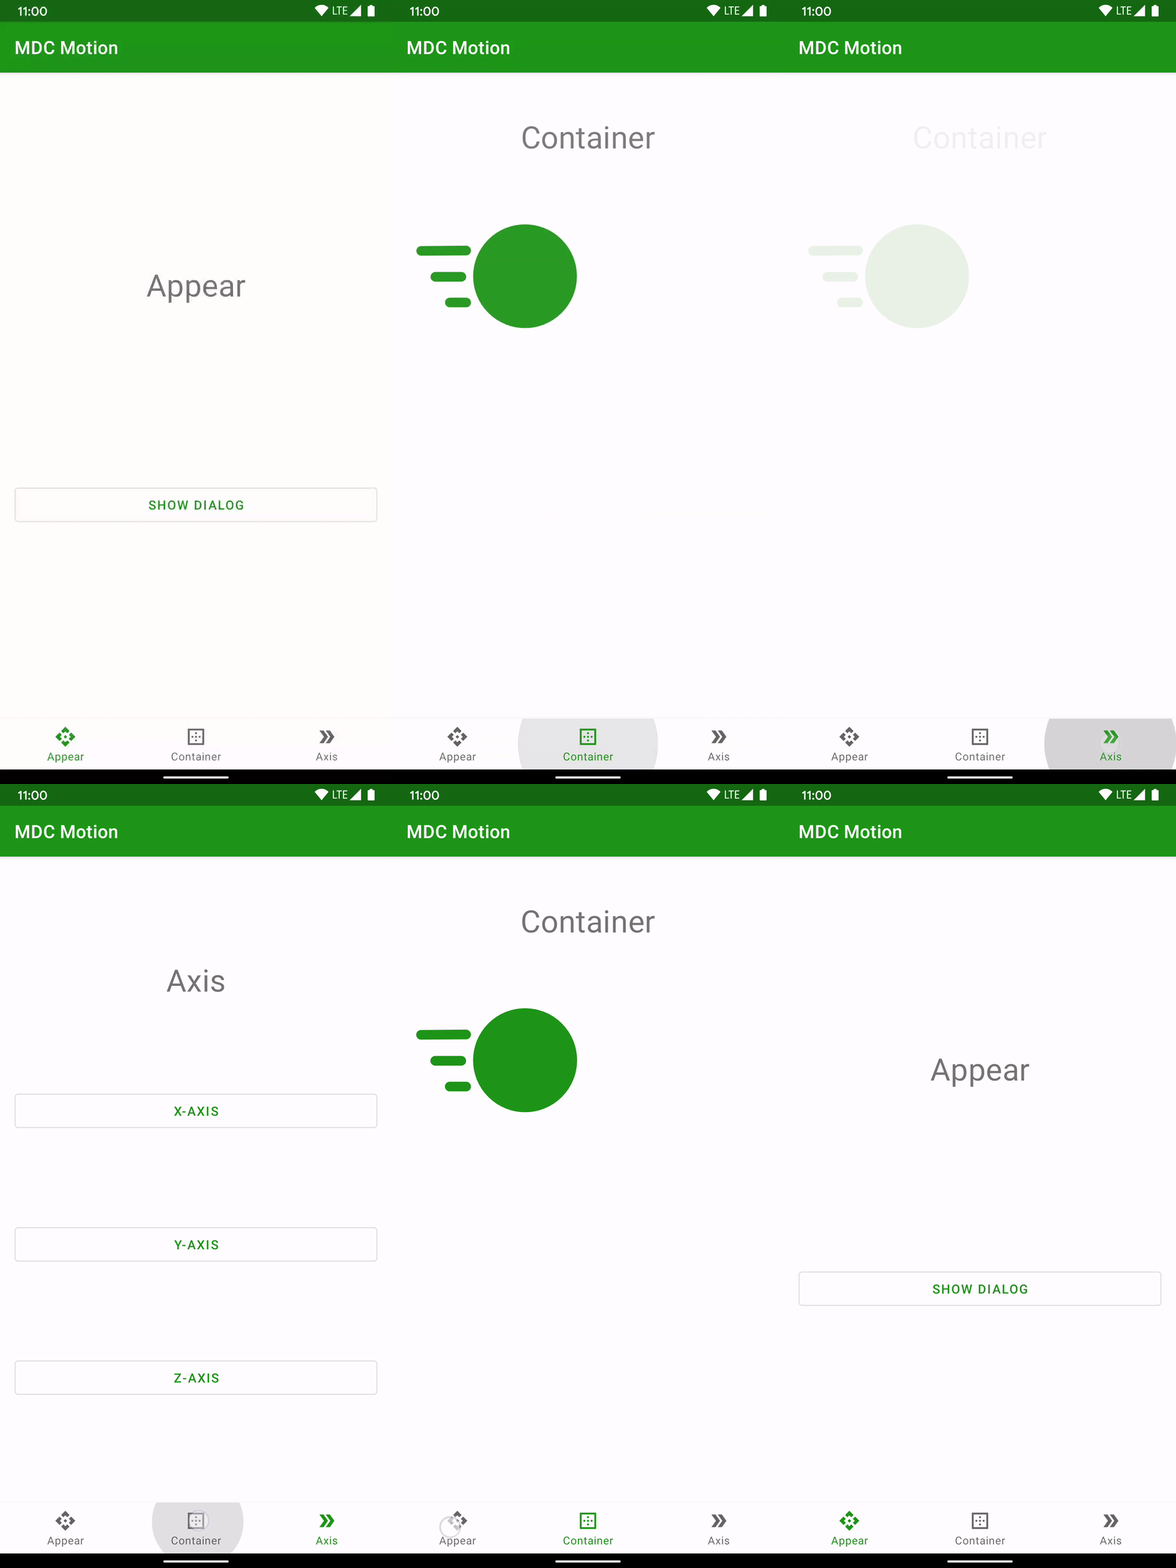
If we run this we can see that switching between tabs simply jumps between them without any transitions:

Add Fade Through
Adding the fade through transitions are incredibly easy. In each Fragment we define both enterTransition and exitTransition as MaterialFadeThrough():
@AndroidEntryPoint
class AppearFragment : Fragment() {

    private lateinit var binding: FragmentAppearBinding

    override fun onCreate(savedInstanceState: Bundle?) {
        super.onCreate(savedInstanceState)

        enterTransition = MaterialFadeThrough()
        exitTransition = MaterialFadeThrough()
    }

    override fun onCreateView(
        inflater: LayoutInflater,
        container: ViewGroup?,
        savedInstanceState: Bundle?
    ): View? {
        binding = FragmentAppearBinding.inflate(inflater, container, false)
        return binding.root
    }
}
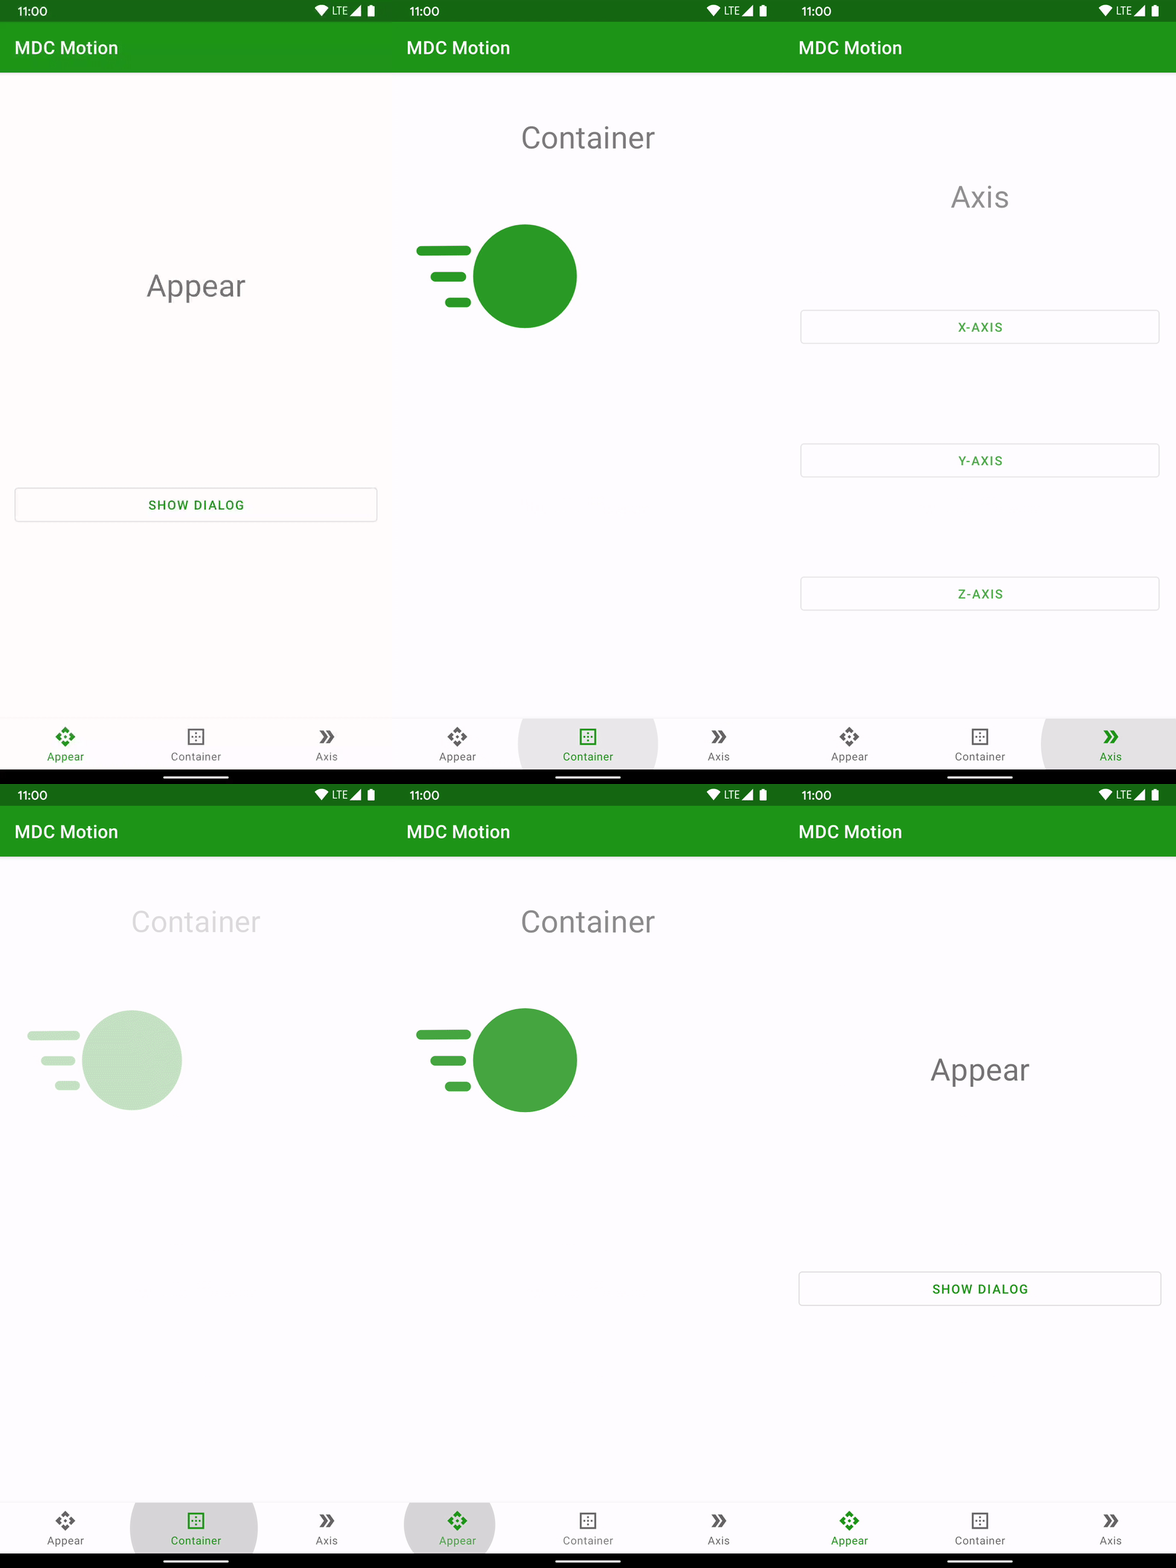
It really is that simple. Whenever the user navigates between fragments the fade through transition will be applied:

The transition is actually pretty subtle, and isn’t that clear in a GIF. However, if we slow the animations down we can see it a little clearer:

Conclusion
Although this is a rather subtle transition it is still very aesthetically pleasing. Most users will not even notice it, but it gives a nice fluidity to changing tabs which is otherwise lacking. Once you have your BottomNavigationView wired up using the Navigation library, it is really trivial to add these transition. For that reason, I think that it’s a complete no-brainer to use this transition with BottomNavigationView.
The source code for this article is available here.
© 2020 – 2021, Mark Allison. All rights reserved.
Copyright © 2020 Styling Android. All Rights Reserved.
Information about how to reuse or republish this work may be available at http://blog.stylingandroid.com/license-information.

