
In August 2015 Google published a new support library along with the Marshmallow Developer Preview 3 named Percent which provides an alternative to using weights in LinearLayout to divide space within your layouts. In this short series we’ll take a look at this new library, explore how to implement it, and also look at some potential pitfalls.
Before we dive in it’s probably worth considering why the Percent library is actually needed because LinearLayout weights will already do what we need, won’t they? As powerful and useful as LinearLayout weights are, there are actually a couple of issues with them.
Firstly there are times where a particular layout requires us to divide space between components proportionally, but the parent layout is not a LinearLayout. For example, some of the components of the layout need to be positioned relative to other components, but others need to be positioned proportionally. In such cases the only real way of achieving what we need is to include a LinearLayout within a parent RelativeLayout. Having too deep a layout hierarchy is bad for performance so it always feels a little inefficient having to use two layouts in this case.
Secondly there is the issue of nested weights. Any View within a LinearLayout which has a weight will need to be measured twice – first to determine it’s intrinsic width so that the LinearLayout can calculate how much space it has to divide up once the intrinsic sizes have been accounted for; and then again once the LinearLayout has allocated it additional space based upon the weight. Nesting LinearLayouts which are weighted along the same axis will increase these measurement passes exponentially for each level of nesting. Once again this is bad for performance.
The Percent library addresses the first of these issues by providing two new layout types: PercentRelativeLayout and PercentFrameLayout. The fundamental behaviours of these are identical to RelativeLayout and FrameLayout respectively, but add some additional LayoutParams for proportional width and margin calculation. So this addresses the first of the weighted LinearLayout issues as proportional positioning is extended to RelativeLayout and FrameLayout by this library.
From looking at the Percent classes using the decompiler built in to Android Studio (the source has not been pushed to AOSP at the time of writing) it appears that it may still require a second measurement in certain circumstances, but it appears a little more selective than LinearLayout. So while it would probably still be good practice to avoid nesting Percent layouts (keeping your layout hierarchy as flat as possible is good practise anyway) the overhead should not be as high.
So, let’s take a look at how to implement PercentRelativeLayout (I have elected to focus solely on PercentRelativeLayout as it’s a little more flexible and allows us to better explore things, but the principles apply equally well to PercentFrameLayout).
First we need to include the percent support library:
apply plugin: 'com.android.application'

android {
    compileSdkVersion 23
    buildToolsVersion "23.0.0"

    defaultConfig {
        applicationId "com.stylingandroid.percent"
        minSdkVersion 7
        targetSdkVersion 23
        versionCode 1
        versionName "1.0"
    }
    buildTypes {
        release {
            minifyEnabled false
            proguardFiles getDefaultProguardFile('proguard-android.txt'), 'proguard-rules.pro'
        }
    }
}

dependencies {
    compile 'com.android.support:support-annotations:23.0.0'
    compile 'com.android.support:appcompat-v7:23.0.0'
    compile 'com.android.support:design:23.0.0'
    compile 'com.android.support:percent:23.0.0'
}
Now it’s just a case of using it within our layout:
<android.support.percent.PercentRelativeLayout
  xmlns:android="http://schemas.android.com/apk/res/android"
  xmlns:app="http://schemas.android.com/apk/res-auto"
  xmlns:tools="http://schemas.android.com/tools"
  android:layout_width="match_parent"
  android:layout_height="match_parent"
  tools:context=".MainActivity">

  <View
    android:id="@+id/first"
    android:background="@color/sa_green_dark"
    app:layout_heightPercent="50%"
    app:layout_marginLeftPercent="25%"
    app:layout_marginTopPercent="25%"
    app:layout_widthPercent="50%" />

  <View
    android:layout_width="0dp"
    android:layout_height="32dp"
    android:layout_alignLeft="@id/first"
    android:layout_alignStart="@id/first"
    android:layout_alignRight="@id/first"
    android:layout_alignEnd="@id/first"
    android:layout_below="@id/first"
    android:layout_marginTop="8dp"
    android:background="@color/light_grey" />

</android.support.percent.PercentRelativeLayout>
The first thing to note is that, because this is a support library, the layout parameters specific to PercentRelativeLayout exist within the app namespace and not the android one.
Proportional sizing is done using the heightPercent and widthPercent attributes each of which take a percentage value which corresponds to a percentage of the size of the PercentRelativeLayout. Being an extension of RelativeLayout it’s entirely possible to overlap items, and there is no reason why you need be concerned about the overall maxWeight as you are with weighted LinearLayouts. It is worth noting that layout_[width|height] are not required here as they will automatically be added during the layout pass. However, Android Studio (V1.4 preview 3 at the time of writing) does not know this so gives you a warning – the code compiles and runs despite the warning.
Percentages can also be used for margins and the layout parameters for these are entirely analogous to the standard margin attributes. The only difference is that they take a percentage rather than a dip value. We could remove these altogether and simply rely on using the standard RelativeLayout layout_center* attributes, but I’ve chosen to use them here to demonstrate how we can offset items based upon percentage values. It is worth mentioning that only a top and left margin need to be defined here because the right and bottom margins are implicit – 50% size plus a 25% margin on one results in a corresponding 25% margin on the other side. There is one potential pitfall with this which we’ll explore in the next article.
A final thing worth pointing out is the second View in the layout – this does not directly use any proportional sizing, but inherits it from the positioning and sizing relative to @id/first. This demonstrates that having the proportional sizing and positioning available directly within RelativeLayout adds much more control and flexibility.
If we run this we see the following:
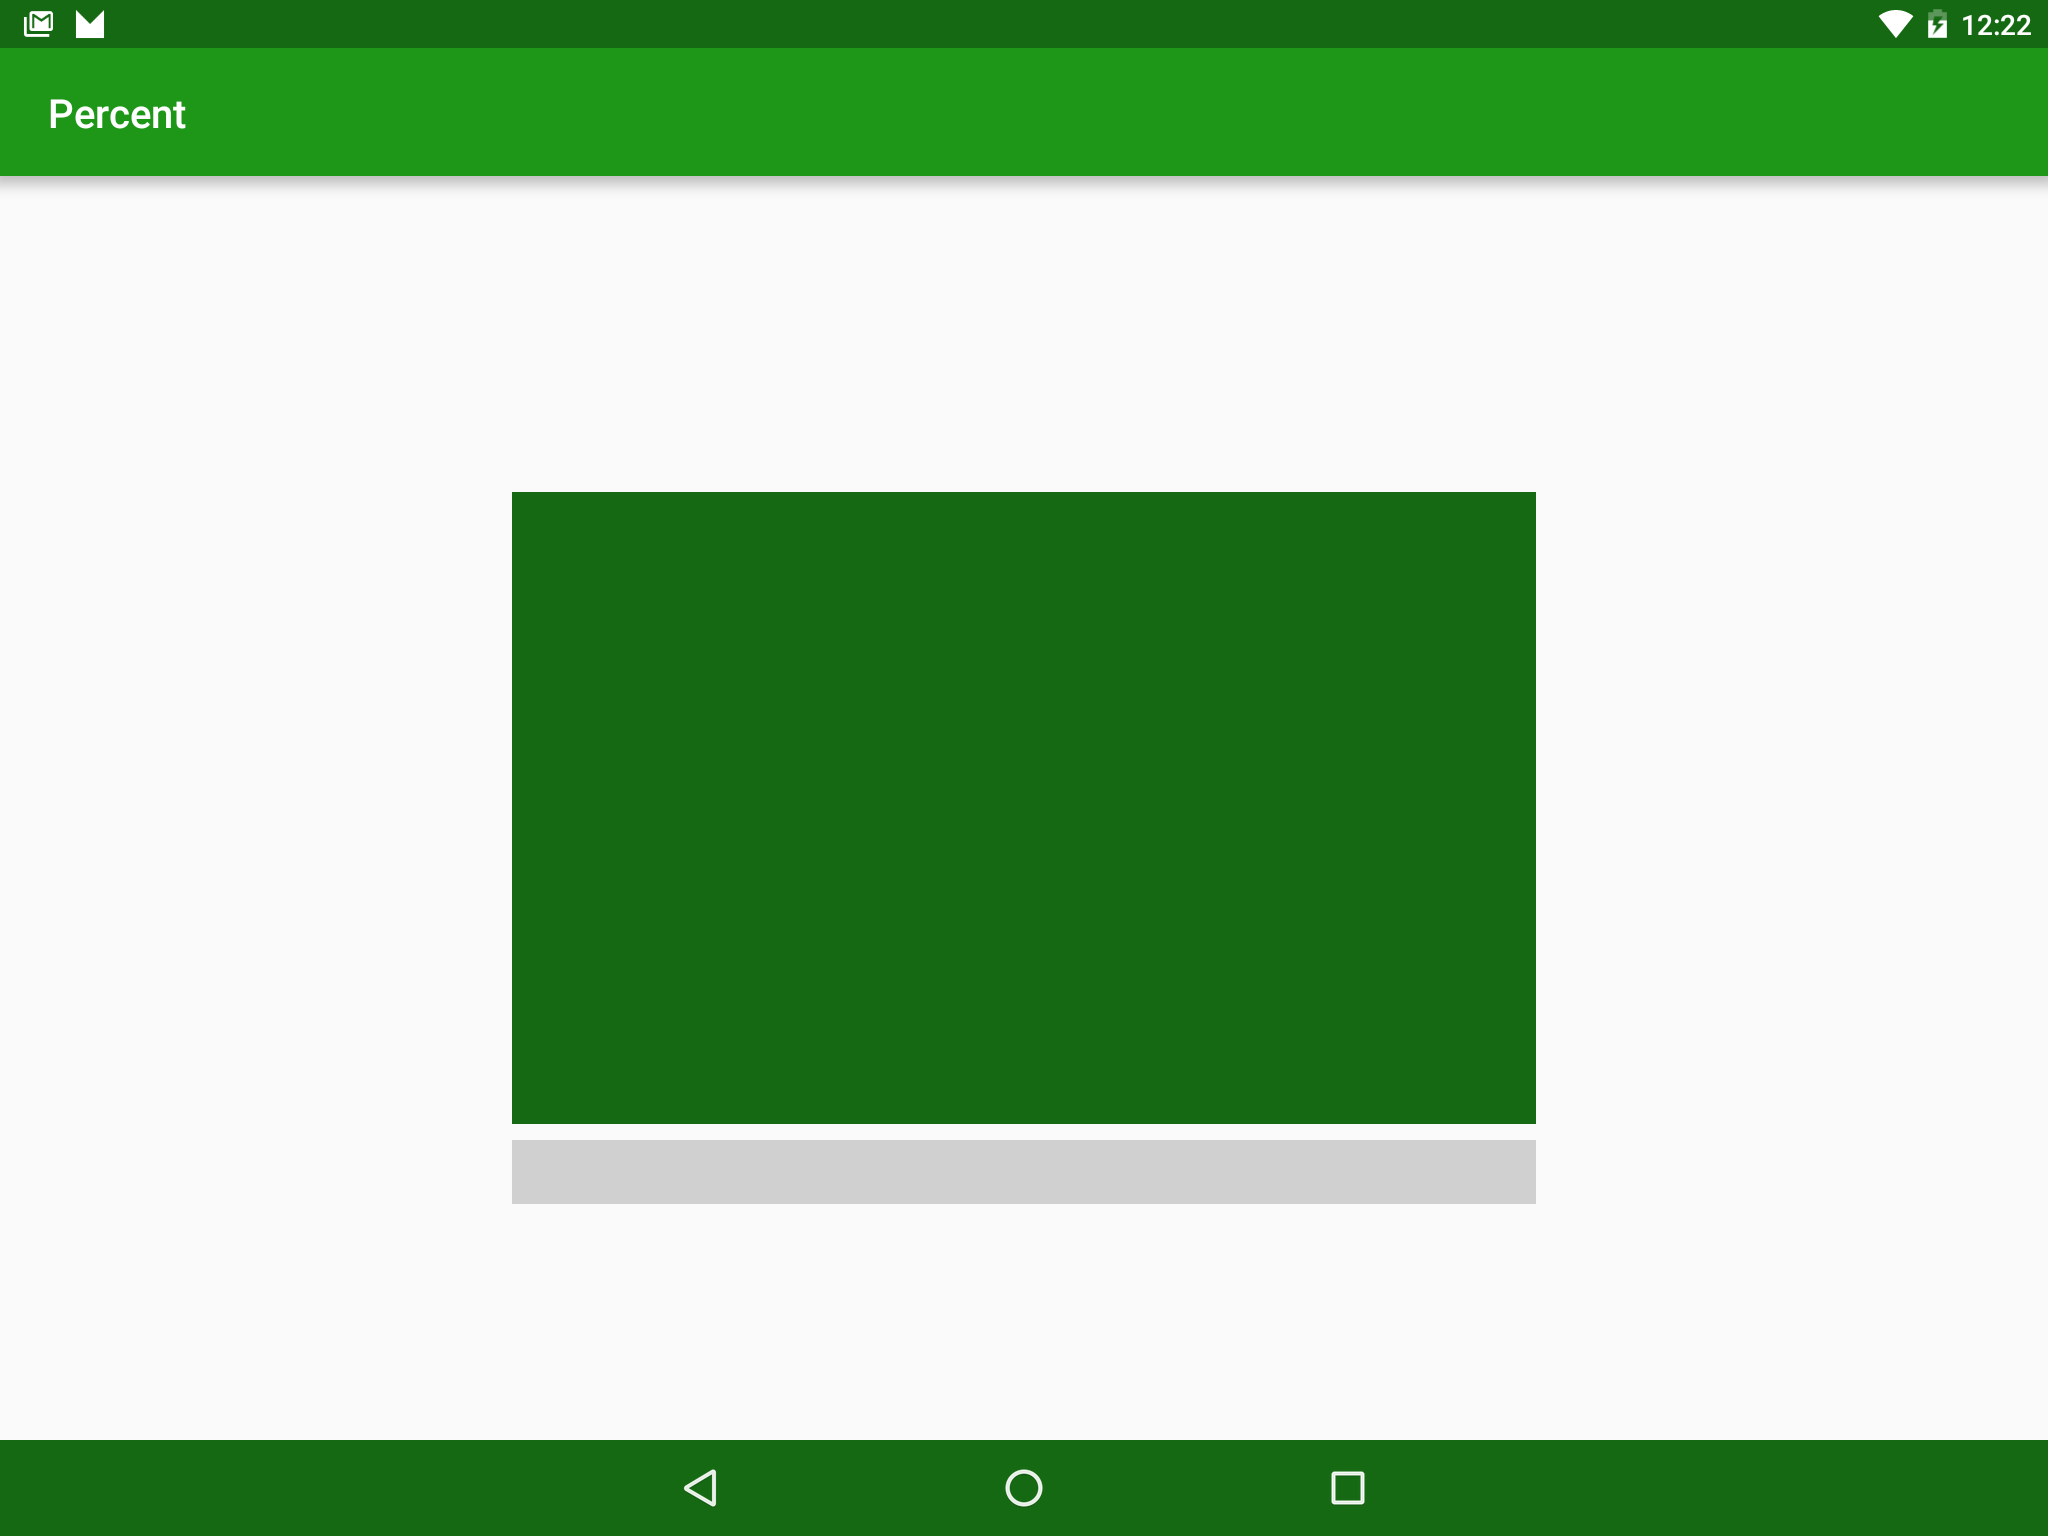
In the next article we’ll explore a little further and look at the potential pitfall that was mentioned earlier.
The source code for this article is available here.
© 2015, Mark Allison. All rights reserved.
Copyright © 2015 Styling Android. All Rights Reserved.
Information about how to reuse or republish this work may be available at http://blog.stylingandroid.com/license-information.
