
Previously in this series we’ve looked at different kinds of Adapters, and in two separate separate series on Styling Android (ViewPager and ViewPager Redux) we’ve looked at ViewPagers. In this article we’re going to look at the common factor of both of these: PagerAdapters.
A PagerAdapter is responsible for creating the content for each page within a ViewPager. It takes two main forms: When creating or inflating a standard View hierarchy the standard PagerAdapter is used, but when each page is a Fragment we can use FragmentPagerAdapter instead. Let’s start with the former:
private static String[] titles = new String[]
{
	"Page 1", "Page 2", "Page 3", "Page 4", "Page 5"
};

private class MyPagerAdapter extends PagerAdapter
{
	@Override
	public int getCount()
	{
		return titles.length;
	}

	@Override
	public boolean isViewFromObject(View view,
		Object object)
	{
		return view.equals(object);
	}

	@Override
	public Object instantiateItem(ViewGroup container,
		int position)
	{
		TextView text = new TextView(getActivity());
		text.setText(titles[position]);
		container.addView(text);
		return text;
		}

	@Override
	public void destroyItem(ViewGroup container,
		int position, Object object)
	{
		if (object instanceof View)
		{
			container.removeView((View) object);
		}
	}

	@Override
	public CharSequence getPageTitle(int position)
	{
		return titles[position];
	}
}
This is pretty much as simple as we can get it. The view that is created is a simple TextView and we set the text to the value of the appropriate string from the titles array. In the instantiateItem() method we could, just as easily, use a LayoutInflator to inflate a layout from XML and then find the controls to bind to. We could also create or inflate different layouts depending on the position. But the basic principle in that getCount() returns the number of pages to display, instantiateItem() gets called to create the individual layouts, destroyItem() gets called to remove the layouts, and getPageTitle() returns the title to use in a PagerTabStrip or PagerTitleStrip (for more information on PagerTabString see this article).
To create Fragment instead of a View hierarchy, we first need to create a Fragment class:
public static class MyFragment extends Fragment
{
	private static final String TAG = "MyFragment";
	public MyFragment()
	{
		super();
	}

	@Override
	public View onCreateView(LayoutInflater inflater,
		ViewGroup container,
		Bundle savedInstanceState)
	{
		View view = inflater.inflate(R.layout.page,
			container, false);
		View text = view.findViewById(android.R.id.text1);
		if(text != null && text instanceof TextView)
		{
			((TextView)text).setText(
				titles[getArguments().getInt("position")]);
			}
		return view;
	}

	@Override
	public void onAttach(Activity activity)
	{
		super.onAttach(activity);
		Log.d(TAG, "Attached " +
			getArguments().getInt("position"));
	}

	@Override
	public void onDetach()
	{
		Log.d(TAG, "Detached " +
			getArguments().getInt("position"));
		super.onDetach();
	}
}
Our Fragment class, MyFragment, creates a layout identical to the one used in the previous example, only in this case it inflates it from XML instead of creating the View objects programatically. Either approach is fine, just chose whichever suits the task that you’re trying to perform best – I’ve simply included both forms here to show that it can be done. The overrides of the onAttach() and onDetach() methods simply add a little logging to show when the instances of this class become attached and detached from an Activity (the reasons for adding this will become obvious later on).
The Adapter itself is actually simpler than the previous PagerAdapter example because we don’t need to worry about the destroyItem() method this time:
private class MyFragmentPagerAdapter
	extends FragmentPagerAdapter
{
	public MyFragmentPagerAdapter(FragmentManager fm)
	{
		super(fm);
	}

	@Override
	public Fragment getItem(int position)
	{
		Bundle args = new Bundle();
		args.putInt("position", position);
		return Fragment.instantiate(getActivity(),
			MyFragment.class.getName(), args);
	}

	@Override
	public int getCount()
	{
		return titles.length;
	}

	@Override
	public CharSequence getPageTitle(int position)
	{
		return titles[position];
	}
}
The important thing to remember here is that we can actually instantiate different kinds of Fragment for different positions. It is the role of the Adapter to create the correct instance for each position. This implementation is actually much cleaner than the first example because it clearly splits the responsibilities in to different objects. The Fragment instance represents the view for an individual page, and the Adapter is responsible for creating the separate instances.
There is one further thing that is important, although I stated that there were two types of PagerAdapter, there are actually three because there are two variants of FragmentPagerAdapter: FragmentPagerAdapter (as we have used here) and FragmentStatePagerAdapter. The difference between the two is that FragmentPagerAdpater will create views and hold them in memory for the lifecycle of the Adapter, whereas FragmentStatePagerAdapter can destroy individual Fragments when they are not visible. This makes FragmentPagerAdapter suitable when you have a small number of static page Fragments that aren’t particularly memory hungry; but FragmentStatePagerAdapter is better if you have a large number of pages, or some or all of the individual page Fragments are particularly memory hungry.
You can actually switch between the two by simply changing the base class that MyFragmentPagerAdapter subclasses. If you try this and check the logs, you’ll see that when using FragmentPagerAdapter, each of the views gets attached to the Activity once when it is first viewed, but they all remain attached no matter how much you page between the different pages in the ViewPager. On the other hand if you switch to FragmentStatePagerAdapter you’ll see that each time you switch pages, views will become attached to the Activity while others become detached.
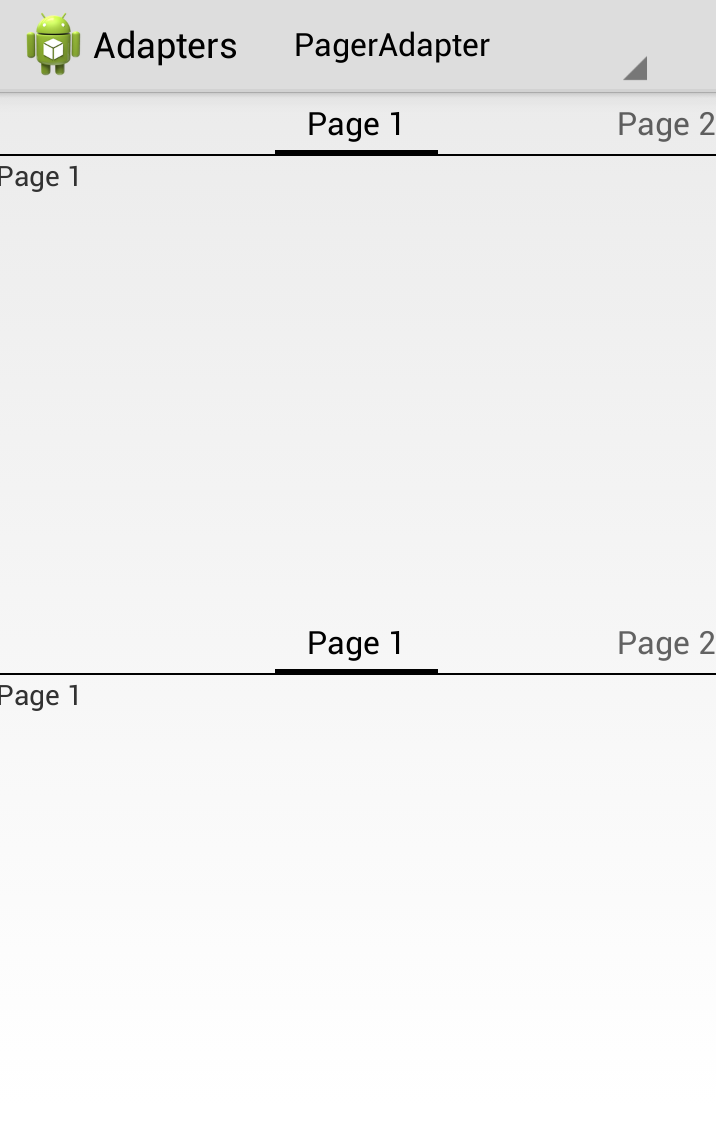
If we run this, we can see two ViewPagers which look and behave identically, but have rather different implementations:
That brings us to the end of this series on Adapters. PagerAdapters are somewhat different to the other types of Adapter that we’ve looked at in this series, but many of the underlying principles are the same. Getting our Adapters right is an important part of getting our UI to behave in a smooth manner, and therefore improving the overall user experience.
The source code for this article is available here.
© 2013 – 2014, Mark Allison. All rights reserved.
Copyright © 2013 Styling Android. All Rights Reserved.
Information about how to reuse or republish this work may be available at http://blog.stylingandroid.com/license-information.
