
Back in August 2012, the first article in a series of 12 was posted to Styling Android which provided an in-depth look at the ActionBar. It had been rumoured for a while before I/O 2013 that Google were working on a compatibility library for ActionBar, and this was duly announced at I/O. In this series of articles we’ll look at back-porting the code from the previous ActionBar series to use the new compatibility library.
Before we get stuck in, it is worth mentioning that, as I write, I have had the rather bittersweet experience of replacing ActionBarSherlock with ActionBarCompat. I use the term “bittersweet” purely as an emotional response because ActionBarSherlock has been an invaluable library for many developers over the last few years, so a tip of the hat to Jake Wharton for creating such an amazing library is definitely in order, here.
The first thing that I want to do is convert the existing project to use a Gradle build. For those that haven’t been following the recent series on Gradle, using AAR for Android Library projects makes ife so much easier. Those that wish to stick with the older build system, will need to import the appcompat-v7 library as detailed here.
Our build.gradle looks like this:
buildscript {
    repositories {
        mavenCentral()
    }
    dependencies {
        classpath 'com.android.tools.build:gradle:0.5.+'
    }
}
apply plugin: 'android'

dependencies {
    compile 'com.android.support:appcompat-v7:18.0.0'
}


android {
    compileSdkVersion 18
    buildToolsVersion "18.0.0"

    defaultConfig {
        minSdkVersion 7
        targetSdkVersion 18
    }

    sourceSets {
    	main {
	    	manifest.srcFile 'AndroidManifest.xml'
	    	java.srcDirs = ['src']
	    	res.srcDirs = ['res']
	    	assets.srcDirs = ['assets']
    	}
    }
}
We’re importing the ActionBarCompat library in the highlighted line. I’m not going to explain the rest of this file, as it is all covered in the Gradle Build series.
We can now import this project in to Android Studio.
One difference that we have configured here is that minSdkVersion is set to 7, whereas in Manifest is set to 11. When we perform the build, a new Manifest gets generated based upon the existing one, but minSdkVersion will be overridden with the one specified in build.gradle. You can see this generated manifest in build/manifests/*/AndroidManifest.xml.
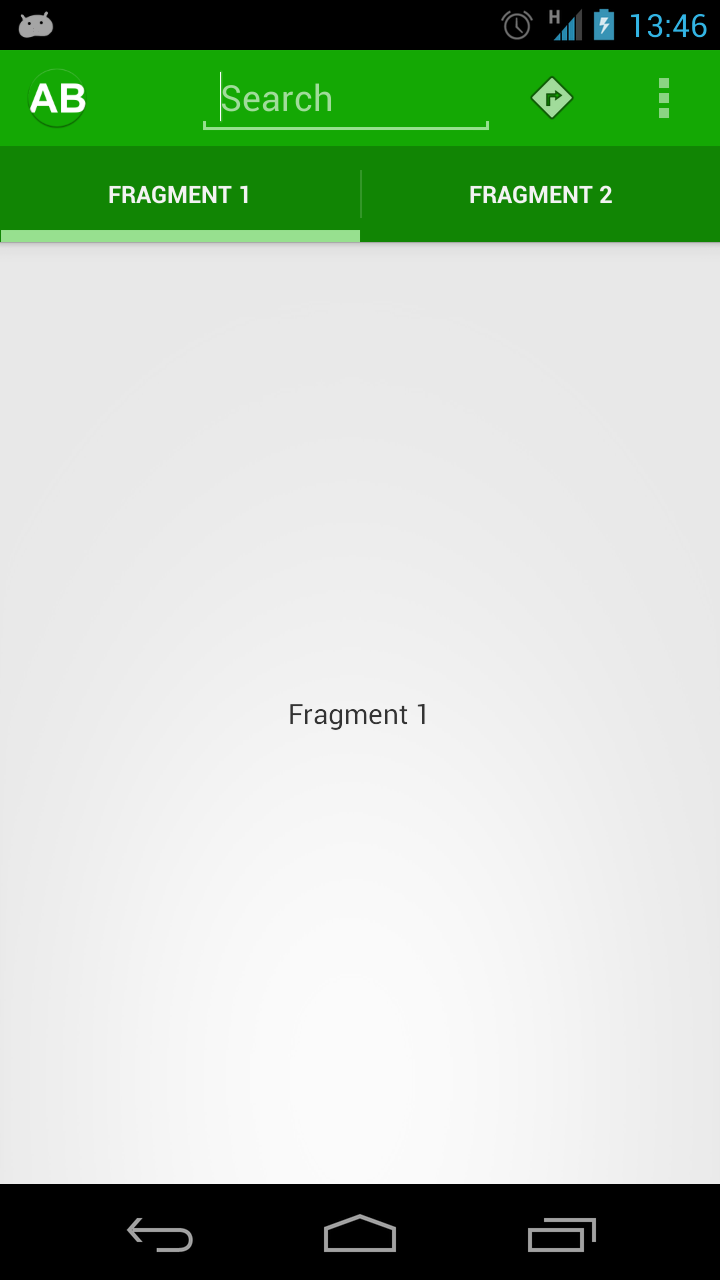
We can now build this successfully, and it works perfectly on an API 11 or higher device:
However, if we try it on an API 7 device, it fails to start with a number of errors thrown to logcat. This is hardly surprising because all we’ve actually done so far is change minSdkVersion so that it will install on that device, and included the appcompat-v7 library – we haven’t actually wire it up, yet.
One of the major issues that is causing these errors is that the main theme that we’re using within our ActionBar app is based upon Theme.Holo.Light.DarkActionBar, but this was not introduced until API 14, so we’ll need to alter our styling. In the next article we’ll look at that.
Apologies that there isn’t a working project at this stage. Usually on Styling Android, we like to finish each article with some working code even if it is not complete. However in this case we have a bit more work to do to get to a working project.
The source code for this article can be found here.
© 2013 – 2014, Mark Allison. All rights reserved.
Copyright © 2013 Styling Android. All Rights Reserved.
Information about how to reuse or republish this work may be available at http://blog.stylingandroid.com/license-information.
