Previously in this series we’ve look at the ActionBar and how we can define simple actions and navigation. In this article we’ll look at what we can do when our requirements are a little more complicated.
Let’s pick up from where we left the last article with dropdown navigation. Suppose we wanted to have a second Spinner which could be used, for example, to allow the user to apply different sorting options to a set of search results. We can achieve this quite easily because we can define custom views to be used on our menu item. Let’s create a new item in res/menu/main.xml:
[xml][/xml]
The final line specifies that a Spinner should be used instead of the default Button that we saw earlier in this series.
Next we’ll add a string array to populate the Spinner with in res/values/strings.xml:
[xml][/xml]
Now in our Activity we can find the MenuItem representing the Spinner in the onCreateOptionsMenu() method:
[java] private MenuItem mSpinnerItem = false;.
.
.
@Override
public boolean onCreateOptionsMenu( Menu menu )
{
getMenuInflater().inflate( R.menu.main, menu );
mSpinnerItem = menu.findItem( R.id.menu_spinner );
return true;
}
[/java]
We can manipulate this MenuItem if we want to change the visibility or enabled state of the MenuItem at runtime, but we can also get to the Spinner view that we specified earlier:
[java] View view = mSpinnerItem.getActionView();if (view instanceof Spinner)
{
Spinner spinner = (Spinner) view;
spinner.setAdapter( ArrayAdapter.createFromResource( this,
R.array.spinner_data,
android.R.layout.simple_spinner_dropdown_item ) );
}
[/java]
We simply set a SpinnerAdapter on the control and we’re good to go. In a real-world app you’d probably want to set an OnItemSelectedListener but we’ll skip that.
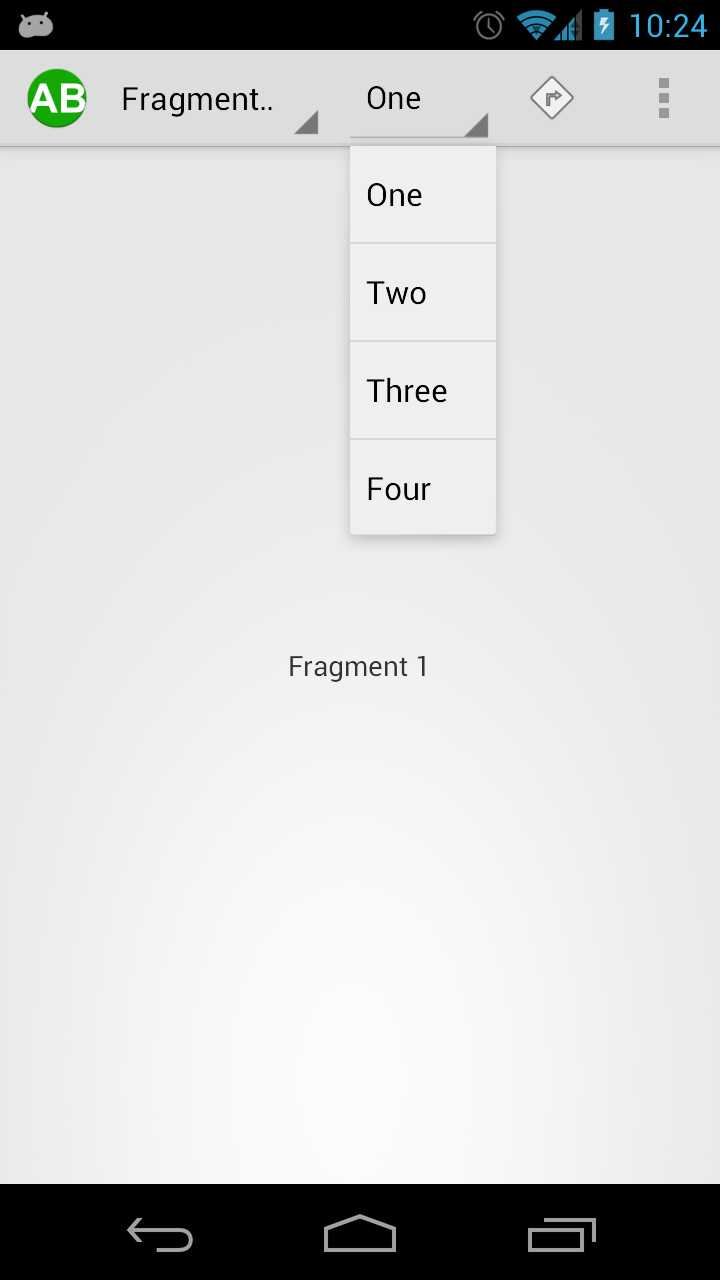
If we run this it looks pretty good:

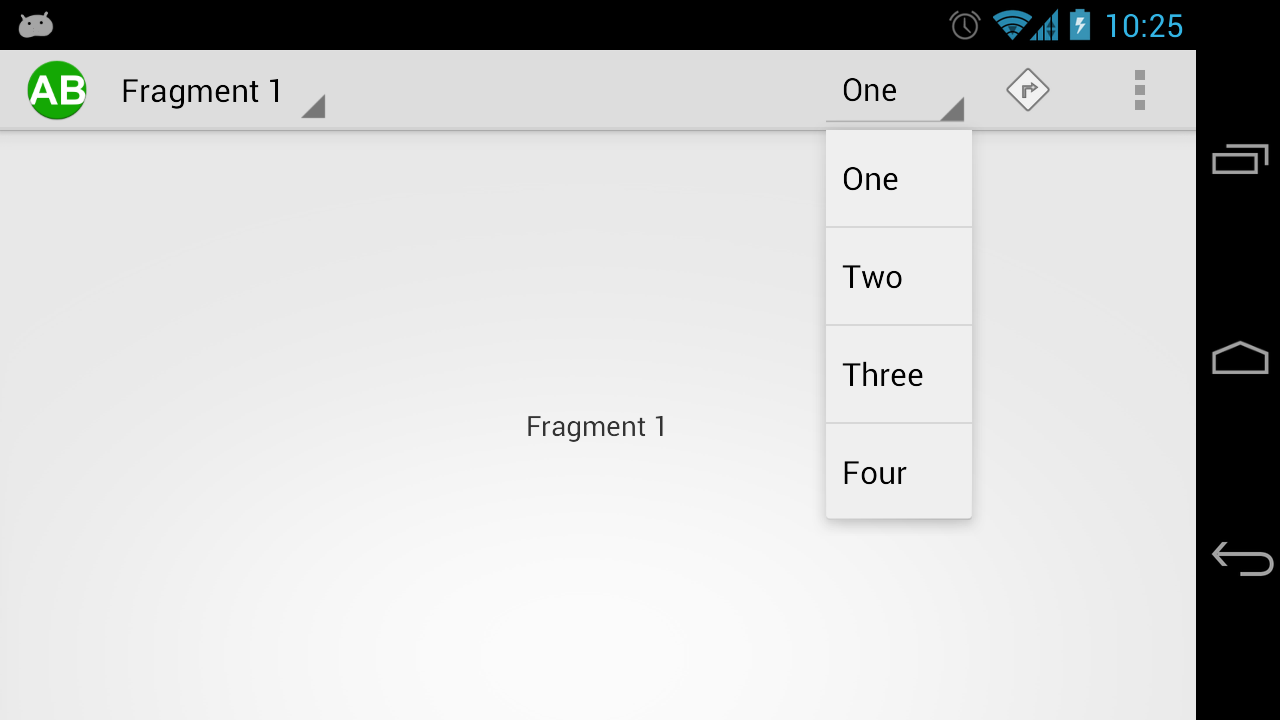
Aside from things not quite fitting which causes the text in the first spinner to be truncated, things look good. If we rotate the device, you’ll notice that spinners are aligned to opposite sides of the ActionBar:

The reason for this is that the Logo (Up / Home button), Title, and navigation are aligned to the left hand side of the ActionBar, but the menus themselves are aligned to the right. This is to try and maximise the space utilisation by building inward from the edges. Once space is used up, menu items with android:showAsAction="ifRoom" set will be put in to the overflow menu, and a split menu bar will be employed.
This also emphasises one point that Juhani Lehtimäki makes in his recent article on Android Tabs. Navigation is organised to the left, and actions to the right. If you ensure that you follow this rule when designing your ActionBar, you will stay consistent with Android best practise.
In my example I have used a Spinner control because it will highlight an interesting point when we come to look at how we can style the ActionBar. You can actually use any control that you like such as TextView, EditText, Button, etc. You can even use your own custom controls, which really provides a huge amount of scope for what is possible in the ActionBar.
In the next article we’ll look at yet another way that we can customise our ActionBar.
The source code for this article can be found here.
© 2012, Mark Allison. All rights reserved.
Copyright © 2012 Styling Android. All Rights Reserved.
Information about how to reuse or republish this work may be available at http://blog.stylingandroid.com/license-information.


Is there any way to add icons to the spinner menu ??
For simplicity the example code uses a SimpleAdapter to populate the Spinner. If you want to use a custom layout you can either do this through SimpleAdapter or you can use a custom Adapter instead in much the same way as you would with a ListView.
This was very helpful to me, but my specific need is just to display a drop down with some status information inside. I didn’t have any trouble setting up the Spinner and Array Adapter items, but I was wondering if there was a way to force the text display in the Action Bar to be a specific label, rather than the currently selected spinner item??
Probably your best bet is to define an Action Layout to contain what you want to display within the ActionBar (custom Action Layouts are covered in http://blog.stylingandroid.com/archives/1203), and then implement a PopupMenu (http://developer.android.com/reference/android/widget/PopupMenu.html) to display whatever you want in your drop down.