
In this series we’re going to build an app to view the Mandelbrot set. While this is not necessarily something that is likely to be of direct use to the majority of app developers (except for those that have a desire to develop their own Mandelbrot set viewing apps), there are some techniques that we’ll explore along the way that most certainly will be of relevance to many.
Previously we looked at how we can render the Mandelbrot set using Renderscript. However there’s still work that we need to do in order to get the images that we’re generating to display on an Android device. But by the end of this post we’ll be doing precisely that.
Renderscript is a compute engine which runs on the GPU and is well suited to graphics rendering. A GPU typically consists of a number of ‘cores’ each of which is specifically tailored to performing floating point calculations. Each of these cores is known as a Arithmetic Logic Unit (or ALU) and the Pixel 3 XL has an Adreno 630 GPU which has 256 ALUs. So it enable us to calculate the values of 256 pixels in parallel. The script that we looked at previously will execute the kernel separately for each pixel on a single ALU. Executing this from Android is actually fairly straightforward, but we need to marshall the graphics data between the Android and Renderscript contexts.
The class that we’ll use to bringe between Android and Renderscript is MandelbrotRenderer:
class MandelbrotRenderer(
    context: Context,
    private val renderScript: RenderScript = RenderScript.create(context),
    private val script: ScriptC_Mandelbrot = ScriptC_Mandelbrot(renderScript)
) {

    private var allocation: Allocation? = null
    private var bitmap: Bitmap? = null

    fun setSize(width: Int, height: Int): Bitmap =
        Bitmap.createBitmap(width, height, Bitmap.Config.ARGB_8888).also {
            bitmap?.recycle()
            bitmap = it
            allocation?.destroy()
            allocation = Allocation.createFromBitmap(
                renderScript,
                bitmap,
                Allocation.MipmapControl.MIPMAP_NONE,
                Allocation.USAGE_SCRIPT
            )
        }

    fun render(): Bitmap? =
        bitmap?.run {
            val start = System.currentTimeMillis()
            script.invoke_mandelbrot(
                script,
                allocation,
                ITERATIONS
            )
            allocation?.copyTo(this)
            println("Generation complete in ${System.currentTimeMillis() - start}ms")
            bitmap
        }

    fun destroy() {
        allocation?.destroy()
        script.destroy()
        renderScript.destroy()
    }
}

private const val ITERATIONS = 180
The constructor requires a single Context from which it creates the Renderscript context which we’ll be using, and also a reference to the script itself. When the Mandelbrot.rs file is compiled, some Java wrappers are created and ScriptC_Mandelbrot is the Java wrapper that we need to use to interface with the script itself from Java or Kotlin.
There are two other fields: A Bitmap which most Android developers should be familiar with, and an Allocation which is probably less familiar. An Allocation is block of memory that can be passed to and from Renderscript kernels. So we create a Bitmap, and use the Allocation to transfer data to and from the Renderscript kernel.
The setSize method will be called whenever the size of the ImageView (which will display the Mandelbrot set image) changes. It re-creates the Bitmap to match the new dimensions of the ImageView and then creates a corresponding Allocation after first cleaning up any existing instances of these objects.
The render() method will be called each time we wish to render the Mandelbrot set. It will only do anything if the Bitmap object is non null, so this can only be called after setSize() has been called otherwise it does nothing. It invokes the script itself which performs the rendering in to the Allocation, and then it copies the data from the Allocation in to the Bitmap, which gets returned.
Finally there is a destroy() method which cleans up the Allocation and ScriptC_Mandelbrot instances. I haven’t bothered calling recycle() on the Bitmap here because that will get cleaned up once the ImageView that it is associated with is destroyed.
It is quite important to reuse the ScriptC_Mandelbrot, Allocation, and RenderScript instances because they are relatively expensive to set up and tear down. We’ll achieve much better performance by reusing them wherever possible. Of course, the Allocation will change if the size of the ImageView changes, and that use-case is handled by the setSize() method.
Although the Renderscript kernel itself runs on the GPU, the call to script.invoke_mandelbrot() will block the current thread, so it is a really bad idea to call this on the main thread. The class responsible for managing such heavy operations, and performing the correct instantiation and cleanup of the MandelbrotRenderer is MandelbrotLifecycleObserver:
class MandelbrotLifecycleObserver(
    context: Context,
    lifecycleOwner: LifecycleOwner,
    private val imageView: ImageView
) : CoroutineScope, LifecycleObserver {

    private val job = Job()
    override val coroutineContext: CoroutineContext
        get() = job + Dispatchers.Main

    private val renderer: MandelbrotRenderer by lazy(LazyThreadSafetyMode.NONE) {
        MandelbrotRenderer(context)
    }

    init {
        lifecycleOwner.lifecycle.addObserver(this)
        imageView.addOnLayoutChangeListener { _, l, t, r, b, lOld, tOld, rOld, bOld ->
            if (r - l != rOld - lOld || b - t != bOld - tOld) {
                renderer.setSize(r - l, b - t)
                generateImage()
            }
        }
    }

    private fun generateImage() = launch {
        imageView.setImageBitmap(withContext(Dispatchers.Default) {
            renderer.render()
        })
    }

    @OnLifecycleEvent(Lifecycle.Event.ON_DESTROY)
    @Suppress("Unused")
    fun onDestroy() {
        job.cancel()
        renderer.destroy()
    }
}
This implements both LifecycleObserver so that it can respond to changes to the lifecycle of (in this case) an Activity; and also CoroutineScope so that we can use coroutines to perform the heavy operations off of the main thread.
The majority of this class is actually initialisation, with the coroutineContext (which we must override because we implement CoroutineScope, and we also have lazy initialisation of the MandelbrotRenderer instance. This is quite a heavy object to instantiate because it implicitly creates the Renderscript context. It is a one-off operation that happens each time the Activity is created, and I haven’t experienced any issues with doing this on the main thread. However, it is worth bearing in mind because lazy loading like this may not work well for all cases.
The init block adds this object as an observer of the lifecycleOwner, and adds an onLayoutChangeListener to the ImageView which will call setSize() on the renderer whenever the size of the ImageView changes, and then renders the image to these new dimensions. This will get triggered during the layout inflation, so the image will get generated automatically during layout. This is actually where the lazily instantiated MandelbrotRenderer is created during layout inflation.
The generateImage() method will perform the rendering on a a background thread, and then call setImageBitmap() on the ImageView to the returned Bitmap.
The final method will be triggered by the lifecycleOwner being destroyed and will perform the necessary cleanup of our CoroutineContext, and MandelbrotRenderer instances.
The rest of the app is really pretty standard stuff. We have a very simple layout:
The MainActivity is also pretty simple because we have implemented all of the lifecycle logic in MandelbrotLifecycleObserver:
class MainActivity : AppCompatActivity() {

    override fun onCreate(savedInstanceState: Bundle?) {
        super.onCreate(savedInstanceState)
        setContentView(R.layout.activity_main)

        MandelbrotLifecycleObserver(this, this, mandlebrot_image)
    }
}
If we run that we get the following:
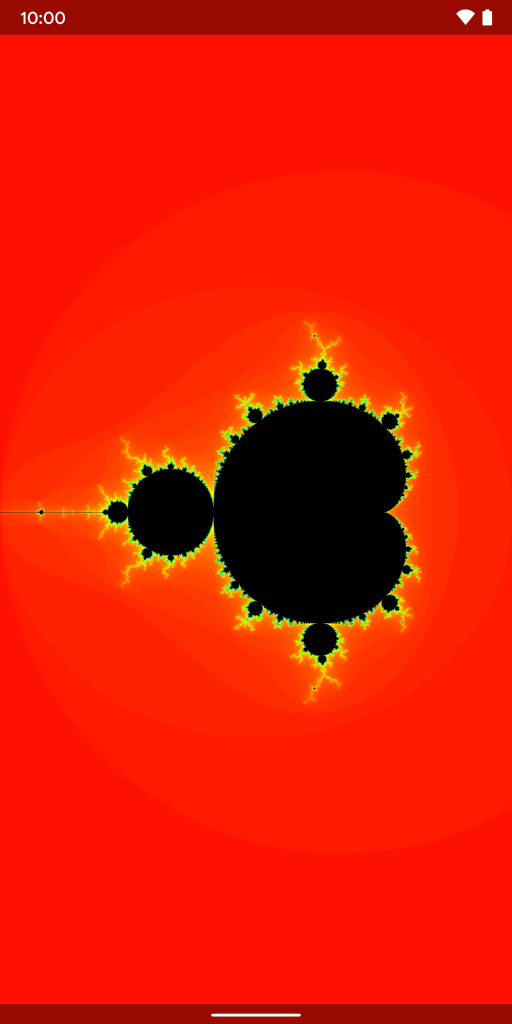
So we have displayed the basic Mandelbrot set, but why did we actually need to generate that image on the fly? It’s a static image and we could have generated it in advance and included it as a PNG or WEBP resource and just displayed that. The joy of the Mandelbrot set is actually being able to explore it and this static rendering does not permit that. Yet!
In the next article we’ll look at how we can add pan & zoom support so that the user can actually explore the Mandelbrot set. This would not be achievable using a static PNG or WEBP image (unless it was absolutely huge, or broken up in to lots of smaller images, or other such complex stuff), so the benefits of rendering this on the fly should become apparent. We’ll also explore how to easily implement pan & zoom functionality on Android.
The source code for this article is available here.
© 2019, Mark Allison. All rights reserved.
Copyright © 2019 Styling Android. All Rights Reserved.
Information about how to reuse or republish this work may be available at http://blog.stylingandroid.com/license-information.
