
Regular readers of Styling Android may already be aware that I am very much in favour of using a build server to speed up my builds. In the past, I have documented how I use Mainframer and Mirakle. I have a very meaty 6 core i9 8950HK with 32Gb RAM, and 512Gb SSD running a headless Debian 11 for my build server. Which is pretty quick! However, sometimes there are issues with the build artifacts not working. I’ve yet to fully understand why this happens. But my best guess is weird compatibility issues between Mirakle and the Android Gradle Plugin. However, there’s a new kid on the block which has been developed by JetBrains named Projector.
Both Mirakle and Mainframer work by running the build on the build server. Two rsyncs surround the build. The first syncs the latest changes to the project to the build server. The build server executes the build. Finally, the second rsync syncs the changes, including the build artifacts, back to the development machine. Android Studio is running on the development machine. When using Mirakle, AS is unaware this happens remotely.
Projector takes a very different approach. Rather than running Android Studio locally, and the build on the build server, it runs everything on the build server. Android Studio runs on the build server. The Android Studio UI is accessed using a web browser.
Installing Projector Server
Setting up Projector is pretty straightforward. The instructions for installing a Projector Server varies depending on your build server OS. But for Linux, the instructions here worked first time, for me. The CLI part of the Projector Server is, unsurprisingly, the projector command. You need to make sure that it is in your PATH – it makes life much easier later on. The installer should do this automatically, but you may need to initially do source ~/.profile to avoid logging out and back in again.
Being a JetBrains product, by default, it only runs JetBrains IDEs such as IntelliJ IDEA. That said, adding Android Studio, which is a fork of IDEA, is much more straightforward than I was expecting.
Installing Android Studio
First, download your preference of Canary, Beta, or Stable version of Android Studio for your build server OS from here. Next, unpack it to a folder of your choosing. But make a note of this folder – you’ll need it in a moment.
Next, we must add a configuration to the Projector Server:
projector config add as
The final argument is the name of the configuration that you’re adding. I chose “as” because it is quicker to type! You will now be presented with a series of questions:
Do you want to choose an IDE installed by Projector? If NO, at the next step you will have to enter a path to a locally installed IDE. [Y/n]
If you want to go with one of the pre-packaged JetBrains IDEs then you can answer “Yes” here, and select one from a list. However, we want to choose the Android Studio IDE that we just downloaded, so we must enter “No” here.
Enter the path to IDE (for complete):
This is where we need to enter the path where we unpacked Android Studio earlier. That’s the basic setup done. You can view the configuration:
$ projector config show as
Configuration: as
IDE path: /home/mark/AndroidStudio/android-studio
Projector port: 10001
Product info: Android Studio, version=dev build, build=203.7717.56.2031.7260174
$
The default port will be chosen automatically – in this case it is 10001. If you need to edit these settings, you can do that using projector config edit as. We can now run a Projector Server instance of this configuration:
$ projector run as
Configuration name: as
To access IDE, open in browser
	https://localhost:10001/
	https://127.0.0.1:10001/
	https://192.168.1.251:10001/

To see Projector logs in realtime run
	tail -f "/home/mark/.projector/configs/as/projector.log"

Exit IDE or press Ctrl+C to stop Projector.
With this running, we can access the Android Studio instance by pointing any browser to the appropriate port on the build server:
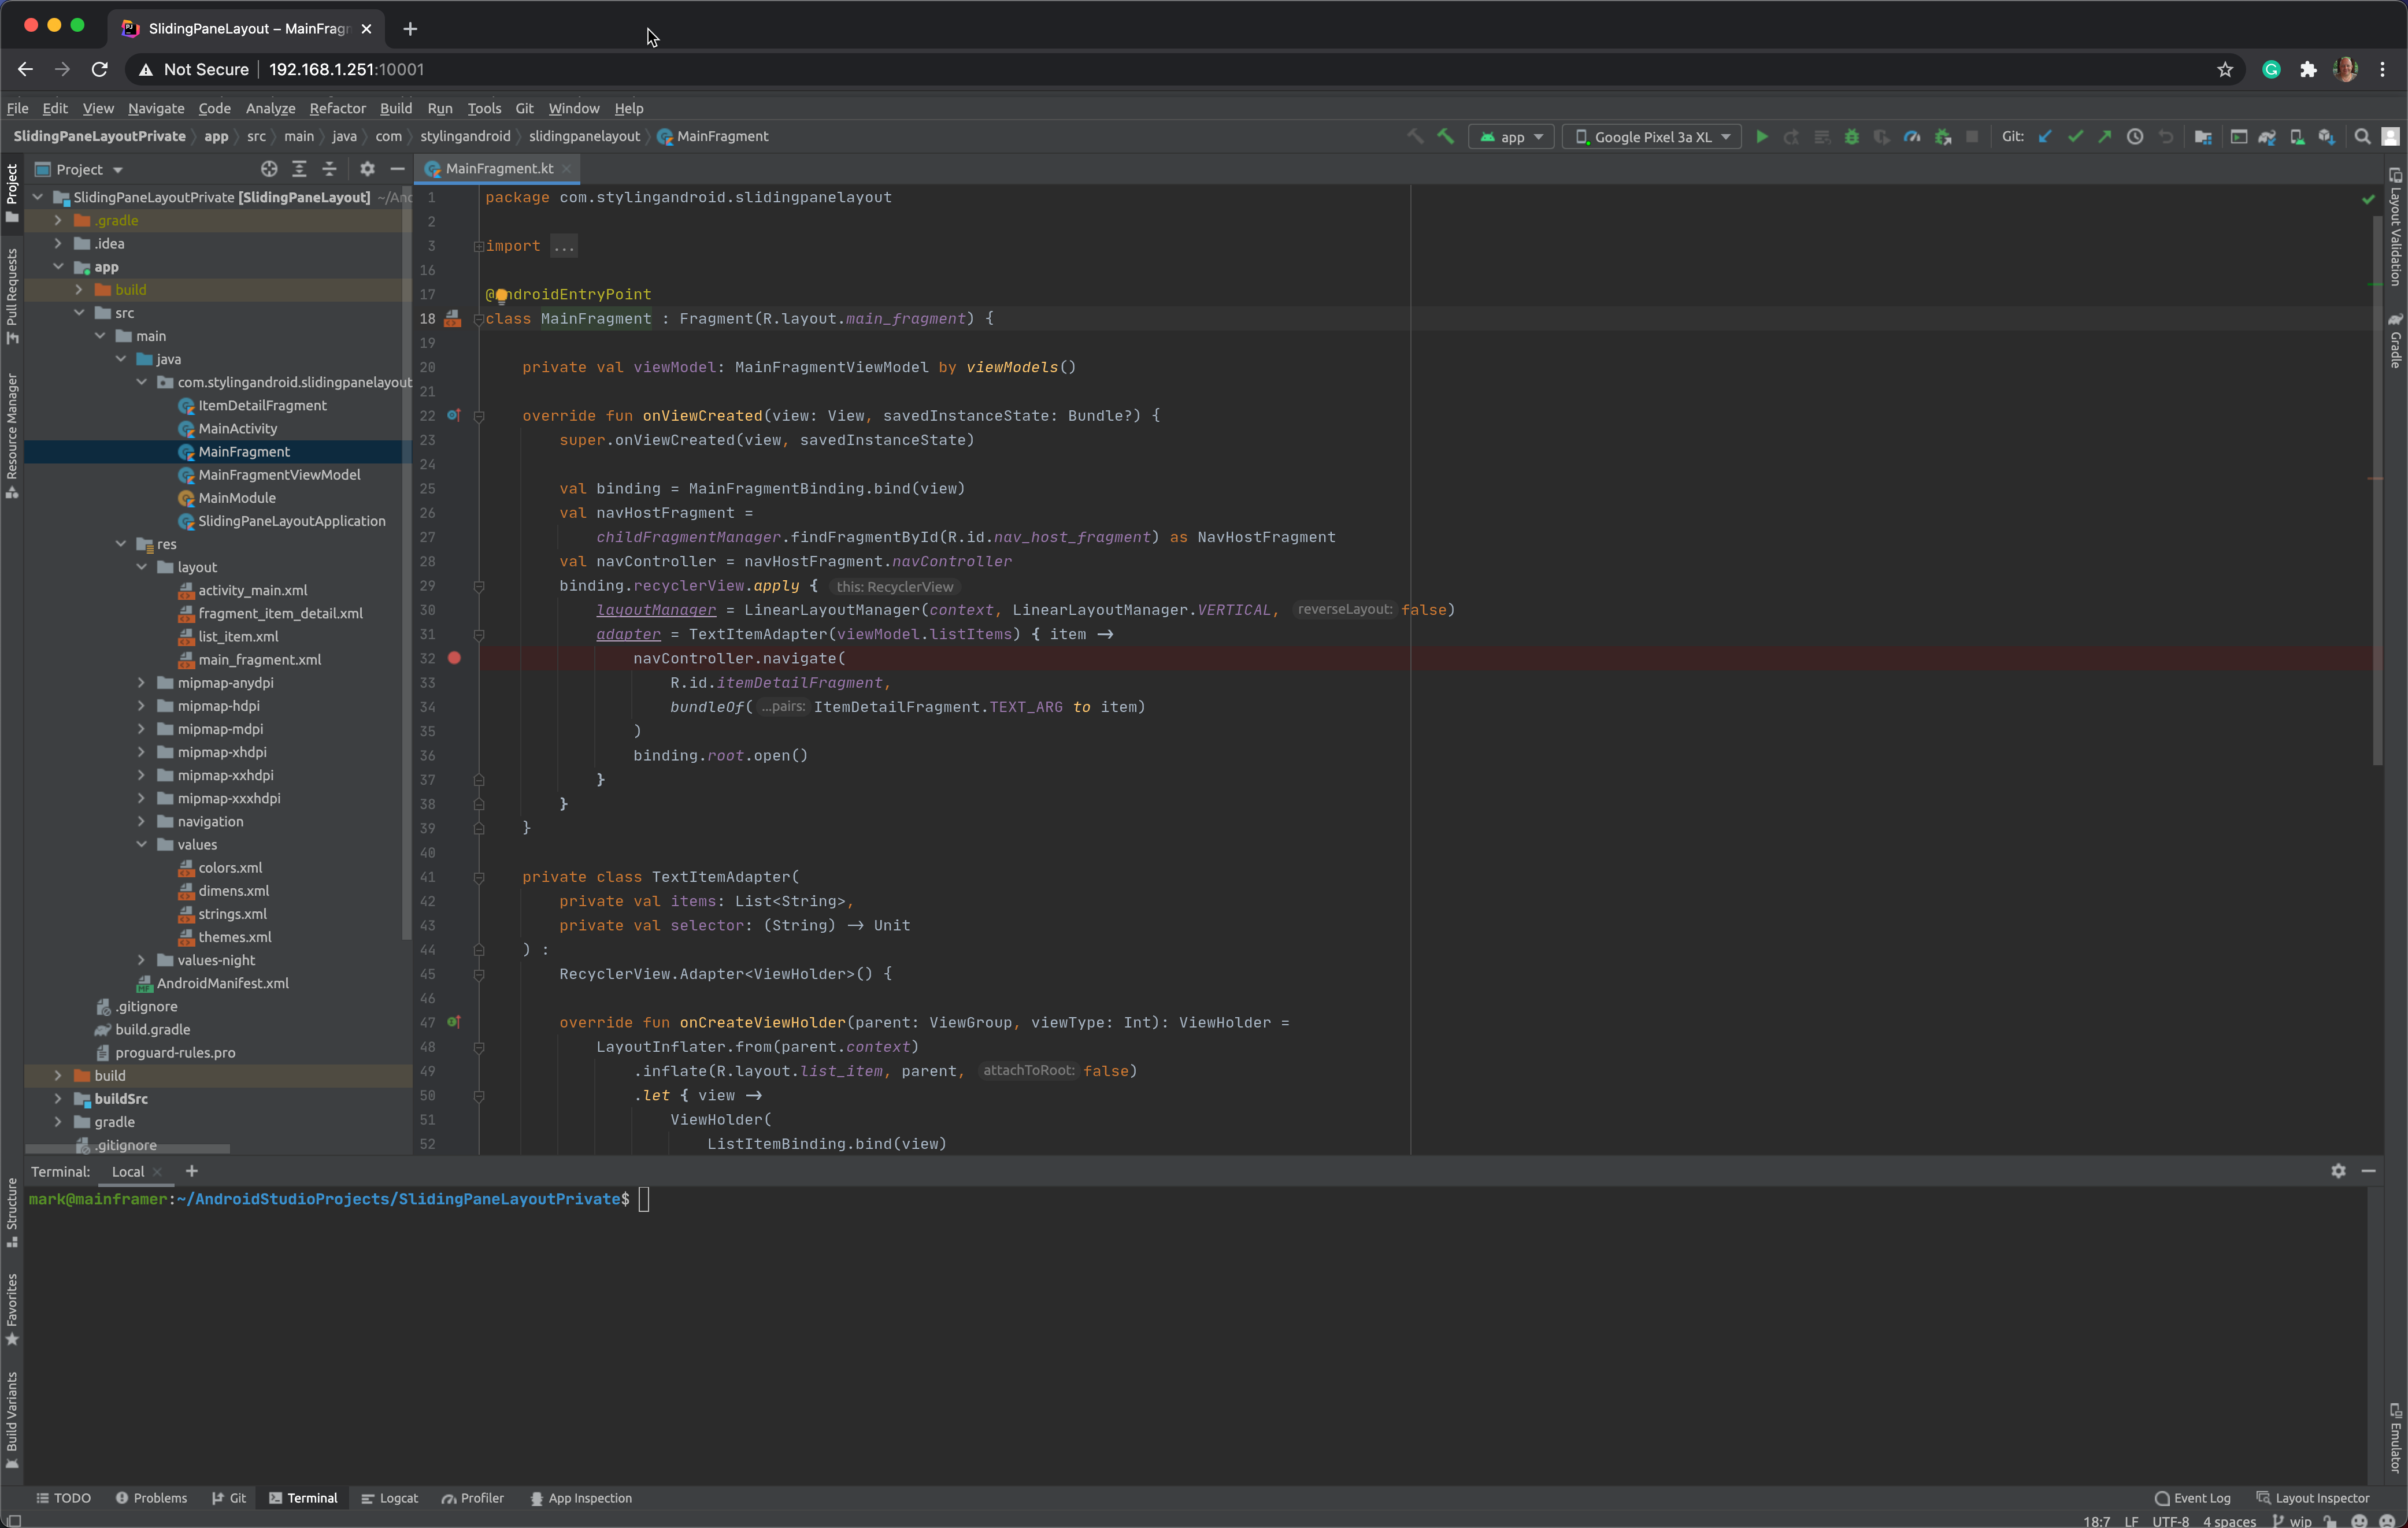
This shows the code for the recent article on SlidingPaneLayout running inside a browser window.
To connect devices via ADB, you may need to take some additional steps on Linux as detailed here.
Adding a certificate for HTTPS
An optional step is to install a certificate so that this page can be accessed using HTTPS. Personally I have a LetsEncrypt certificate for my build server. Installing it is, once again done via the projector command:
$ projector install-certificate as --certificate ~/ssl/fullchain.pem --key ~/ssl/privkey.pem
Installing /home/mark/ssl/fullchain.pem certificate to config as2
$
That’s it, you can now access using HTTPS. However, this will need to be repeated whenever your certificate is updates. That’s every three months with LetsEncrypt.
systemd service
One issue I had was that if I quit Android Studio in the browser, the Projector Server finishes running. While this was completely understandable, it would be nice if it kept running. One solution I was found was to configure a system service which respawns the Projector Servier instance whenever it terminates.
This service only runs when the user for which is configured is actually logged in to the server, so I need to login to a shell, but then the Projector Server remains running.
Conclusion
On the whole, I am mightily impressed with how easy it is to set up an Android Studio instance within a Projector Server. I must confess, after trying Projector initially with IntelliJ IDEA (which is directly supported by Projector, I was expecting Android Studio to be more fiddly. While there were a couple more manual steps required, it was actually pretty easy.
While the setup was relatively easy, all is the Android Studio / Projector garden is rosy. In the next article we’ll look at some of the Android Studio features which do not appear to play nicely with Projector.
© 2021, Mark Allison. All rights reserved.
Copyright © 2021 Styling Android. All Rights Reserved.
Information about how to reuse or republish this work may be available at http://blog.stylingandroid.com/license-information.