
In December 2016 Google released the first developer preview of Android Things and Android-based operating system designed for IoT devices, formerly known as Brillo. In this series we’ll take a look at some of the basics of Android Things and create a simple weather station.
 Previously we looked at basic GPIO in order to gain an understanding of the basic IO operation in Android Things, and also understand the role of a user-space driver. Now we’ll turn our attention towards creating the weather station app and we’ll begin by looking at how we can display the temperature using the Four 14-segment alphanumeric displays on the Rainbow HAT.
The Rainbow HAT uses a HT16K33 driver chip to control the 14 segment LED displays, and communicates with this over the Raspberry Pi’s I2C serial bus. There is a fuller description of I2C here. Fortunately we don’t actually have to worry about any of this because the Rainbow HAT user-space driver completely encapsulates all of this for us.
For those interested in how this all works, the source code can be found either by looking at the decompiled code in Android Studio, or by taking a look at the source code. This should show the real value of the user-space driver which manages all of the low level communication over I2C, and the specifics of the HT16K33 driver chip and exposes a simple interface to display characters using the AlphanumericDisplay class. Further to that, it even gives us a useful factory method to create an instance of this class.
Let’s start by looking at a simple interface which we’ll use to encapsulate an object which consumes a float value. We’ll use this for the temperature display, and we’ll use it later on for the barometric pressure, as well.
public interface Consumer {
    void onCreate();

    void setValue(float value);

    void onDestroy();
}
There are a couple of lifecycle methods which will give us the necessary hooks to correctly initialise and destroy our Consumer implementations.
Next let’s look at the temperature displayer class:
class RainbowHatTemperatureDisplay implements Consumer {
    private static final String EMPTY_STRING = "";
    private static final String TEMPERATURE_FORMAT_STRING = "%02.0fC";
    private AlphanumericDisplay alphanumericDisplay;

    @Override
    public void onCreate() {
        try {
            alphanumericDisplay = RainbowHat.openDisplay();
            alphanumericDisplay.display(EMPTY_STRING);
            alphanumericDisplay.setEnabled(true);
        } catch (IOException e) {
            e.printStackTrace();
        }
    }

    @Override
    public void onDestroy() {
        if (alphanumericDisplay != null) {
            try {
                alphanumericDisplay.display(EMPTY_STRING);
                alphanumericDisplay.setEnabled(false);
                alphanumericDisplay.close();
            } catch (IOException e) {
                e.printStackTrace();
            }
        }
    }

    @Override
    public void setValue(float temperature) {
        try {
            String string = String.format(Locale.UK, TEMPERATURE_FORMAT_STRING, temperature);
            alphanumericDisplay.display(string);
        } catch (IOException e) {
            e.printStackTrace();
        }
    }
}
There really isn’t much to explain here. we construct and initialise the AlphanumericDisplay object in the onCreate() method; and close it in the onDestroy() method. In setValue(), the temperature in degrees celcius is passed in as the argument, and we format this as a string and send this to the HT16K33 using the AlphanumericDisplay#display() method.
So how do we go about getting the current temperature value? The Rainbow HAT has a BMP280 combined temperature and barometric pressure sensor which is and we, once again, communicate with this over the Raspberry Pi’s I2C serial bus. As we have come to expect there is a user-space driver which simplifies getting values from this. We could manually interrogate the Bmx280 object returned by RainbowHat.openSensor(), but we actually want to monitor the temperature continuously while the app is running. But there is a mechanism to subscriber to real-time sensor updates which simplifies things.
All of this is managed in our DataCollector:
class RainbowHatDataCollector implements DataCollector {
    private final Context context;
    private final RainbowHatFactory factory;

    private Bmx280SensorDriver sensorDriver = null;
    private DynamicSensorCallback dynamicSensorCallback;
    private SensorEventListener temperatureListener;

    RainbowHatDataCollector(Context context, RainbowHatFactory factory) {
        this.context = context;
        this.factory = factory;
    }

    @Override
    public void register(final Consumer temperatureConsumer) {
        registerSensorListeners(temperatureConsumer);
        registerSensors();
    }

    private void registerSensorListeners(final Consumer temperatureConsumer) {
        final SensorManager sensorManager = (SensorManager) context.getSystemService(SENSOR_SERVICE);
        dynamicSensorCallback = createDynamicSensorCallback(temperatureConsumer, sensorManager);
        sensorManager.registerDynamicSensorCallback(dynamicSensorCallback);
    }

    private DynamicSensorCallback createDynamicSensorCallback(final Consumer temperatureConsumer, final SensorManager sensorManager) {
        return new DynamicSensorCallback() {
            @Override
            public void onDynamicSensorConnected(Sensor sensor) {
                super.onDynamicSensorConnected(sensor);
                if (sensor.getType() == Sensor.TYPE_AMBIENT_TEMPERATURE) {
                    temperatureListener = factory.getSensorEventListener(temperatureConsumer);
                    sensorManager.registerListener(temperatureListener, sensor, SensorManager.SENSOR_DELAY_NORMAL);
                }
            }

            @Override
            public void onDynamicSensorDisconnected(Sensor sensor) {
                if (sensor.getType() == Sensor.TYPE_AMBIENT_TEMPERATURE) {
                    sensorManager.unregisterListener(temperatureListener);
                }
                super.onDynamicSensorDisconnected(sensor);
            }
        };
    }

    private void registerSensors() {
        try {
            sensorDriver = RainbowHat.createSensorDriver();
            sensorDriver.registerTemperatureSensor();
        } catch (IOException e) {
            sensorDriver = null;
            e.printStackTrace();
        }
    }

    @Override
    public void unregister(Consumer temperatureConsumer) {
        try {
            sensorDriver.close();
            final SensorManager sensorManager = (SensorManager) context.getSystemService(SENSOR_SERVICE);
            sensorManager.unregisterDynamicSensorCallback(dynamicSensorCallback);
        } catch (IOException e) {
            e.printStackTrace();
        }
    }
}
There’s a little more going on here, but it’s actually quite straightforward once we understand how it all works. We’re actually going to use the standard Android SensorManager service to subscribe to sensor data events. This will already be familiar to those who have experience of consuming sensor data.
Internally, the Rainbow HAT user-space driver creates a UserSensor which retrieves data from the Bmx280 temperature sensor, and we need to ensure that this gets registered with the Android SensorManager service. Once that is done we can register to a listener which will get called whenever the sensor data is updated.
We cannot actually register the callback until the connection to the sensor has been established, and so we need to create a DynamicSensorCallback which will receive callbacks when sensors are connected and disconnected. For each callback we register or unregister our listener, as appropriate.
Now we can create a Bmx280SensorDriver instance (using the RainbowHat user-driver factory method), and call registerTemperatureSensor() to initialise the connection to the sensor and start collecting data.It important to register the DynamicSensorCallback before we actually register the temperature sensor with the SensorManager otherwise we will not receive the connected callback.
We also have an unregister() method which will unregister the everything, and terminate the connection to the sensor.
The SensorEventListener that got created during registration will receive the data updates, and this is simplicity itself:
class RainbowHatSensorEventListener implements SensorEventListener {
    private final Consumer consumer;

    RainbowHatSensorEventListener(Consumer consumer) {
        this.consumer = consumer;
    }

    @Override
    public void onSensorChanged(SensorEvent event) {
        consumer.setValue(event.values[0]);
    }

    @Override
    public void onAccuracyChanged(Sensor sensor, int accuracy) {
        //NO-OP
    }
}
All this is is a simple adapter which implements the SensorEventListener interface, and passes this on to a Consumer – in this case it will be the RainbowHatTemperatureDisplay class that we looked at earlier.
Aside from a factory class which is responsible for constructing instances of the various objects (I won’t include it here, but it is available in the source code), all that remains is to wire everything up in our MainActivity:
public class MainActivity extends Activity {

    private DataCollector dataCollector;
    private Consumer temperatureConsumer;

    @Override
    protected void onCreate(Bundle savedInstanceState) {
        super.onCreate(savedInstanceState);

        Factory factory = new RainbowHatFactory(this);
        dataCollector = factory.getDataCollector();
        temperatureConsumer = factory.getTemperatureConsumer();
        temperatureConsumer.onCreate();
        dataCollector.register(temperatureConsumer);
    }

    @Override
    protected void onDestroy() {
        dataCollector.unregister(temperatureConsumer);
        temperatureConsumer.onDestroy();

        super.onDestroy();
    }
}
Hopefully, that should all be pretty straightforward. We construct a data collector which gets the sensor data updates, then we register a temperature consumer (our alphanumeric display) which will get passed the data.
It is worth pointing out that there is a bug in Android Things whereby a BroadcastReceiver is not correctly unregistered when we try and gracefully clean everything up. This isn’t actually that big a deal as, in normal operation, our app will simply run for the entire duration that the Android Things device is powered on. But it’s worth mentioning to avoid people wasting effort trying to work out what they’ve done wrong if they should encounter it.
If we run this we can see that we get the temperature displayed:
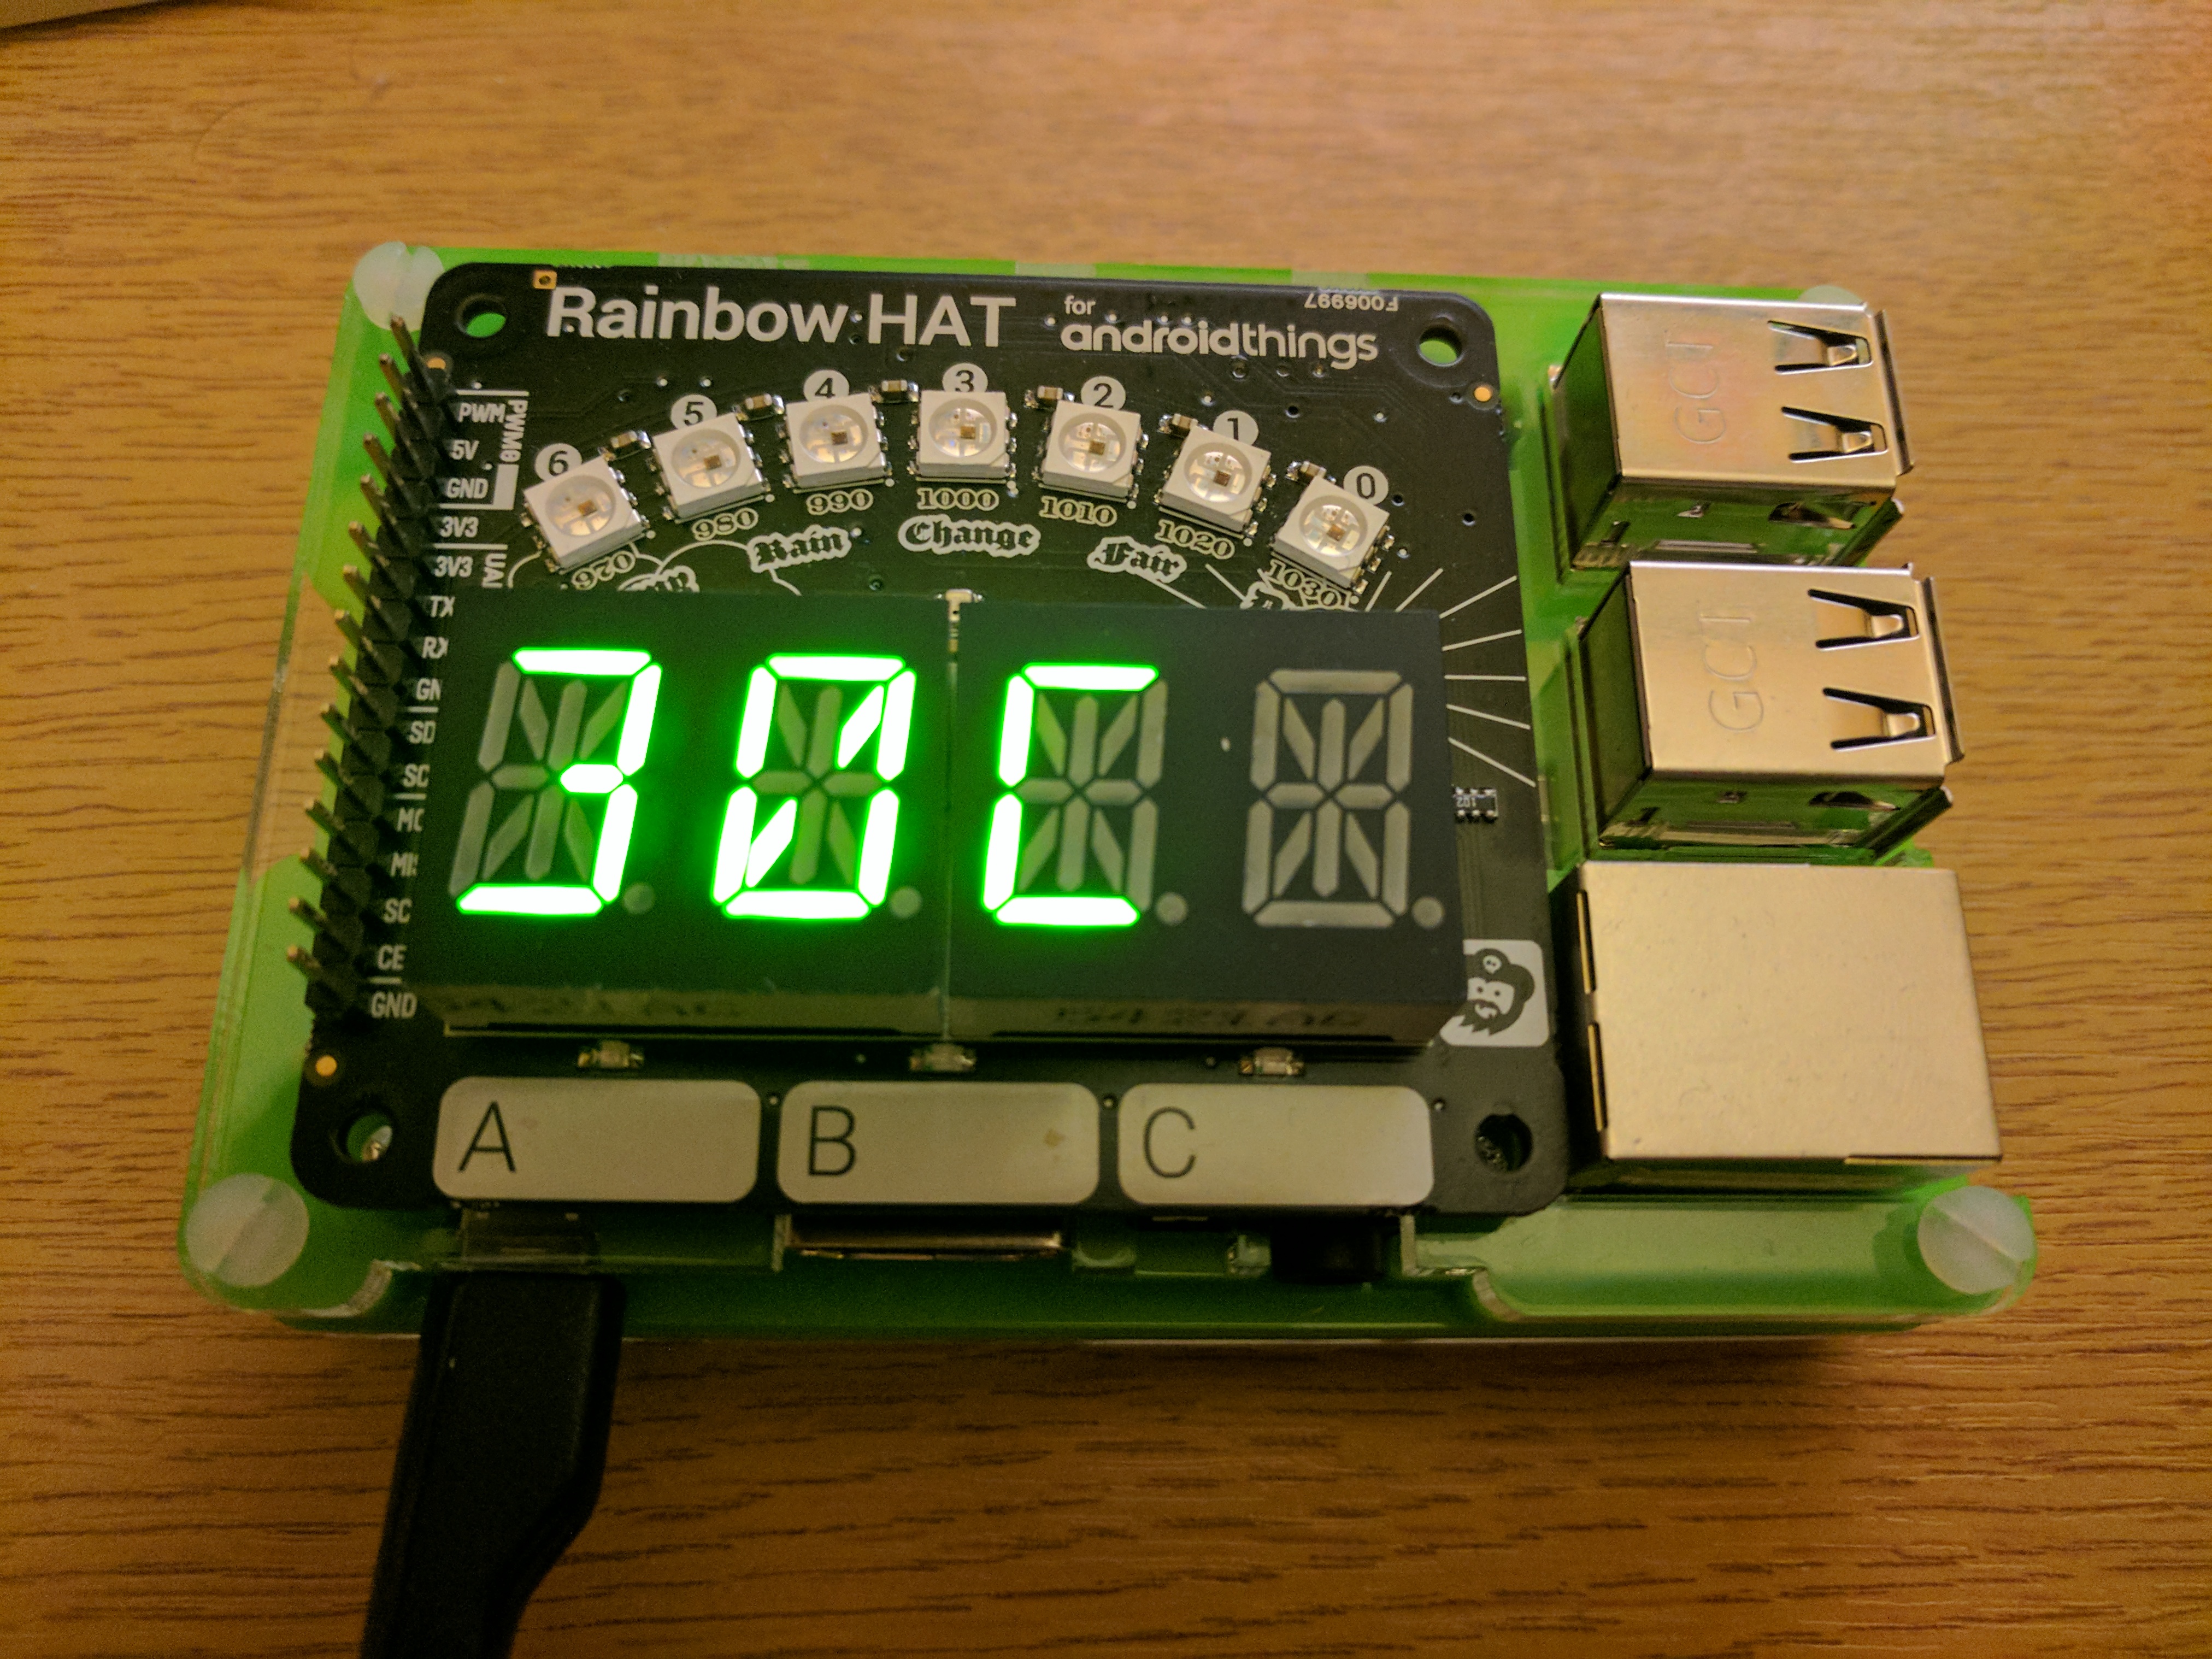
The more observant may be questioning why I keep Styling Android towers at a rather sultry 30˚C – actually I don’t. The temperature sensor is actually picking up the temperature of the Raspberry Pi. So, it doesn’t make it particularly accurate for sensing the ambient temperature of the surroundings. However, the code is actually working correctly – for a real project I’d look to use a sensor which was separated from the Pi in order to detect the ambient temperature.
In the final article in this series we’ll turn our attention to the barometric pressure data gathering and display.
The source code for this article is available here.
© 2017, Mark Allison. All rights reserved.
Copyright © 2017 Styling Android. All Rights Reserved.
Information about how to reuse or republish this work may be available at http://blog.stylingandroid.com/license-information.

Thanks for the nice post and series.
I think there is a missing word in this sentence you wrote “…and barometric pressure sensor which is and…”. Just as a suggestion: you can use a service like grammarly.com to automatically detect this kind of errors while writing and save time 😉
Now a technical question. I know in Android the onDestroy() call is not guaranteed to be executed and in some cases your whole app’s process is killed and you can’t clean up. That’s ok for a process and its memory but in the case of IoT devices I can imagine closing properly the connected hardware is probably a big deal (turn off lights, heat or more dangerous things). Do you know if the IoT version of Android has a different lifecycle than normal Android apps?
As I mention in the articles – the lifecycle of an Android Things app is that is should stay running for the entire time that the hardware is running. You will generally only have a single app running on the device.
There is code for compensating for ambient CPU temperature that was written for the SenseHAT board in the AstroPi project repo. I would think that it could work here, too.
https://github.com/astro-pi/watchdog/blob/master/watchdog.py#L2399
I’m planning on working this into my Android Things project that I’m using my SenseHAT with.
On second thought – I’m not sure that method would work with Android due to security settings. It reads the CPU temp from /sys/class/thermal/thermal_zone0/temp which might not be accessible from a user app. If anything, it might require root access. 😐
I notice that you might have misspelled the i2c-bus as ic2.
Yes, my bad. It should now be fixed.
Thanks for pointing it out.