
Regular readers of Styling Android will know that I’m a big fan of ConstraintLayout. As I write (November 2016) ConstraintLayout is in beta status as beta 3 has just been released and the APIs for the full 1.0 release should now be stable. The previous series on ConstraintLayout covered many aspects of this most useful new Layout, but the has been an important addition which first appeared in alpha 9 which fill in some important gaps: chains.
 In the simplest terms chains are a mechanism for linking together a number of distinct Views and we can apply some behaviour to this collection of Views. The reasons why this is useful will become more obvious as we progress.
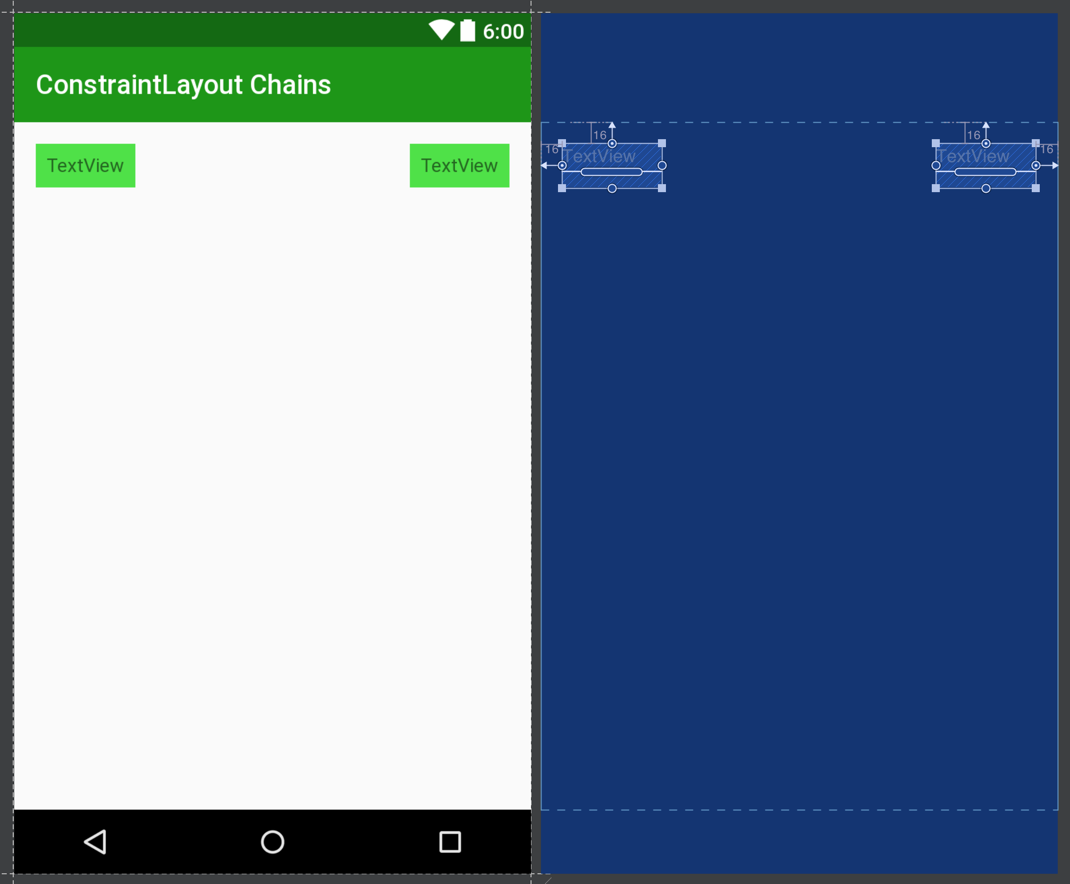
Let’s begin by placing a couple of TextViews in to our layout, and constraining these to the parent but not each other, yet. The first TextView will have a left constraint to the left of the parent, and a top constraint to the top of the parent’ and the second will have a right constraint to the right of the parent and also a top constraint to the top of the parent.
Looking at this in the editor we can see these two Views:
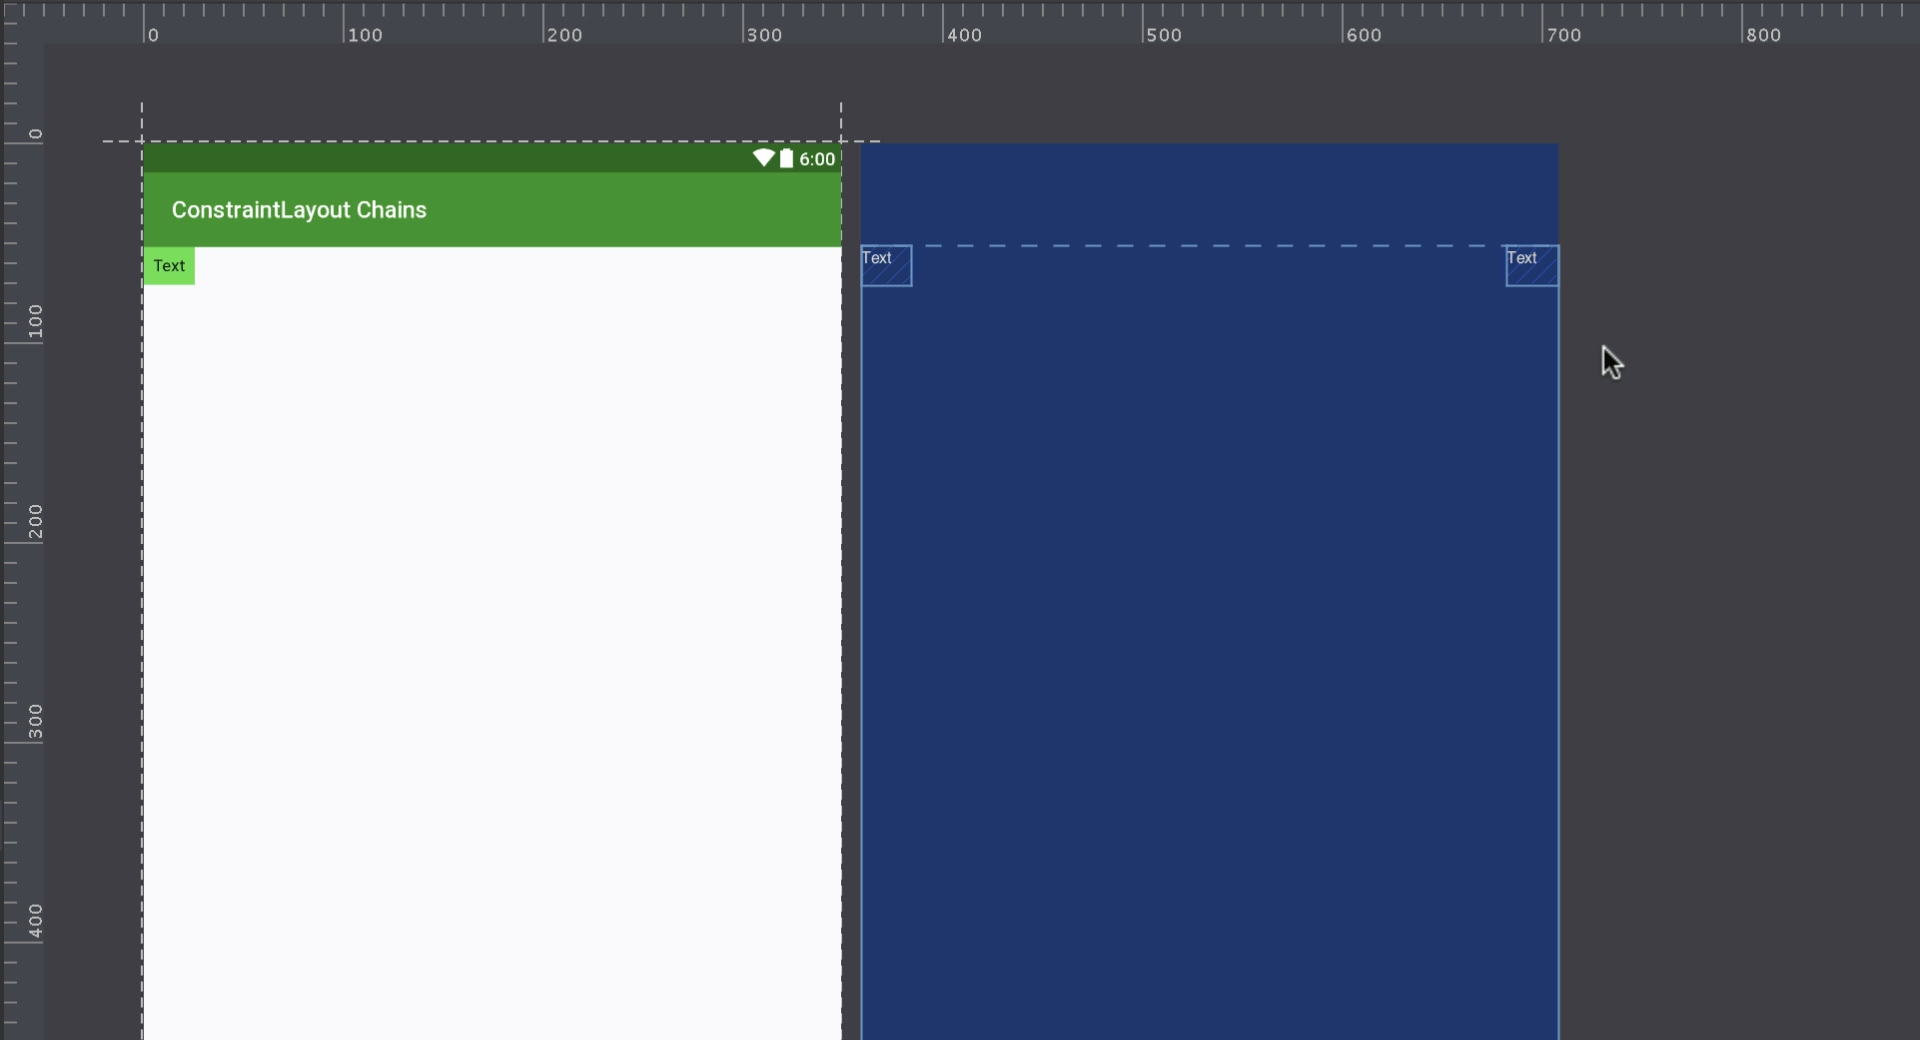
Creating a chain is really easy. We can click and drag to select both of the TextViews, then hold down Ctrl, right click to bring up the context menu, and select “Centre Horizontally”:
So we now know how to create a chain, so let’s take a look at the XML to see what actually happens under the bonnet (or hood to those who speak US English):
<android.support.constraint.ConstraintLayout xmlns:android="http://schemas.android.com/apk/res/android"
  xmlns:app="http://schemas.android.com/apk/res-auto"
  xmlns:tools="http://schemas.android.com/tools"
  android:id="@+id/activity_main"
  android:layout_width="match_parent"
  android:layout_height="match_parent"
  tools:context="com.stylingandroid.moreconstraintlayout.MainActivity">

  <TextView
    android:id="@+id/textView1"
    style="@style/TextBox"
    android:layout_width="wrap_content"
    android:layout_height="wrap_content"
    android:text="TextView"
    app:layout_constraintLeft_toLeftOf="parent"
    app:layout_constraintRight_toLeftOf="@+id/textView2"
    app:layout_constraintTop_toTopOf="parent" />

  <TextView
    android:id="@+id/textView2"
    style="@style/TextBox"
    android:layout_width="wrap_content"
    android:layout_height="wrap_content"
    android:text="TextView"
    app:layout_constraintLeft_toRightOf="@+id/textView1"
    app:layout_constraintRight_toRightOf="parent"
    app:layout_constraintTop_toTopOf="parent" />

</android.support.constraint.ConstraintLayout>
The two highlighted constraints are the ones which were created as we created the chain, and if we look at them closely they are actually symmetrical. The constraint added to @id/textView1 adds a constraint from its right anchor point to the left anchor point of @id/textView2; and the constraint added to @id/textView2 adds a constraint from its left anchor point to the right anchor point of @id/textView1. Essentially we are creating two constraints between the same two anchor points running in opposite directions. It is these symmetrical constraints which constitute a chain.
It is important to remember that a chain can consist of more than two Views – we can add a third View to the chain by adding an additional symmetrical pair of constraints between its left anchor point and the right anchor point of @id/textView2.
So now that we know how to create chains what can we do with them? We can already see one of the fundamental behaviours of a chain – a simple spread chain. A spread chain will divide the space up equally between all of the Views in the chain, and centre each one it its own division. In the GIF of the chain creation you can see that each of the TextViews gets centred in its half of the parent.
Spread chains get more familiar when we add weights to them. Many people will immediately think of weights in LinerarLayout, and that is precisely the behaviour that we can get from adding a weight constraint:
<?xml version="1.0" encoding="utf-8"?>
<android.support.constraint.ConstraintLayout xmlns:android="http://schemas.android.com/apk/res/android"
  xmlns:app="http://schemas.android.com/apk/res-auto"
  xmlns:tools="http://schemas.android.com/tools"
  android:id="@+id/activity_main"
  android:layout_width="match_parent"
  android:layout_height="match_parent"
  tools:context="com.stylingandroid.moreconstraintlayout.MainActivity">

  <TextView
    android:id="@+id/textView1"
    style="@style/TextBox"
    android:layout_width="0dp"
    android:layout_height="wrap_content"
    android:text="TextView"
    app:layout_constraintHorizontal_weight="1"
    app:layout_constraintLeft_toLeftOf="parent"
    app:layout_constraintRight_toLeftOf="@+id/textView2"
    app:layout_constraintTop_toTopOf="parent" />

  <TextView
    android:id="@+id/textView2"
    style="@style/TextBox"
    android:layout_width="wrap_content"
    android:layout_height="wrap_content"
    android:text="TextView"
    app:layout_constraintLeft_toRightOf="@+id/textView1"
    app:layout_constraintRight_toRightOf="parent"
    app:layout_constraintTop_toTopOf="parent" />
</android.support.constraint.ConstraintLayout>
To assign a horizontal weight we use layout_constraintHorizontal_weight and, just like in LinearLayout, we need to set the layout_width to 0dp. There is one important difference here, though: In LinearLayout if we don’t set the layout_width to 0dp it will still stretch the Views, but not evenly because it will only divide the space up after it has measured the children and it is the remainder which gets divided up. However if we do not set the layout_width to 0dp in a spread chain and leave it set to wrap_content then the View will not be stretched – it will honour the wrap_content.
If we take a look at that in the editor we can see that we get exactly the same as we’d expect from weighting one of the TextViews in LinearLayout:
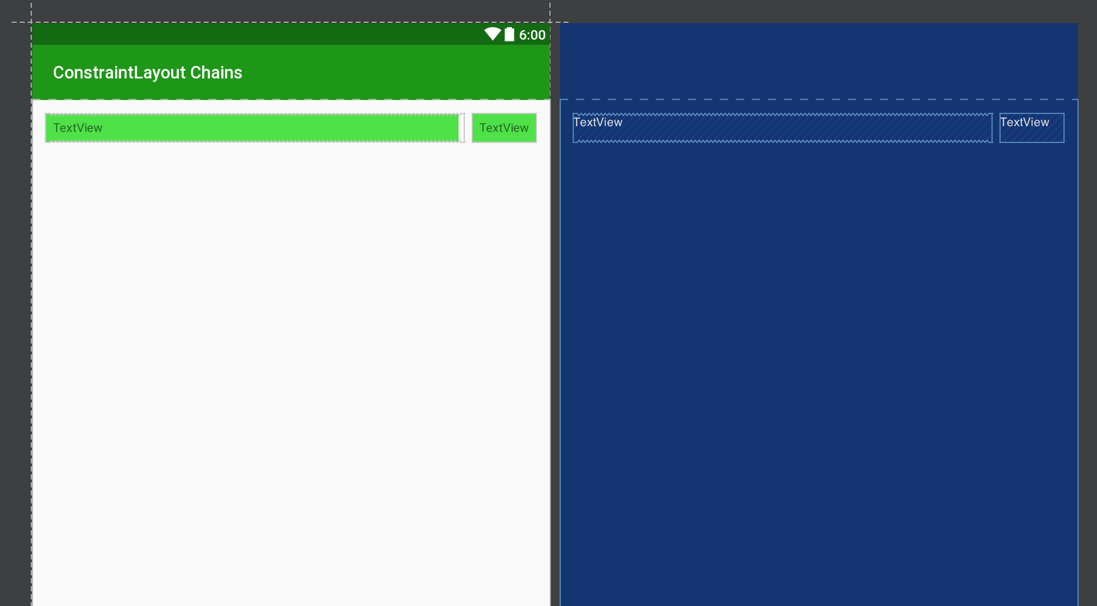
There is one small issue here. It you take a close look at the preview panel (click on the image above to enlarge it) you can see that the outline of each TextView and their green fill does not quite line up. This is because the preview panel does not yet properly render chains. The fill is actually rendered in the correct position and the outline is wrong. This image was taken from Android Studio 2.2.1, and the same thing in Android Studio 2.2.2 is even more messed up. This will be fixed in a future version of Android Studio, but for now it’s important to ignore the outline. Similarly the blueprint panel does not position Views correctly.
The spread chains behaviour that we’ve seen is the default if we do not explicitly set the chain type (or we explicitly set app:layout_constraintHorizontal_chainStyle="spread"). However there are other options here: inside spread chains, and packed chains. In the next article we’ll take a look at these.
The source code for this article is available here.
© 2016, Mark Allison. All rights reserved.
Copyright © 2016 Styling Android. All Rights Reserved.
Information about how to reuse or republish this work may be available at http://blog.stylingandroid.com/license-information.

Hi,
and thank you very much this blog post – it already helped me a lot!
Just one more question: With LinearLayout it is possible to have a varialbe number of, say, Buttons by just setting visibility = gone for the ones you don’t need right now. The remaining Buttons will expand to fill the whole LinearLayout.
However, if I set one of the Buttons in a chain to gone it behaves more like an invisible View – it still uses the space, you just cannot see it. Do you know of any additional attribute that would make the chain behave like a LinearLayout in that regard, too?
Thanks for any ideas!
David
Hey, David, If you want other buttons to expand if one’s visibility was set to “gone”, set buttons width (or height depending on your situation) to “match_parent” and leave weigh. Now if one of the button’s visibility will be set to “gone” LinearLayout will recalculate views sizes and buttons that are visible will divide space by theirs weights.