
Amazing things are possible with AnimatedVectorDrawable and regular readers of Styling Android will know that I’m a huge fan of them. Earlier this year I worked on a project for a UK TV broadcaster and produced an AnimatedVectorDrawable of the isometric company logo which went in to the app as an Easter Egg. Sadly I was unable to obtain permission to use the logo in question, but in this series of articles we’ll look at the entire process that I went through in order to create this animated logo.
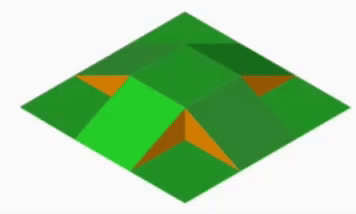 Previously we looked at how to animate between the raised and flat states of each of the tiles in our graphic, and we noticed that the brown triangles were being animated without us actually having done anything. So how did that happen? The simple trick is because of the order in which the various paths are drawn – the path elements are drawn in the order in which they are listed in the VectorDrawable XML file. We included the brown triangles first, so they get drawn before our green tiles. When we are in raised state this makes no difference because the brown triangles appear in gaps between the green parallelograms. But at other points in the animation they may be obscured by the green tiles. If we take another look at the south-west tile animating on its own it’s clearly visible how it hides part of the nearest triangle:
When all of the other animations are applied to the other green parallelograms then they simply mask out the brown triangles and we get the illusion that they are animating as well.
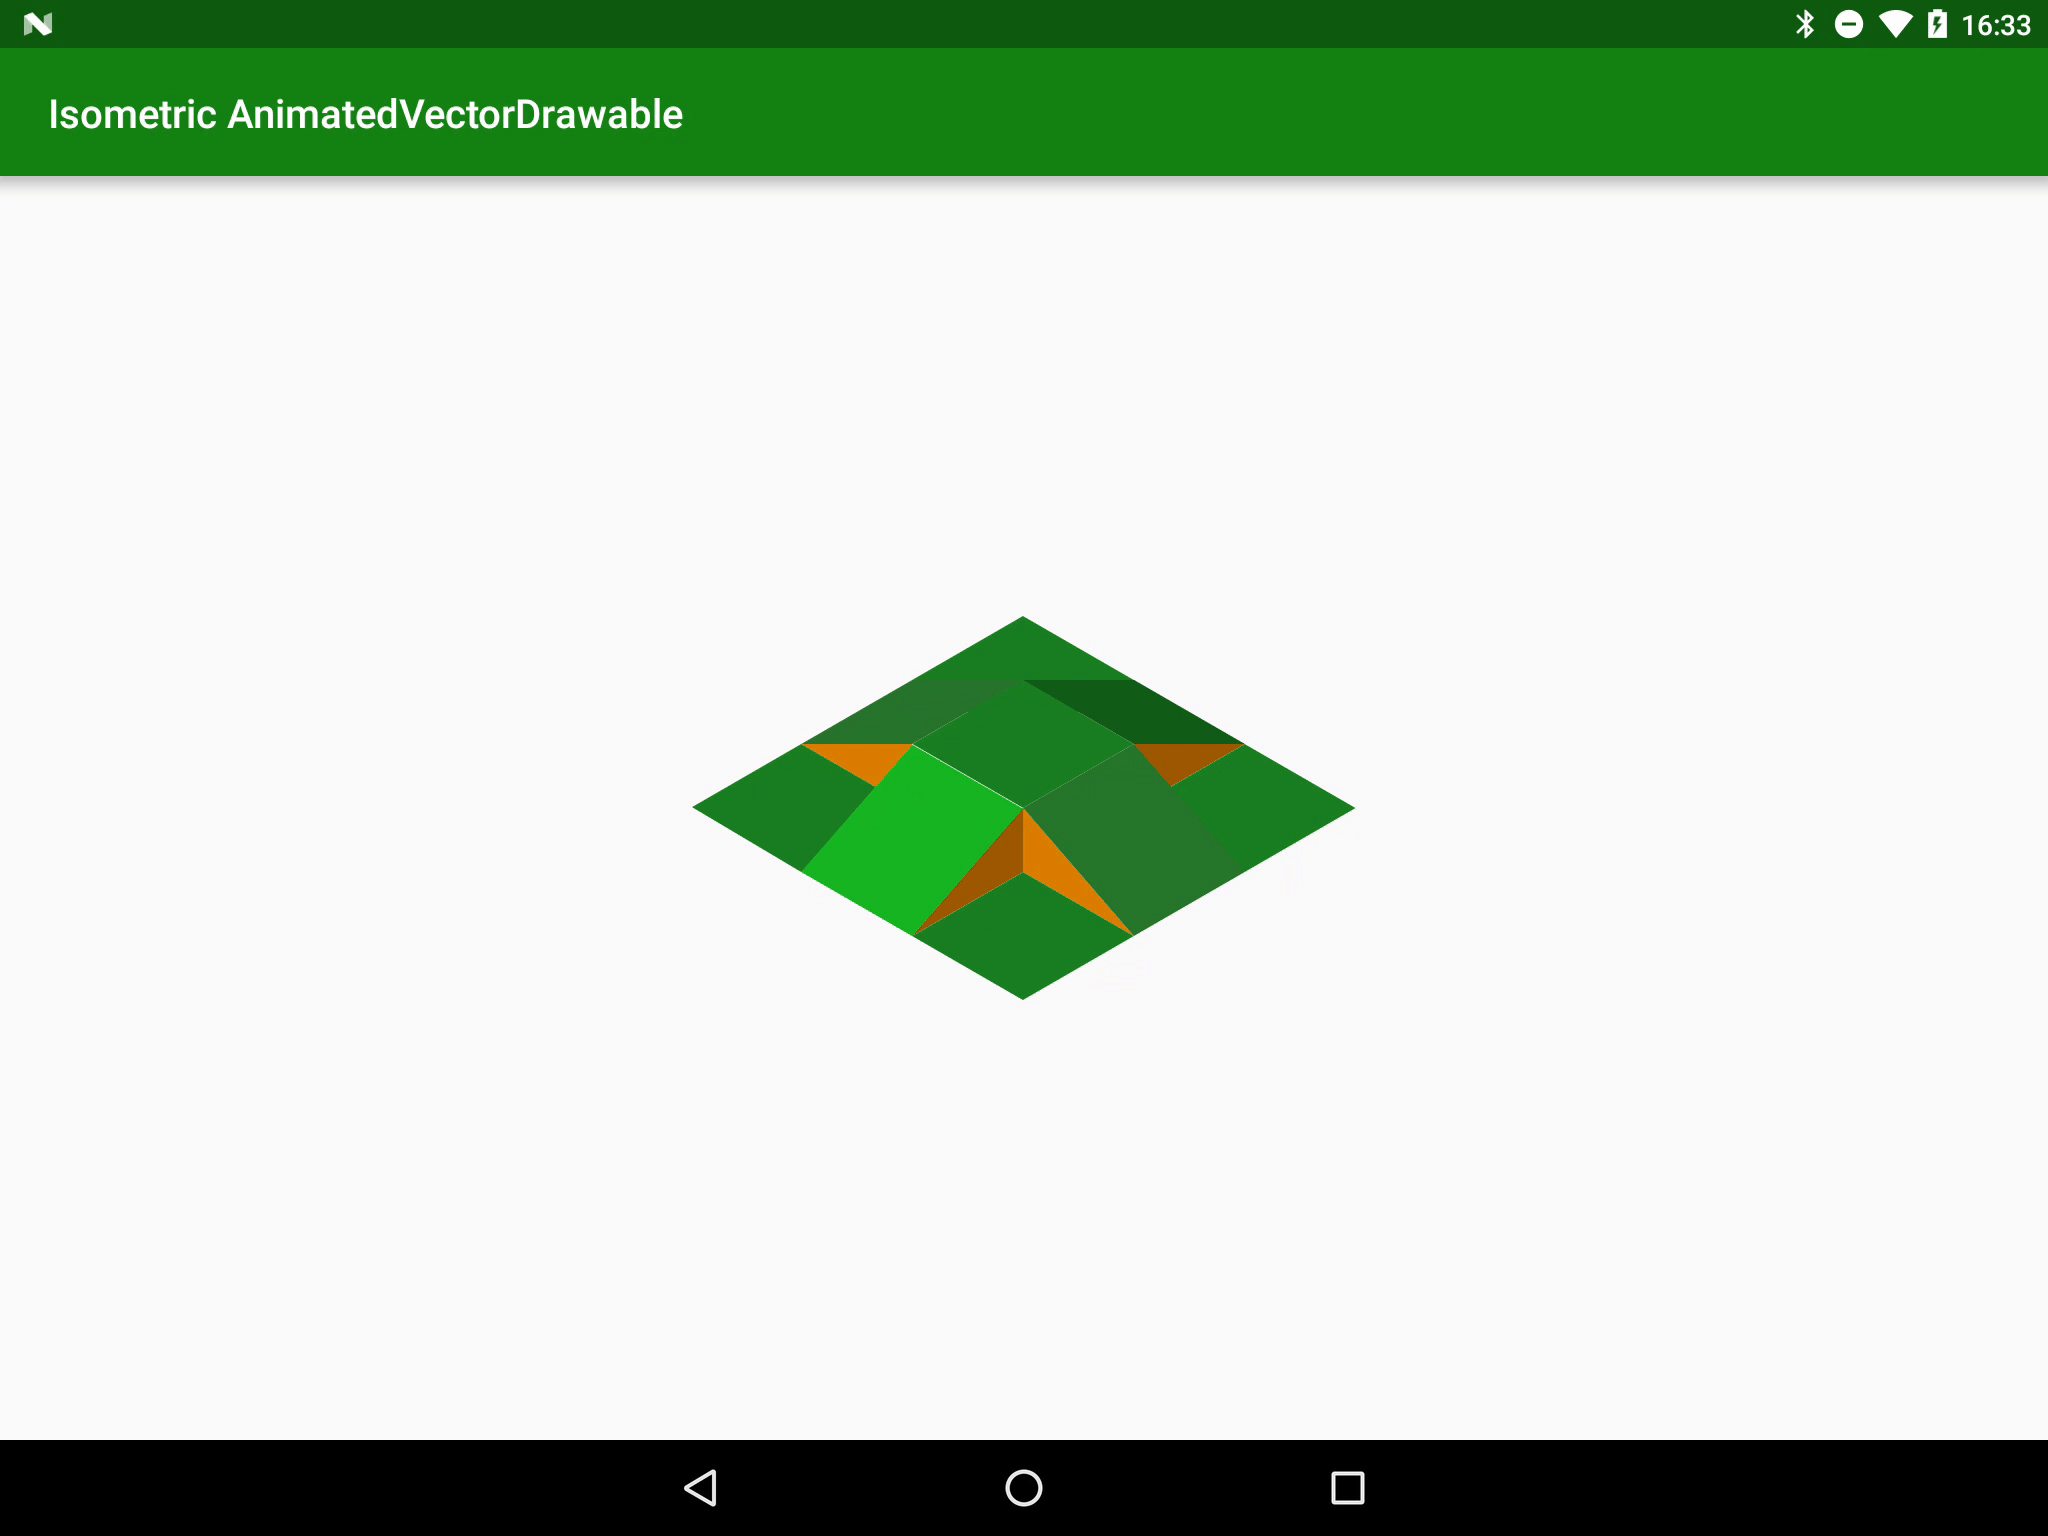
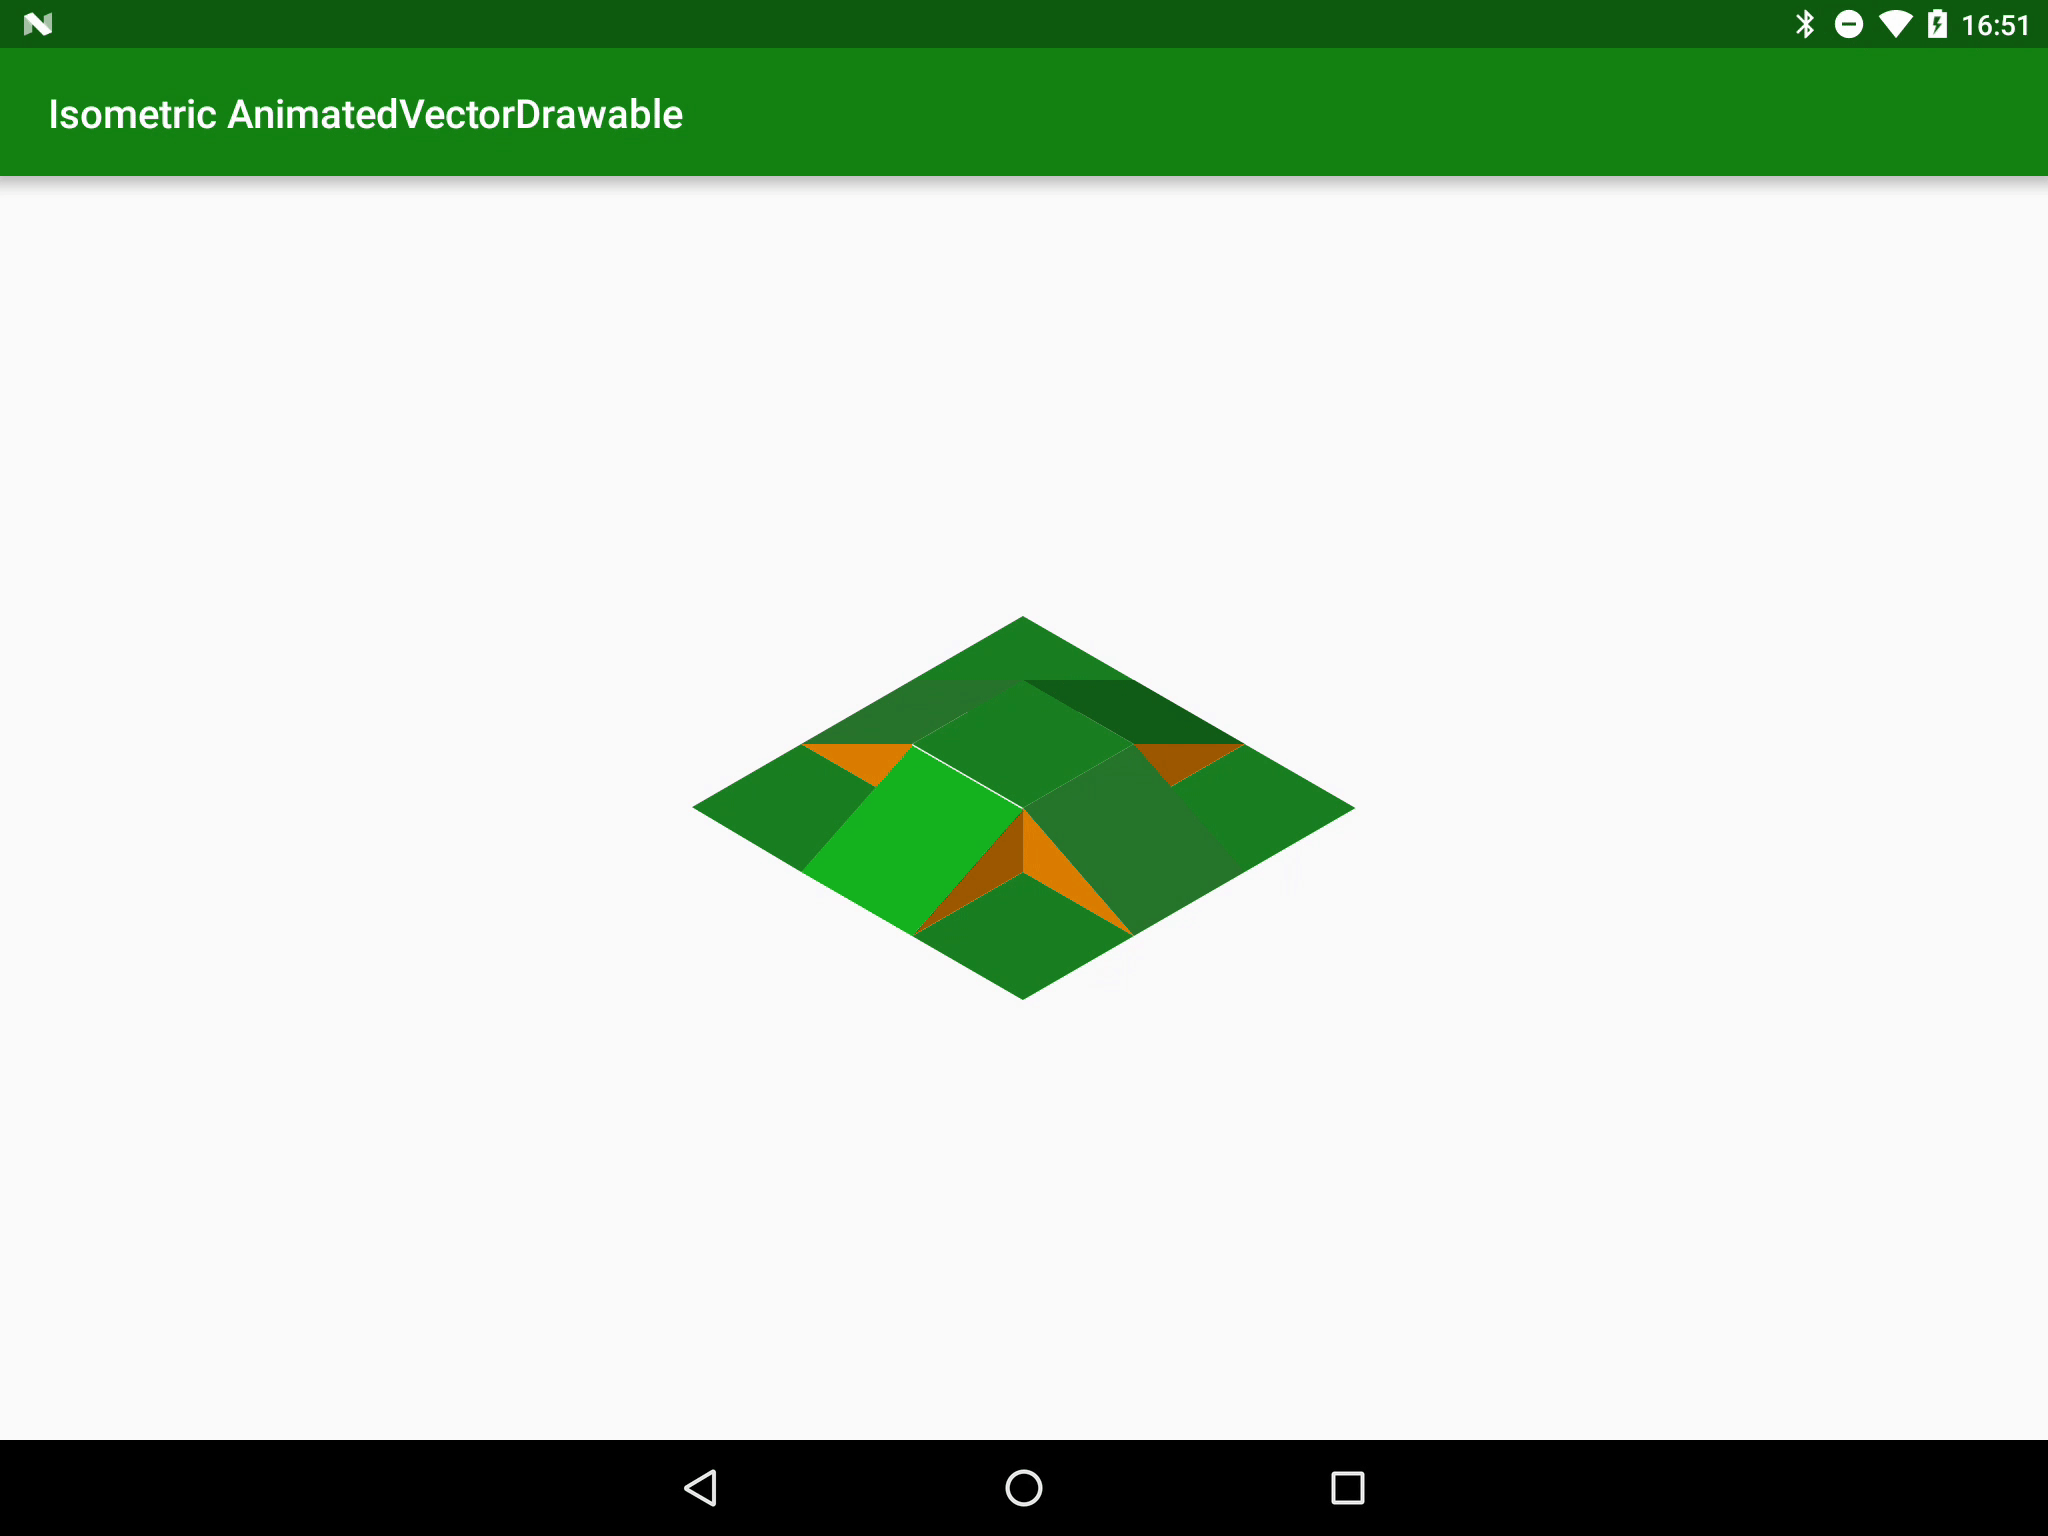
The last thing left for us to do is take a look at the colours of the green tiles. In the raised state they have different shades of green to give the illusion that the receive differing amounts of light from the light source which is pointing at the south-west tile giving it the most illumination. However in the flattened state all of the times are illuminated equally, so we need to transition between the two states.
Once again this is actually quite easy because of ObjectAnimator, and all that is required is to add an additional objectAnimator to our AnimatedVectorDrawable XML:
<animated-vector xmlns:android="http://schemas.android.com/apk/res/android"
  xmlns:aapt="http://schemas.android.com/aapt"
  xmlns:tools="http://schemas.android.com/tools"
  android:drawable="@drawable/raised"
  tools:ignore="MissingPrefix">

  <target android:name="south_west">

    <aapt:attr name="android:animation">

      <objectAnimator
        android:duration="1000"
        android:propertyName="pathData"
        android:repeatCount="infinite"
        android:repeatMode="reverse"
        android:valueFrom="M109.2,256L220.1,320L331.1,191.9L220.3,127.9Z"
        android:valueTo="M109.2,256L220.1,320L330.9,256L220.1,192Z"
        android:valueType="pathType" />

    </aapt:attr>
  </target>

  <target android:name="south_west">

    <aapt:attr name="android:animation">

      <objectAnimator
        android:duration="1000"
        android:propertyName="fillColor"
        android:repeatCount="infinite"
        android:repeatMode="reverse"
        android:valueFrom="#22CF25"
        android:valueTo="#229025" />

    </aapt:attr>
  </target>

</animated-vector>
We apply this animation to a different attribute of the path – the fillColor attribute. All we need to enter for the valueFrom and valueTo attributes is our start and end colours and the animator will do the rest:
Once again we apply the same technique to the other tiles to complete our animation (I won’t include the full code here, but it’s available in the source):

…and we’re done! So we can get what appear to be fairly complex 3D animations just by breaking down an isometric graphic in to simple 2D elements and layering up some really quite simple animations – by letting the pathType animator do most of the heavy lifting! Just in case you haven’t noticed – I love AnimatedVectorDrawable!!
The source code for this article is available here.
© 2016, Mark Allison. All rights reserved.
Copyright © 2016 Styling Android. All Rights Reserved.
Information about how to reuse or republish this work may be available at http://blog.stylingandroid.com/license-information.
