
At the time of writing, March 2021, the initial developer preview of Android 12 has recently arrived. Android 12 will have a design system refresh named Material NEXT, if the many rumours are true. While the details of what this actually means are vague, there are likely to be similarities to other mobile platforms. One UI pattern that common on iOS is to blur the background behind foreground UI components. such as Dialogs. It has long been possible to achieve this on Android by drawing Views to a Bitmap then using RenderScript or OpenGL to blur it. But there are potential performance issues, and it’s not something that will be done consistently across the platform. That looks to be about to change thanks to a new API that has appeared in Android12: RenderEffect
In the previous article, we looked at how we can apply a blur effect to sections of the View hierarchy. However, that’s not the only effect that we can achieve with RenderEffect – there are many more. In this article, we’ll look at a different kind of effect – Desaturation. But further to that we’ll also look at how it’s possible to apply multiple effects at once.
Desaturation
Back in March 2013, I published an article showing how to dynamically alter the colour of an icon using ColorMatrixColorFilter. This was in the days before we had tinting APIs available built in to View. These only arrived in Lollipop which was announced in 2014. ColorMatrixColorFilter() remains a powerful tool for dynamically altering the colour of images and graphic elements.
RenderEffect supports the creation of RenderEffects based upon ColorFilter to enable us to apply such effects as part of the hardware-accelerated rendering pipeline.
To desaturate an image, we first create a ColourMatrix object, and adjust the saturation level. The we wrap that within a ColorMatricColorFilter which can be used as the argument to a RenderEffect factory method:
val desaturateEffect = RenderEffect.createColorFilterEffect(
    ColorMatrixColorFilter(
        ColorMatrix().apply {
            setSaturation(saturationAmount)
        }
    )
)
We apply this in exactly the same way as we did the blur effect:
binding.image.setRenderEffect(desaturateEffect)
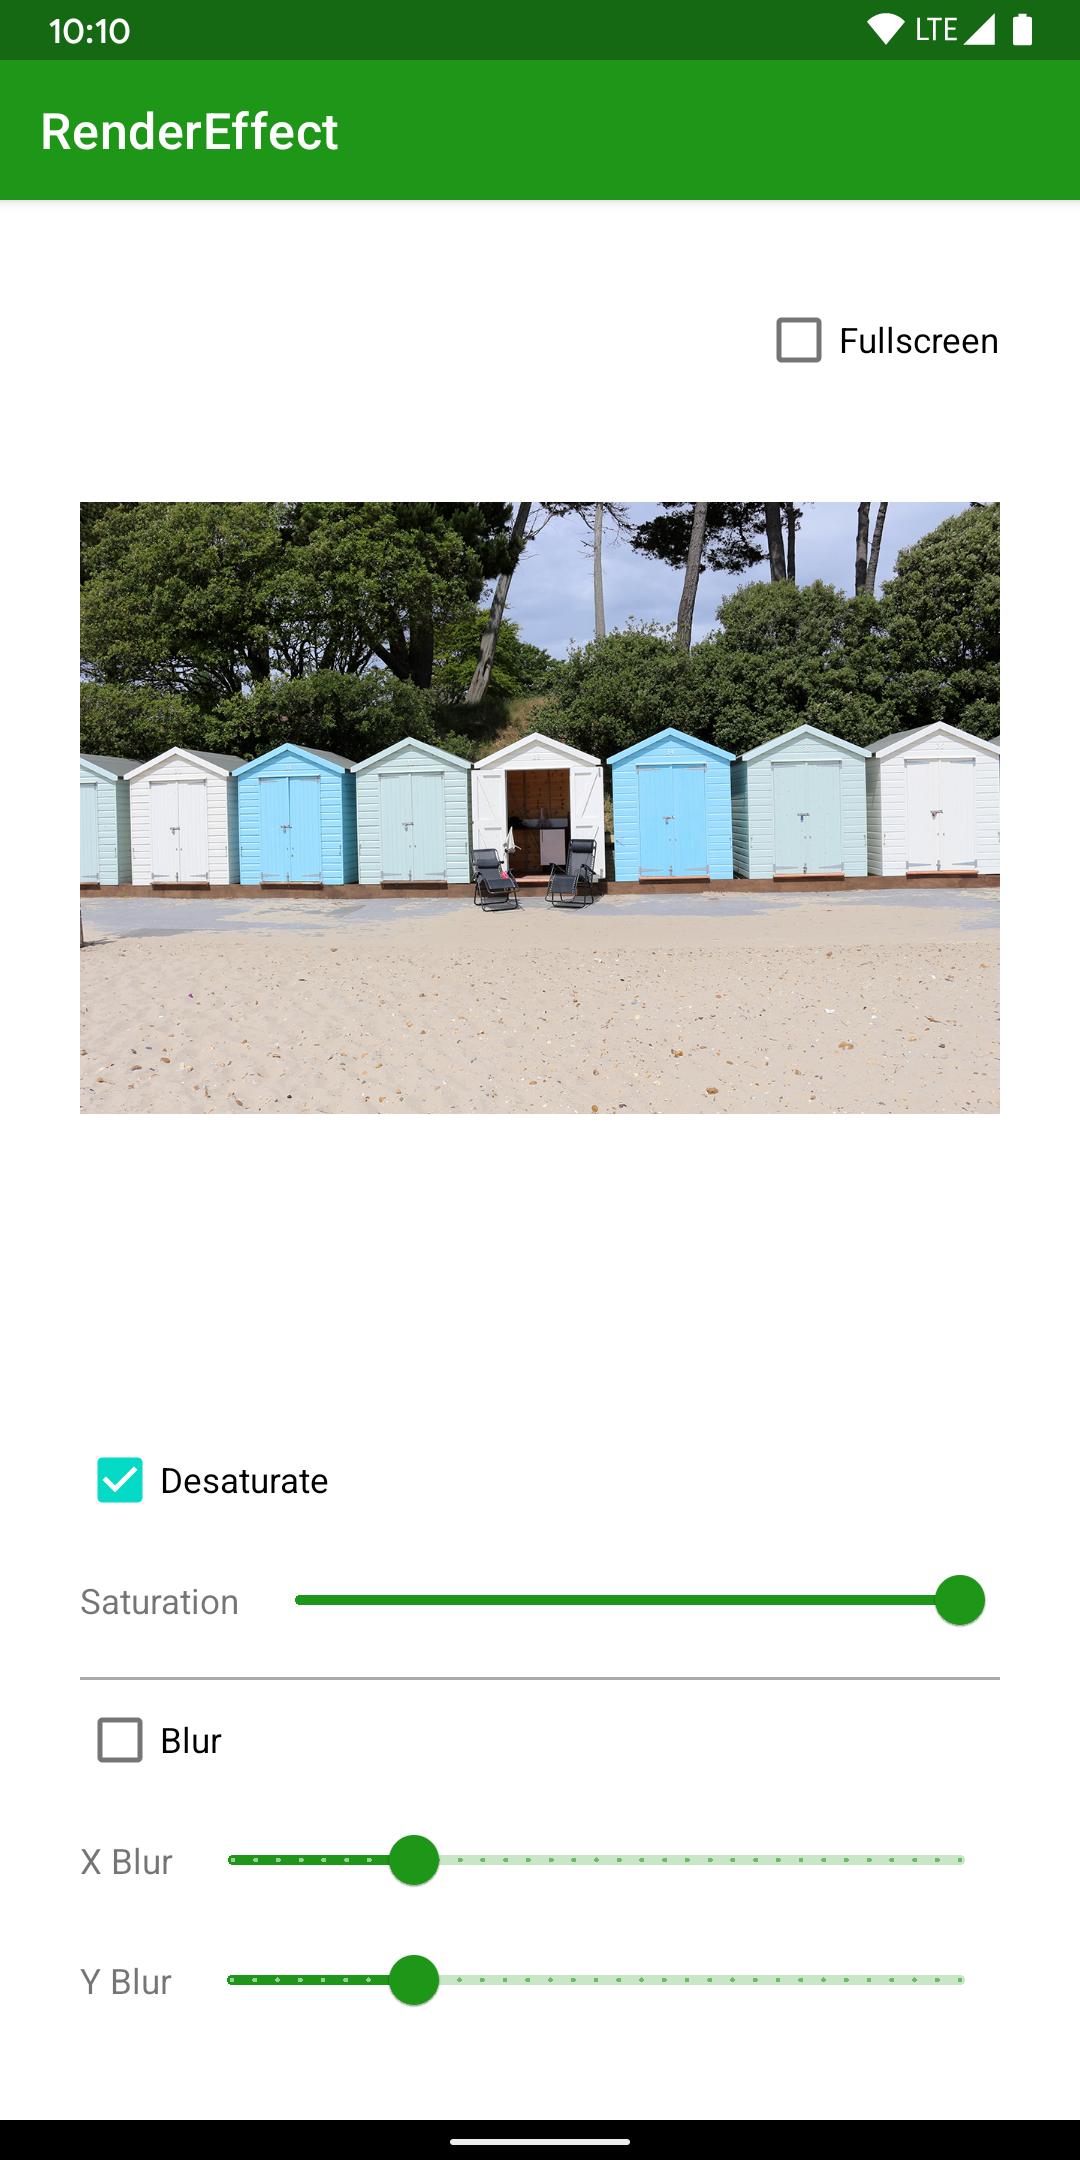
We can now adjust the level of saturation in the image. Here the saturation is 1 – which has full colour information:
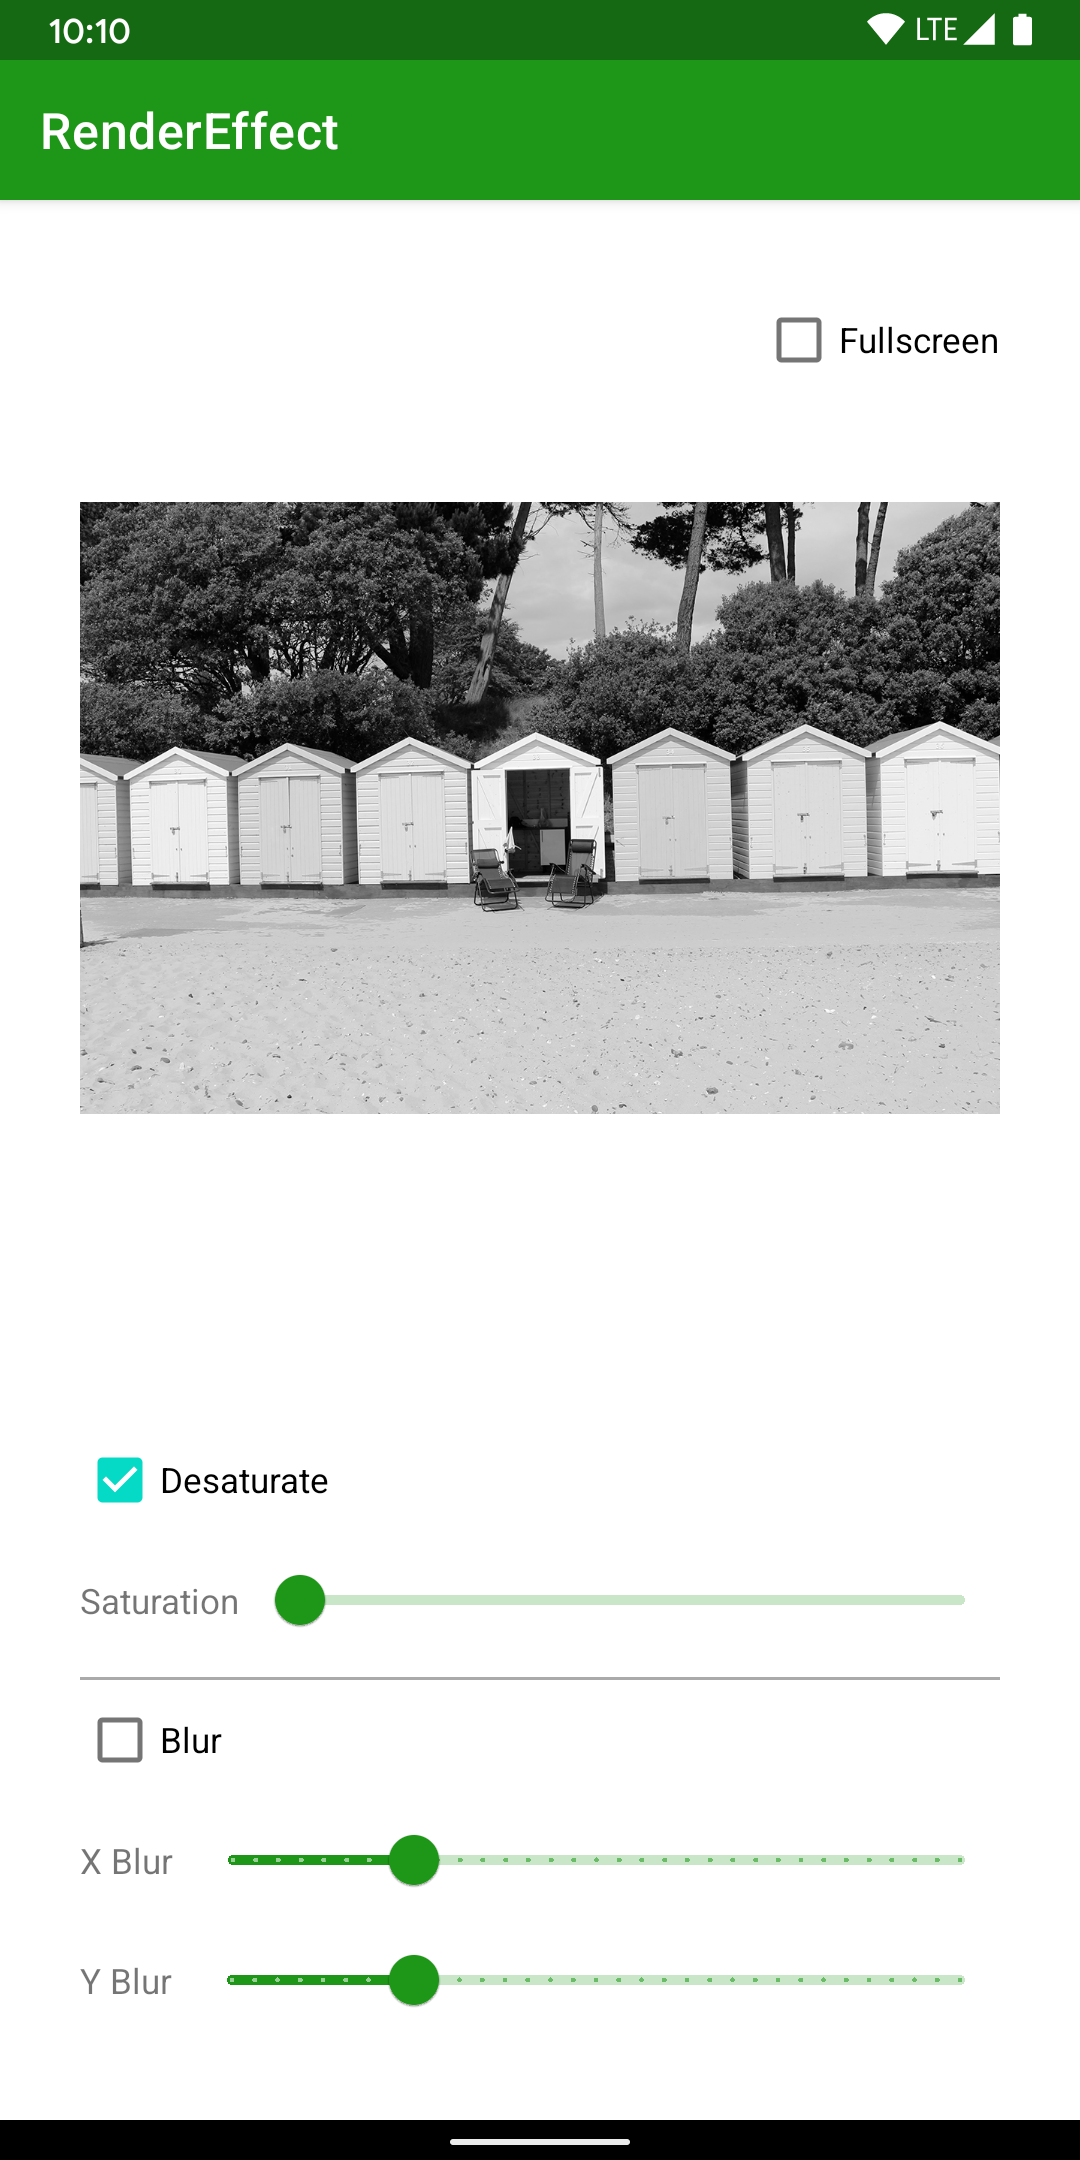
And here it is 0 – which has all colour removed leaving a greyscale image:
Chains
I mentioned in the previous article that we can get even greater power, albeit with a slightly more complete API. A great example of this is chaining multiple effects. The creator methods that we’ve used for both blur and desaturate effects produce RenderEffect instances. However, these have very different effects.
We can chain multiple RenderEffects together:
RenderEffect.createChainEffect(blurEffect, desaturateEffect)
The createChainEffect() method itself returns a RenderEffect instance and we can apply it to a View exactly as we have done before. We can now apply blur and desaturate as a single RenderEffect:
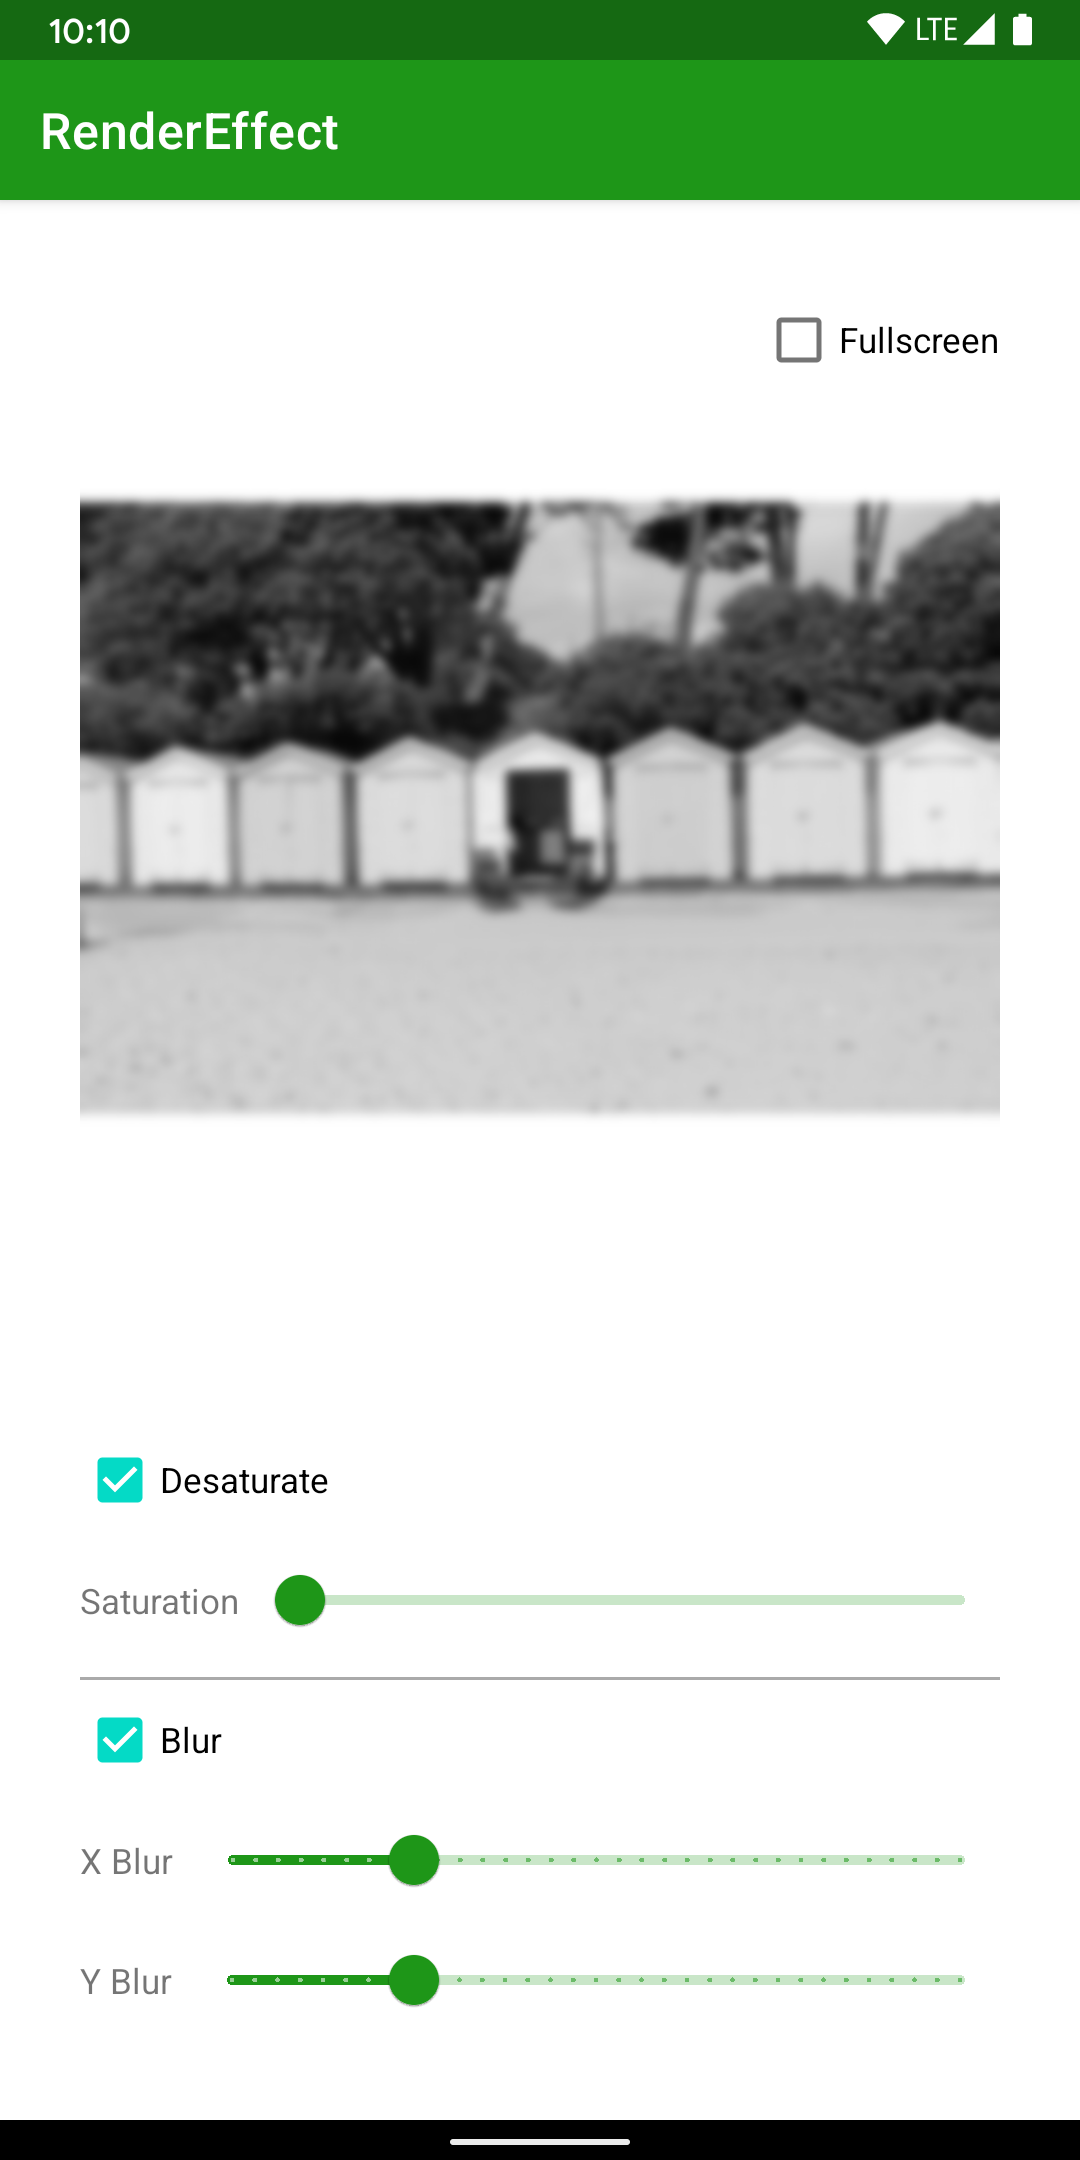
One thing worth mentioning is that the order of the items in the chain can be important. In this case, the pipeline will perform the desaturation first, then the blur. The result will be subtly different if we reverse these. These differences may become more pronounced depending on the exact effects being applied.
However, the chain RenderEffect can be applied at any point of the View hierarchy, much like we did with the blur effect:

Conclusion
Hopefully, the power of what we can achieve with RenderEffect is pretty clear from these very simple to implement examples. Moreover, the ability to chain them adds significantly more power for only a tiny amount of additional work. An extra line of code, in fact.
We’ve covered some of the basics of what we can do with RenderEffect. I suspect that I’ll revisit this and provide some other example of other cool stuff in the future. If that’s something that you’d like to see let me know by leaving a comment or emailing me – contact details here.
The source code for this article is available here.
© 2021, Mark Allison. All rights reserved.
Copyright © 2021 Styling Android. All Rights Reserved.
Information about how to reuse or republish this work may be available at http://blog.stylingandroid.com/license-information.
